

Forget Paint: Give Plain Cabinets A Gorgeous Makeover With An Easy DIY Solution
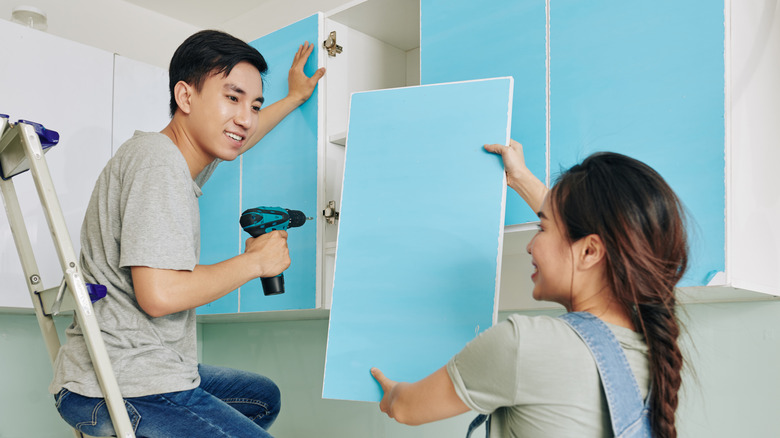
We may receive a commission on purchases made from links.
If your kitchen cabinets have seen better days, there are plenty of ways to give them a fresh look, including many that don't involve painting. One classic update involves applying peel and stick wallpaper to the entire surface of the cabinet. While it's less labor intensive than painting, as there's no sanding or waiting for coats to dry, covering the entire cabinet is still pretty detailed. You have to cut the strips of wallpaper precisely and line up the pattern. If that's too much for you, there's an even simpler way to refresh your cabinets — put the wallpaper on the center panel only.
The cabinet refresh is quick and easy. You don't even need to take the doors off of the cabinets to do it. All you need is a spray bottle of multi-purpose cleaner and a cloth (or just soap and water), peel-and-stick wallpaper in your choice of pattern or color, and a boxcutter or utility knife. Tiktoker Inkgasmic demonstrated how she updated her cabinets, taking on the DIY with a toddler playing at her feet. She sprayed and wiped the cabinet front clean, smoothed the wallpaper on the center panel, then cut it to fit.
Whether you choose a bright color or a pattern with a touch of whimsy, the DIY lets your kitchen reflect your taste and style. When you get bored of the look or update your style, all you need to do is peel the wallpaper away and start again.
How to wallpaper the center of your cabinets
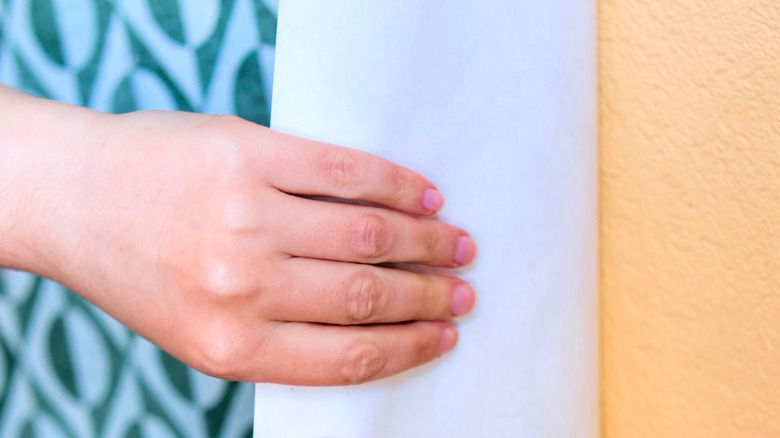
The hardest part of the cabinet refresh project may be picking out the wallpaper to use, as there are many options out there. To give the cabinets some texture, you may want to choose peel-and-stick tiles, such as Peel and Stick Metal Backsplash Tiles, Patina Copper. While you don't have to precut the wallpaper before applying it, it's a good idea to measure the center panels first, so you know how much wallpaper to buy.
Once you've got your hands on the wallpaper, get ready to apply it. Clean the cabinet front, then remove the top part of the backing from the first piece of wallpaper. Starting at the top of the cabinet panel, smooth the wallpaper into place, peeling off the rest of the backing as you go. The edge of a credit card or a wallpaper smoother will easily push out air bubbles, but you can also use just your hands. Use your utility knife to trim any excess paper away, so that just the center panel is covered. Repeat until all of your cabinets are refreshed.
Along with adding wallpaper, consider changing the hardware to further update your kitchen and breathe new life into your tired cabinets. While the center panel may be the most obvious spot for the wallpaper, it's not your only option. Decorative toe kicks can also be a perfect place to put an unexpected pop of color or whimsical pattern.