

Skip The Costly Kitchen Makeover: Update Cabinets With A Simpler DIY Solution
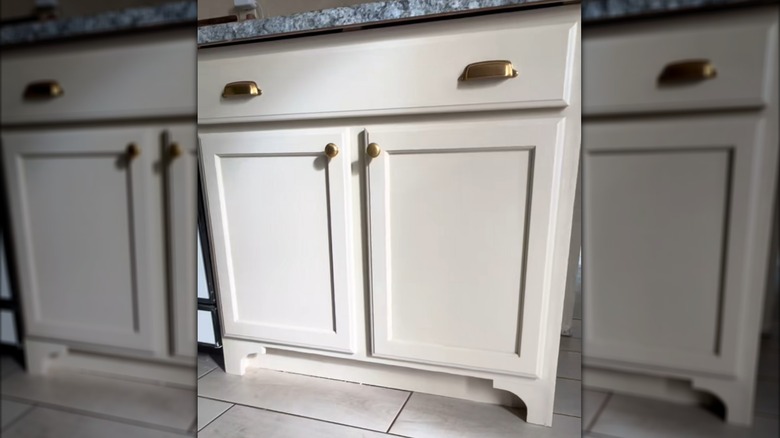
Updating your kitchen cabinets is a process that you might associate with full-scale renovations and big budgeting requirements. However, tearing everything out or completely resurfacing your existing doors and frames isn't always necessary. Sometimes, changing up the small, decorative details can have a substantial aesthetic impact — and in this case, we're actually not referring to installing new cabinet hardware. For even less money than a new set of drawer pulls and knobs, you can add decorative wooden toe kick legs to the bottom corners of your cabinets. These small, curved blocks line up with the face of the cabinet, and frame an existing toe kick area with arches along either side. As far as kitchen DIYs go, few offer such a high-impact result for so little expense.
Decorative toe kicks are reminiscent of custom kitchen builds, and have the potential to make the room look more expensive. They add tons of old-world character, can make basic cabinets look less boxy – and fit in nicely with this year's most popular kitchen style. Decorative toe kick cabinet legs are simple enough to put in once they're cut, and can be painted to match your existing cabinets. Each decorative piece will need the support of a wooden spacer block behind it. Construction adhesive is a must for this DIY, as is a brad nailer and a container of wood filler.
Adding decorative toe kick pieces to existing cabinets
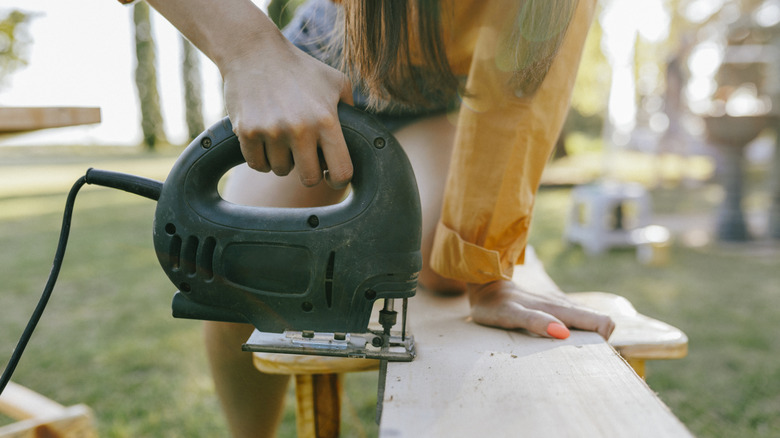
For this DIY, you'll need two decorative leg pieces per cabinet that match the height of your existing toe kick space and are mirror images of one another. You'll also need to cut two rectangular spacer blocks for the areas behind them. The combined thickness of the spacers and legs should match the depth of the existing toe kick space. You can cut curved arches into your wood with a jigsaw or a band saw. Trace the shapes onto the wood with a pencil before beginning. You may need to sand down the curves afterwards to ensure they're identical and look cleanly cut. If you aren't confident with a jigsaw, you could also opt to buy wooden corbels and modify them to fit.
Install your spacer blocks in the back corners of your current toe kick space with construction adhesive (a better choice than wood glue for this application, because it doesn't require clamping). Next, fit the arched leg pieces over them, and use more adhesive plus some brad nails to hold them in place. Apply wood filler over the nail holes and in any small gaps between the decorative pieces and the underside of the cabinet, if necessary. Finally, paint and prime the toe kick legs to match your existing cabinet frames.
There are two caveats that come with this project. The first is that it might be tough to make the toe kick pieces look cohesive if your cabinets have distinct, unpainted graining — such as you'd see with oak. The second is that you might find the space behind the legs tricky to clean. Luckily, there are plenty of other smart ways to transform your outdated kitchen cabinets if you decide this DIY just isn't for you.