

Save Your Laundry Detergent Bottles For A DIY Solution That Organizes Shelves
We may receive a commission on purchases made from links.
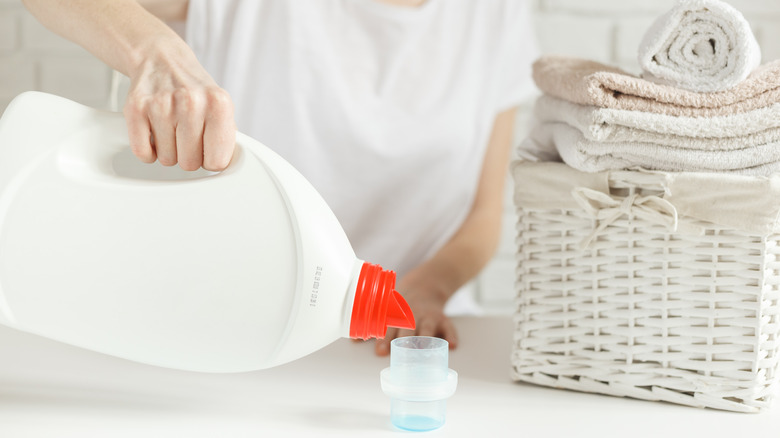
It can be quite tempting to toss away your empty detergent bottles when you bring out the new one. However, resist the temptation. Instead, use your empty laundry detergent bottles for organizing countertops or shelves. For example, you can turn them into a handy book organizer in just a few steps. Simply cut the top off right below the handle, and you'll be left with a sturdy holder that will keep your books, notebooks, loose papers, and stationery upright. It's a smart fix if your shelves have turned into awkward leaning stacks, and you don't want to spend a cent on a store-bought organizer.
Retail desk and shelf organizers can be pricey, and they often look flimsy or generic once they arrive. Plastic bottles are tougher than they seem, and they're already sitting in your laundry room. Cleaned up and given a fresh look, they can pass for a custom organizer rather than a recycled afterthought. Plus, they can add a touch of whimsy to your bookshelf. So, grab that empty detergent bottle, along with a sharp utility knife or a pair of scissors, a permanent marker, and your hair dryer (though this is optional). And if you'd like a more polished look, pick up some paint (acrylic or spray paints), a roll of satin ribbon (twine or jute rope works as well for full-on coverage), and a sheet or two of peel-and-stick paper.
How to turn your empty detergent bottles into a sturdy organizer for your shelves
Before you start, clean the bottle using warm water so no soapy residue or scent lingers and let it air-dry. Then, peel off the brand stickers (use something like Goo Gone, which you can get 2 fluid ounces of on Amazon for under $9) and scrub off any leftover adhesive with a little soapy water and a clean microfiber cloth. When the surface is clean, use a permanent marker to trace a straight line following the natural curve of the handle so the cuts line up evenly. Or, just trace the area above the handle if you want your holder to be deep.
Now, grab your utility knife to cut the bottle along the drawn line. If the plastic is hard, use a hair dryer to soften it first before making a cut. Wipe off any remaining marker lines, and if there are jagged splinters along the cut edges, trim them using a pair of scissors. You may even have to smooth it out with sandpaper. With this done, your organizer will be ready for decoration.
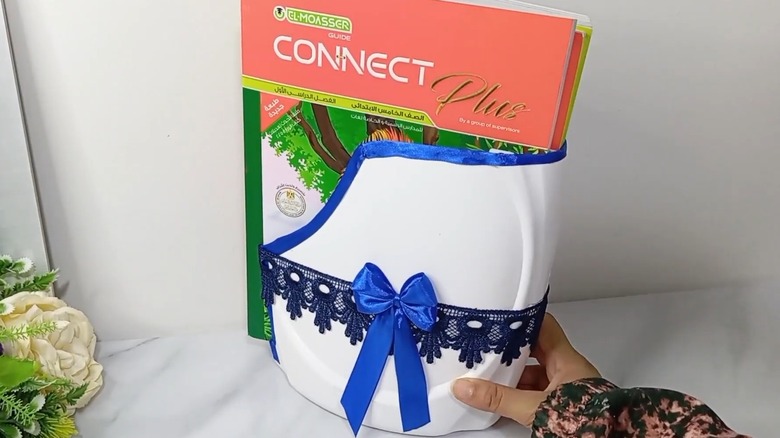
There are several ways to dress it up, but the simplest one is attaching a strip of satin ribbon or a tassel along the top rim. You can do with a little bit of lace as well. Or, you can paint the bottle in a simple stripe or gingham pattern as well using the colors you have handy. If you want to avoid the painting hassle, cover the bottle with leftover peel-and-stick wallpapers or glue scrap paper on top in a color that suits your room. Decorative beads and stones will look good, too. And if you want it to look truly high-end, embellish the inside of your holder as well.