

No More Shifting Gravel: The Simple Fix That Keeps Driveways In Place
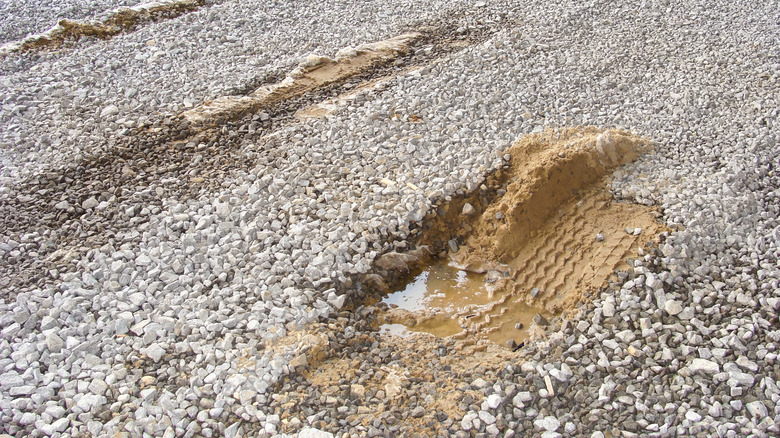
Gravel is a stylish driveway alternative to concrete that also costs less. However, shifting stones is one downside of gravel driveways homeowners dread. Shedding light on the causes, Brad Holley, the design director at Outdoor Dynamics, tells Hunker in his exclusive interview, "The strongest force causing gravel to shift is vehicle traffic." To explain it better, he compares this phenomenon to a person sitting in a bean bag chair, "When the weight of your body sits down in that chair, all of those tiny little independent pieces of stuffing inside the bean bag want to shift in any direction possible to get out from underneath the weight pushing down on them. The same exact concept is at play in a gravel driveway."
Essentially, when an automobile moves down the same path over and over again, the gravel rocks come under high pressure (from the vehicle's tires). So, they "shift" from their original position, seeking areas with lower pressure. Though the results aren't immediate, thanks to the interlocked jagged and sharp rocks, you'll notice dips and ruts with time. "The second (and usually weaker) force causing gravel to shift on a driveway is a combination of slope and water," adds our expert. That being said, he mentions that this mostly happens if your driveway sports a steep grade (like if it's built on a hill). Even in such circumstances, the angular stones will remain in place unless "... a storm blows through the area and saturates the ground," he reasons. Since gravel's stability is directly tied to the surface it's installed upon, it'll start shifting if a heavy downpour washes away the soil and sediment it was holding onto. Either way, you can keep your driveway in place by spreading a thick layer of gravel.
How many inches of gravel should you aim for to keep your driveway in place
There are two ways you can go about it. If you have a modest budget and are picking the cheapest type of gravel for your driveway, "... you want a minimum of at least 4 inches so that the rocks along the top surface have a generous amount of rocks underneath them to be able to lock into," says Holley. And if possible, try to go with 6 inches since a thicker layer will be more resistant to external pressures.
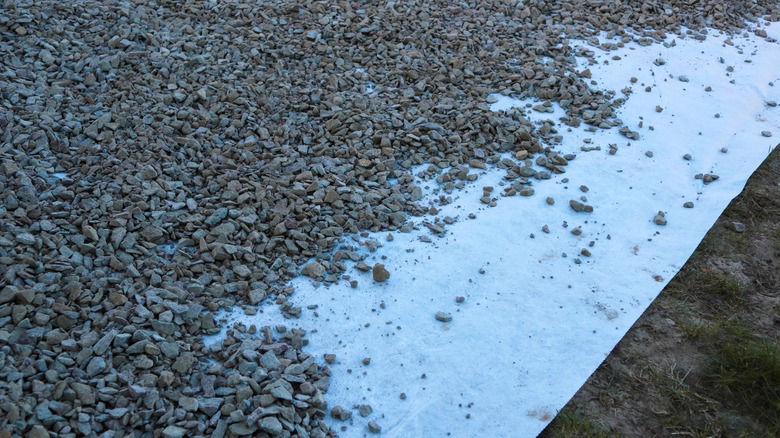
However, if you want a permanent set up and don't mind spending extra for it, "... excavate down into the ground and create about an 8 inch deep recessed area that runs the length and width of your driveway," directs our expert. Now, you'd want to compact the base layer soil using heavy tools or machinery (like a plate compactor). Once done, Holley suggests lining the pit with geotechnical fabric to filter out water while keeping different material layers separated.
Afterward, backfill the recessed pit with 6 to 8 inches of compacted/crushed concrete sub-base. He elaborates, "Because it's comprised of sediment of all shapes and sizes, it's an excellent material to have underneath your gravel top layer because it does a superb job of staying in place, draining water, and preventing excess water from pooling up." And though it may seem excessive, he advises you put down another layer of geotechnical fabric for added security. Finally, you can lay down 6 inches of gravel and call it a day. Or, you can opt for a Geocell Ground Grid (also known as a Cellular Confinement System) for added reinforcement, he recommends. Finally, fill your interconnected grid of "pockets" with 6 inches of gravel.
Other tips to help your gravel driveways stay in place in the long run
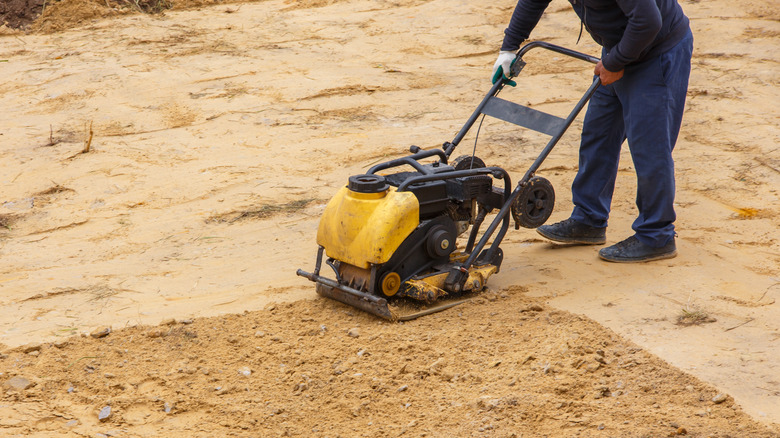
While the level of layers you stack on will help keep your gravel driveway in place, there are a few other best practices you can follow to ensure it doesn't shift in the long run. Holley's number one tip is to compact your soil well. "Your native soil has been sitting there for eons. When you disturb it in any way, it's highly likely that you're going to change its behavior," he clarifies. This is where compaction comes in. "You're simultaneously vibrating it and pushing down onto it. The goal is to try and prevent the soil from moving or shifting later with the changes that you're going to be making on top of it," he opines.
Another tip is to stick with borders, particularly if you're not a fan of the intensive layering process outlined above or want a cost-effective approach. "These can be created with stones and boulders, wood landscape timbers, metal trim or edging, and even concrete. In actuality, what you're doing with these materials is creating a sort of "container" for your gravel," relays our expert. This will allow your jagged rocks to remain in place and not push outside the boundaries. Holley concurs, "The edges of your gravel driveway are the areas with least resistance. So, if you line both sides with something strong, rigid or heavy, it can go a long way toward keeping your gravel in the middle of the path where it belongs." And if you're dealing with a sloped driveway, pay special attention to the edges toward the bottom of your elevated surface. Though this will change if the path twists and turns the further you climb, he concludes.