

Forget Plastic Birdbaths: The More Durable Alternative You Can DIY
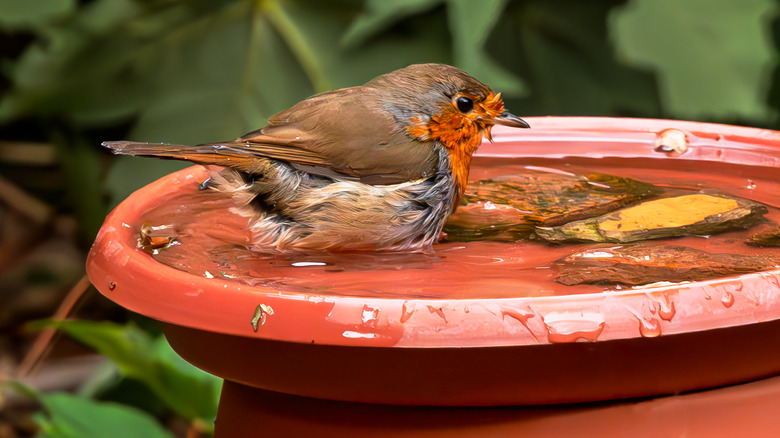
Plastic birdbaths are lightweight and affordable, which often makes them an easy choice for budget-conscious homeowners. Unfortunately, it may not be a wise investment when you consider how easily plastic birdbaths can tip over and break, or how quickly they become brittle and crack in the sun. Not only that, but they have slippery edges that are not bird talon-friendly, and they tend to simply look cheap. A more durable alternative is concrete, but that can be heavy to transport from the garden center to your house. Fortunately, if you make it yourself, you don't have to worry about that. By using concrete, you can create a durable alternative to plastic and customize it to your own specifications.
A DIY concrete birdbath is also more economical than purchasing one at the garden center. Pre-made concrete birdbaths can run in excess of $200, while a bag of Quikrete is around $5 to $7. You can use material you have on hand for a mold, making this project even cheaper than buying a plastic birdbath. Keep in mind, you're working with concrete, not cement. One of the major differences here is that concrete is more durable than cement. The rough texture of concrete is also easier for birds to grip than plastic. When you make a birdbath yourself, you can make it the ideal depth of 1 to 2 inches. Depending on the size of the bag of concrete you purchase, you may even be able to make multiple basins of different sizes.
How to craft a more durable birdbath
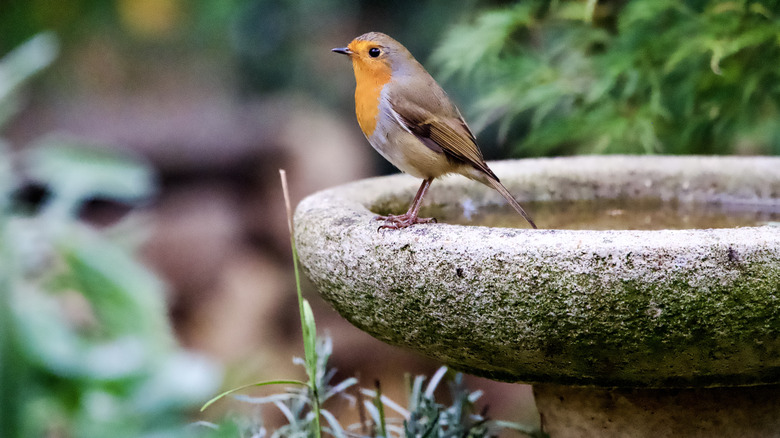
Your molds can be as simple as two bowls that fit inside each other with enough gap for the concrete. Similarly, you can use plastic saucers, drip trays, or even a giant leaf to create a beautiful birdbath. Your mold will need to be coated with a releasing agent, like cooking spray, which is probably already in your kitchen. Once your mold is ready, mix concrete to the consistency of thick pancake batter. Pour the concrete into your outer mold until it's about half full, and then press the inner mold into the concrete to create the bowl shape. Weigh the inner mold down with something heavy, like rocks, and allow it to cure for about a week.
Remove the inner mold and allow it to cure for another week before removing the outer mold. Then sand out any sharp edges, and apply a coat of non-toxic concrete sealer. Once it has dried completely, it's ready to go. You can then use an old tree stump as a pedestal for a rustic look, or make one with the rest of your concrete and a cardboard construction tube for the main mold. To do this, coat the inside with cooking spray, and screw it to a piece of scrap plywood to ensure it holds its shape. Pour in about 6 inches of concrete at a time and shake it to release air bubbles. Smooth the top surface, cover with plastic wrap, and let it cure. Once cured, you can unscrew the plywood and cut off the mold.