

Don't Toss Your Old Cake Pans — Use Them To Make Stylish DIY Pavers On A Budget
Even if you'd rather spend a day crafting than baking, there's no reason you need to pass up that stack of adorable cake pans at the thrift store. Old cake pans can be repurposed as inexpensive molds when you want to make stylish concrete pavers on a budget. Plus, they can be customized thanks to additions like concrete colorant, gemstones, or seashells.
Whether you're a crafting beginner or a concrete expert, using cake pans to turn upcycled materials into stunning DIY pavers is incredibly easy. Most tins will work, from basic round pans from your local dollar store to intricate molds in the shape of your favorite superhero. You also don't need to be too picky about the material. Old pans made from aluminum or silicone should work to create the shape you desire.
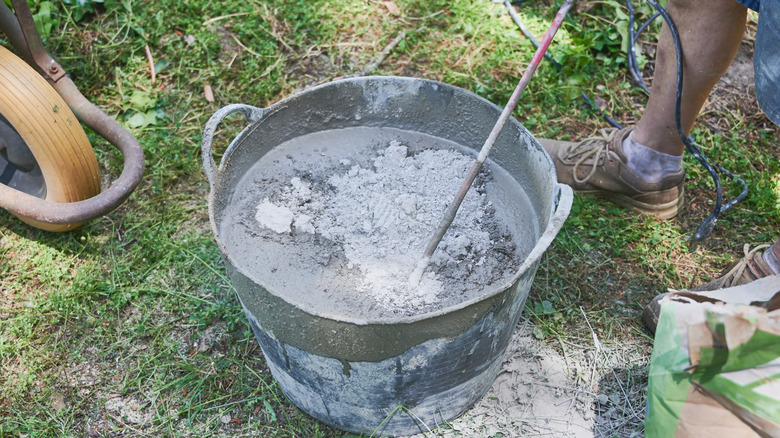
While your imagination is the limit when it comes to repurposing cake pans as a concrete paver mold, using the right materials and techniques is crucial. Along with the pans, you'll need an inexpensive can of baking spray or jar of petroleum jelly, a bag of all-purpose concrete like Quikrete High Strength Mix from Home Depot, a large plastic bucket, a shovel or mixing paddle drill attachment, and water from a garden hose. You should also wear work gloves, eye protection, and a mask or respirator to avoid irritating dust while mixing your dry concrete.
Cake pans offer plenty of customization potential without the cost of specialty molds
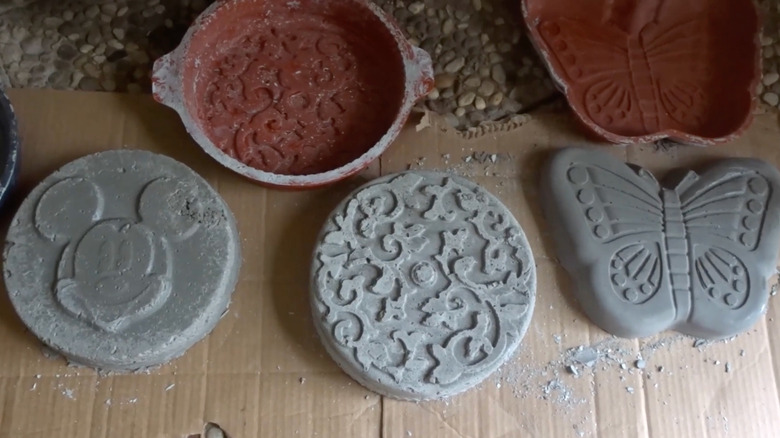
Once you've tried a few ways to repurpose common household items into DIY pavers, you may find yourself looking for more complex concrete molds online. While there are hundreds to choose from, they can be extremely expensive. That's not ideal, especially if you're only making a few stepping stones or decorative accents. Cake pans offer a budget-friendly alternative. Plus, they don't limit your pavers to the standard square, faux rock, or simplified shapes you'll tend to find in basic concrete mold kits.
While simple round or square cake pans can create classic stepping stones for a dedicated path, choosing pans with scalloped edges or novelty shapes can lend a slightly whimsical touch to an English cottage garden. Both the shape and depth of your cake pan will determine the look of your finished paver. If you plan to walk on them, it's important to cast pavers that are both large enough for a person's foot and thick enough to hold up under their weight without cracking.
You may find that the intricate detailing on old cake pans makes it slightly harder to release your hardened concrete without damaging the pan or paver itself, so some experimentation may be necessary. If a light coating of non-stick spray or Vaseline isn't doing the trick, some DIYers recommend using WD40 or coconut oil, which hardens at room temperature.
Tips for using cake tins and decorative elements to make DIY pavers
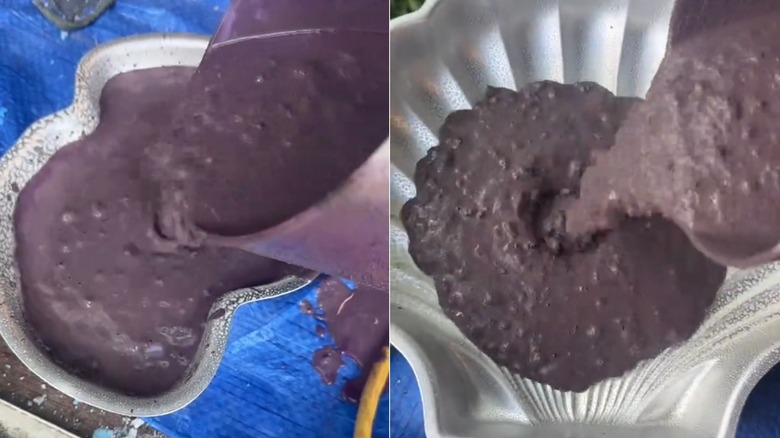
Once you've chosen and prepped your cake pans, making the pavers involves just a few steps. First, mix water into your Quikrete or stepping stone mix according to the manufacturer's instructions. Once it's reached your desired consistency, pour the mix slowly into your pans before spreading the top completely smooth. If you experience any air bubbles, tap gently on the sides of your mold or try dropping it from a very low height. Leave your filled pans somewhere level and completely protected while the concrete sets. Finally, loosen the edges to remove your new stylish DIY paver.
Another benefit of using old cake pans to create pavers is how easy they are to customize. Because the pans often have dimensional shapes, you can arrange embellishments like gemstones, river rocks, seashells, or other small finds along the contours before adding your concrete. And for even more precise placement, simply press your decorative elements onto the top layer of wet concrete so it will harden around them.
If you need an easier way to customize the look of your pavers, try using a colorant like the OOTDART Colored Pigment Powders from Amazon. Decorative elements could create tripping hazards if they're made of slippery glass, have sharp edges, or aren't flush with the top of your pavers. So, this may be a better approach if you're planning to use your finished pavers as a walking surface.