

Turn Upcycled Materials Into Stunning DIY Pavers On A Budget
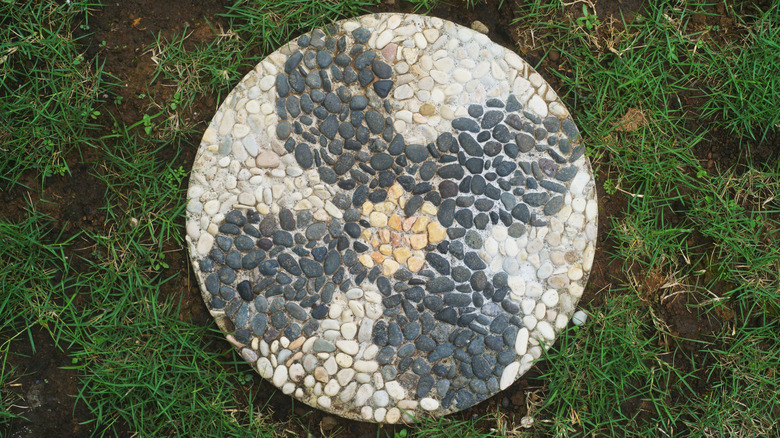
You know how it goes — you hear "landscaping project" and immediately visualize the dollar bills flying from your wallet. But not every exterior upgrade has to break the bank. Sometimes, all you need are a few basic supplies and upcycled materials to make an impact, such as in the case of the custom stepping stone DIY project shared by TikTok user byraquellugo. With just some concrete, sand, decorative rocks, and a mold, she created a unique floral design stepping stone that's thoughtful and nature-inspired. The key is assembling the pavers upside down, layering sand, a decorative pattern, and concrete to create a unique paver to add visual appeal to your outdoor space for only a few bucks each.
To create this one-of-a-kind stepping stone, begin by choosing the overall shape that suits your aesthetic. A square or rectangular concrete mold has a more tailored, clean look; it's not necessarily modern, but can lean that way with decorative simplicity. A round or freeform design feels more organic and whimsical. For square or rectangle pavers, you can easily build a mold out of scrap wood, screws, and a speed square to ensure right angles. You can also find a wide variety of well-rated, affordable premade options online, such as the U0U Reusable Square Stepping Stone Molds ($21.99 for a set of three varying sizes) or Gretjob Reusable Round Stepping Stone Molds ($19.99 for a set of six varying sizes). If you feel ambitious, you can also try using plastic bags or plastic milk jug molds to make organic, freeform paver shapes. With your preferred mold in hand, this inexpensive, custom stepping stone DIY upgrades your yard or garden with personalized charm in just a couple of hours.
Create a decorative pattern from upcycled materials for your custom paver
Prep the paver mold by first sprinkling a layer of sand inside. This creates a soft bed to level and hold your decorative pieces in place, plus the sand acts as a buffer so the concrete can be easily lifted from the drying surface. The sand also sticks to the concrete between decorative pieces like grout to create a finished top surface, so feel free to customize the sand to better complement your landscape (i.e. natural red or pink sand for desert dwellers, or white beach sand for coastal flair).
@byraquellugo Keeping the floral theme with these DIY pavers #stonemosaics #mosaicsteppingstone #rockartwork
Now for the fun part: creating a custom design for your paver using upcycled materials from your yard and home. These may be river rocks, stones of various sizes and colors, broken ceramic or stained glass pieces, small mosaic or penny tiles, seashells and seaglass, glass beads, or many other unique materials. Just make sure everything is weather resistant, and to point sharp edges upward so they embed in the concrete instead of sticking out of the paver.
Create a floral pattern for a playful, nature-inspired look, or perhaps a more linear border pattern for a more formal, traditional garden. A colorful mosaic feels right at home in a fun, eclectic aesthetic, while a seaside motif complements a coastal home beautifully. Fill the entire paver with an impactful, ornate design, or leave plenty of negative space for a simpler, more free-flowing vibe.
Set your decorative stepping stone pattern in concrete
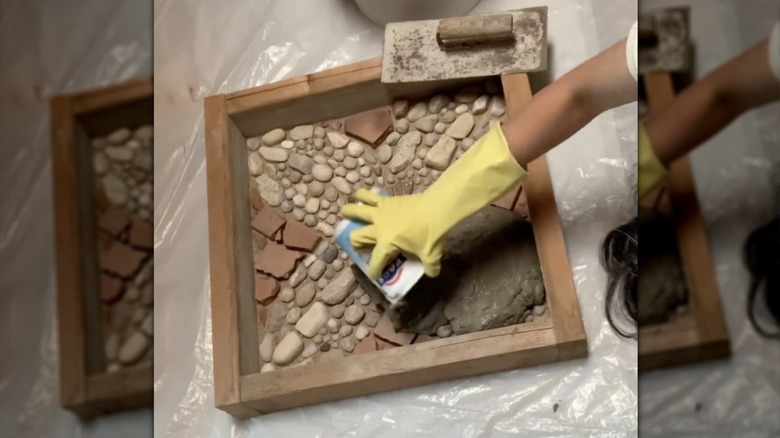
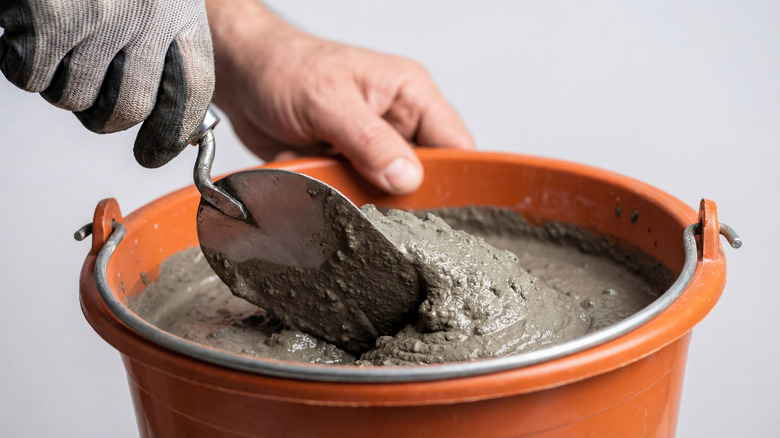
Once you're happy with your stepping stone design, it's time to set it in concrete. There are many concrete mixes on the market, but the TikToker's favorite combination is mortar mix and high-strength concrete. First, prepare the mortar mix, such as Quikrete Mortar Mix ($4.38 for a 10-pound bag). Scoop it on top of the stones, taking care to avoid moving the stones as you spread out the thick layer. Next, add a piece of hardware cloth or fine metal/wire mesh to bolster the paver's structural strength and integrity.
Prepare the high-strength concrete mix, such as Quikrete High-Strength Concrete Mix ($4.08 for a 10-pound bag), and fill the rest of the mold so the paver is roughly 2 to 2.5 inches thick overall. Level the top surface as much as possible with a concrete trowel so the paver sits flat, then let the paver dry. Once fully cured, flip the paver over to free it from the mold, flexing it a bit as necessary until the concrete pops out. Finish the process by rinsing off the loose sand from the top surface to reveal your beautiful custom design.
To install your one-of-a-kind paver, dig a hole the shape and depth of the paver so you can sink it into the soil with the top surface flush with the ground. For a more sturdy installation, dig the hole about 1 inch deeper than the paver thickness, fill the extra space with a layer of sand, place the paver, and fill in any side gaps with sand to create a stable base.