

Cover Old Tin Cans With Twine And Pebbles To Make The Cutest Coastal Decor
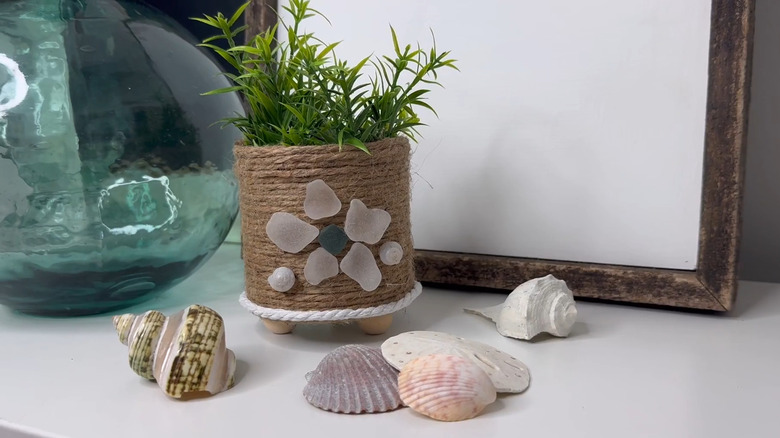
Finding the connection between last night's bean can and a beach escape might seem impossible. You may not pack a can of soup for a beach picnic. But you can create coastal vibes in your home by upcycling old cans into beach-themed decor with a decorative DIY from At Jenny's Place. The crafty creator covers a tin can with twine, adds wooden beads as legs, and creates a design on the front with flat pieces of beach glass pebbles. It's an easy and inexpensive way to bring beach chic style to your home.
Of course, you can recycle most cans, but upcycling offers extra eco-friendly benefits by keeping them in your house. There's no additional hauling to a recycling facility or using energy and water to recycle the material. Metal containers are sturdy, so you can turn them into quality pieces that will last. And since you're DIYing the project, you have complete creative control over the outcome. That's the best way to customize your decor to match your furnishings and fit your style.
For this coastal project, you can use cans of any size. Small food cans, like veggies or beans, work well as small plant holders or decorative containers. Larger tins, like coffee cans, serve as extra storage or homes for larger plants. Creating an arrangement of multiple cans in different sizes makes the project more of a focal point. Or, upcycle the decorated tin cans into a hanging planter with a coastal theme. Before you start, gather enough twine or nautical rope to completely cover the cans along with your choice of pebbles, beach glass, seashells, and other on-theme embellishments. You'll also need hot glue to attach these items.
Cover a can with twine for coastal vibes
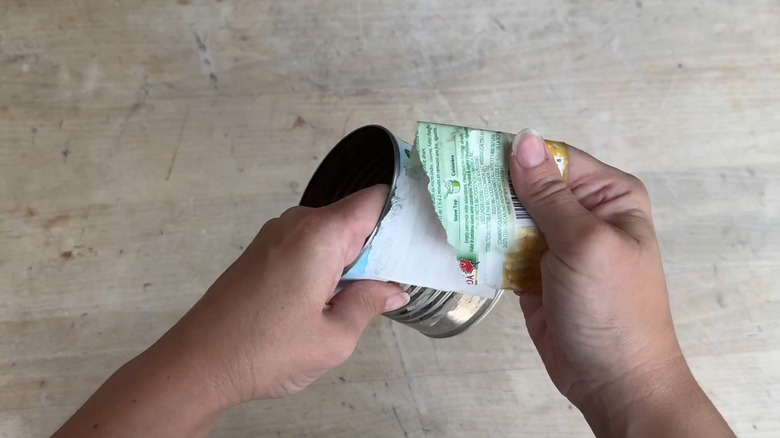
Remove the labels from the cans. If you can't scrape off the glue, try using rubbing alcohol or warm it gently with a hair dryer. Always clean the cans well using warm soap and water to get rid of food remnants, no matter what genius ideas for repurposing soup cans you try.
To cover the can, start along the bottom edge and hot glue a strand of twine to the can. Work up the can with the roll of twine, adding dabs of hot glue occasionally to keep the covering from shifting. Run the twine along the top edge of the can to cover any sharp parts. Place hot glue under the full last row of twine so it doesn't come off. You can also use different types of covering material, like white nautical rope. Or, use thick yarn, starting with tan at the bottom to mimic sand and various shades of blue to represent the water and sky.
The original creator glued three wooden beads to the bottom of the can to elevate the piece, but you could also use small seashells or stones in the same size and shape. She also glued a thicker piece of white rope along the bottom edge. For more contrast, add more pieces of thicker rope. Or, glue pebbles along the top and bottom edges for more depth. You can also glue a wide ribbon that fits the coastal style around the middle of the can before gluing on the flat glass-style pebbles to create a more complex design. Borrow the flower design from the original, or arrange the pebbles into a letter, waves, stripes, or random designs.