

Turn Pebbles Into A Unique Bowl For Countertop Storage
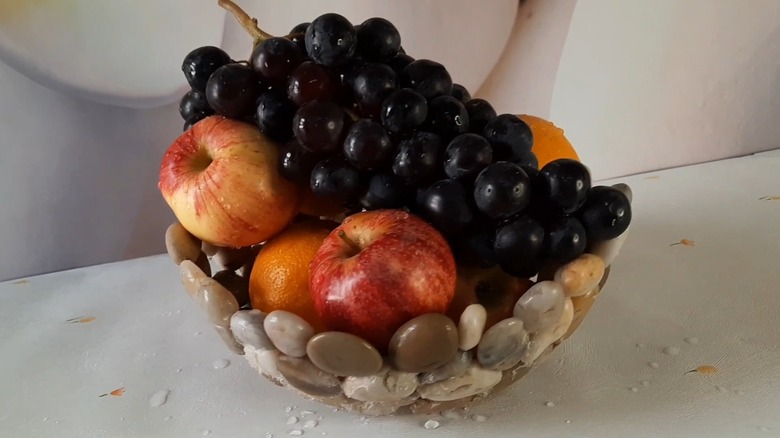
If you're always losing your keys, or your junk drawer is stuffed, you know you need help. Martha Stewart's top countertop organizing tip for a clutter-free kitchen might be one option, or Costco's tiered solution, save precious counter space. However, you might not be in the mood to spend any money on fancy organizers. There's a DIY solution you can try instead, especially if you're feeling crafty. Grab a few pebbles from your garden (or nearby park) and glue them together to create a unique storage bowl for your counter.
Not only is this DIY functional but it's pretty, too. Plus, it's not at all complicated, so beginners and novices won't have any trouble making this project. This DIY is budget-friendly, and may even be free if you manage to score a good quantity of pebbles from your yard or garden. If that's not possible, two or more bags of Multi-Toned River Pebbles from Dollar Tree (they retail for $1.75 each) work well, too. Besides pebbles or small rocks, you will need a sturdy bowl (anything you have on hand is fine), a plastic bag or roll of plastic wrap, and food-safe adhesive if you plan to use your bowl to hold something like fresh fruit. If you just want a place to store keys, any strong adhesive, like Super Glue, is fine. And while this craft isn't too difficult, it can be a bit time-consuming, so keep that in mind before you start and leave yourself plenty of time to finish it.
How to turn pebbles into a pretty storage solution for your counters
The first thing you want to do is wash your foraged pebbles. This will help you get rid of dirt, dust, debris, and any small pest clinging to it, and the glue will adhere better. Once done, spread the pebbles out on a clean microfiber cloth and let them air dry completely. In the meanwhile, take your bowl and line it inside with plastic wrap or slide a plastic bag over the bowl so that the plastic covers the interior completely. This will serve as your mold for the storage solution.
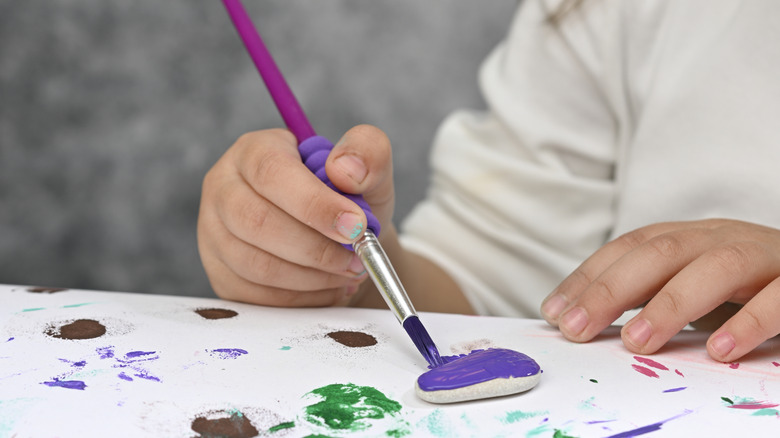
After your pebbles are dry, decide if you want to paint them in a different shade or leave them their natural color. Be sure to use food-safe paint if you plan to get creative with your colors. Next, place some pebbles into the bottom of the bowl. Try arranging them in a way that minimizes the gap between them. This will allow you to place small items in the storage solution without fearing about them falling out or getting tangled (we're looking at you, unruly keys). When you have the base layer, glue the pebbles together in the desired arrangement. Ensure you apply the adhesive to the pebbles only, not the plastic underneath, or you'll have difficulty tearing out the finished product.
Keep stacking layers around the side of the bowl, gluing them and letting them dry before adding another layer. Once you've stacked all the layers, let the glue cure for a couple of hours or overnight. Once the glue is completely dry, slowly peel away the plastic from the bowl. Lightly sand the inside and outside, wipe off any dust, and apply a dedicated sealer to help your storage solution last in the humid environment of your bathroom and kitchen. If you plan to use your finished bowl to hold fresh fruit, choose only a food-grade sealant, or line your bowl with waxed paper. Your simple DIY storage solution will keep your kitchen countertops clutter-free, and is ready to hold keys, mail, or those pesky condiment packages that never seem to find a home.