

Give Kitchens A Custom Makeover With This Budget-Friendly Backsplash Idea
We may receive a commission on purchases made from links.
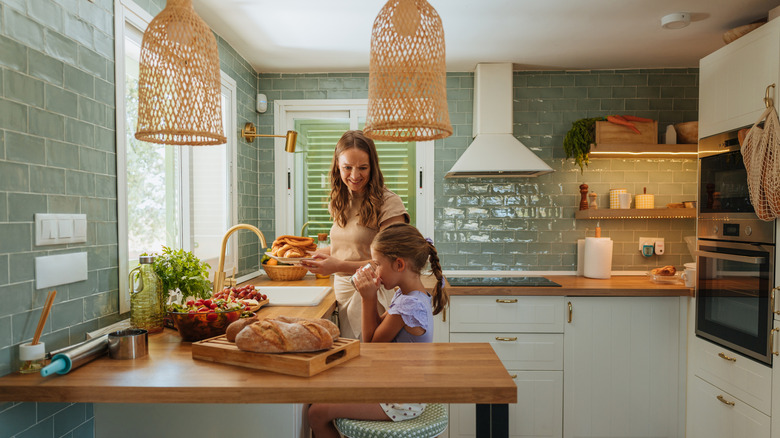
Boring backsplash got your kitchen down in the design dumps? The classic but basic subway tile backsplash still rules the roost in many kitchens, but there's a budget-friendly alternative that's also DIY-able: chalkboard. After being banished from classrooms and taking over coffeehouses, this old-school material is making a comeback in kitchens across the country.
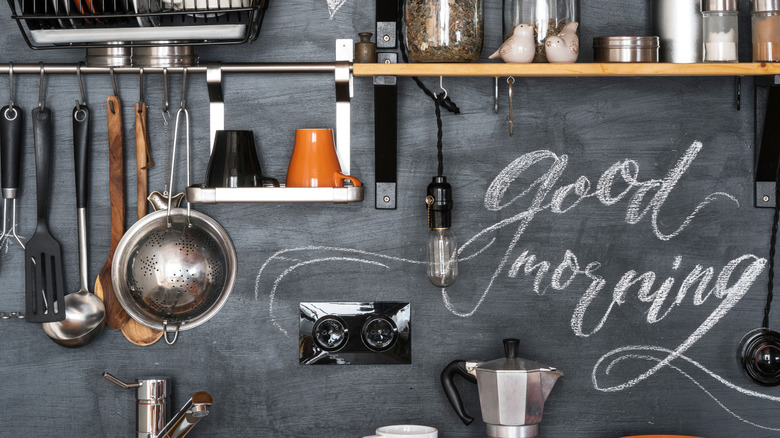
On top of not emptying out your pocketbook, a chalkboard backsplash creates a creative and functional space for drawings, lists, notes, reminders, and recipes. You can have your grocery list front and center without shelling out for a stupidly complex smart fridge, and pop the kids on the countertop to doodle while you prep dinner.
A 30-ounce (¼ gallon, give or take) can of Rust-Oleum Black Chalkboard Paint will set you back $17.50 as of this writing. This amount will cover up to 110 square feet, so one can should generally be enough for multiple coats. And you're not stuck with just black. Both Rust-Oleum and Krylon Chalkboard Tintable Paint can be customized to almost any color. Or, if you feel like DIYing the whole process, you can also make your own chalkboard paint.
Priming, painting, curing, and seasoning your chalkboard kitchen backsplash
Most store-bought latex-based chalkboard paints will adhere to a variety of materials like wood, metal, ceramic, concrete, masonry, and drywall. If you're applying to a surface that has already been painted, primer is typically not necessary. As well as unpainted surfaces, primer may be used for better adhesion on wood surfaces, smooth, high-gloss walls like metal or glass, or if you're painting a light color over dark.
Start by cleaning your surface with soap and water. After drying, apply your primer, if required. Wood surfaces should be lightly sanded after priming. Line the edges with painter's tape to get a straight finish. Then apply your chalkboard paint using a dense foam roller. Wait at least four hours for it to dry, and then apply your second coat.
You may have heard you need to "season" or condition your fresh chalkboard before writing on it, and this is true. Seasoning a chalkboard just means rubbing the flat side of a piece of chalk across the entire surface, then wiping it away with a damp cloth. Without seasoning, you risk your chalk permanently bonding to the surface. Give your new chalkboard at least three days of curing time before seasoning. So the steps are: clean, prime, paint, cure, and then finally, season. And voila! You've given your kitchen a budget-friendly and infinitely customizable makeover with a chalkboard backsplash.