

Don't Toss Old Egg Cartons: Reuse Them For Hanging Decor You Can DIY
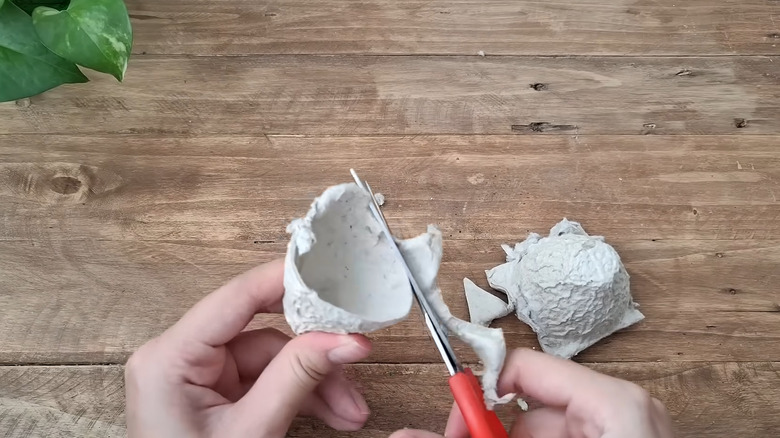
Did you really toss that empty egg carton into the recycling bin? Not the molded fiber carton with its sturdy, cardboard-like structure, right? We must insist that you rescue it (and save all future egg cartons) — there are just too many smart ways to use empty egg cartons. And this stunning hanging floral display from Deep Jyoti is one such project. The creator cuts individual cups into cute, colorful flowers and strings them with beads to dangle from a cardboard support.
Egg carton cups are the perfect size and shape for crafting little blooms — a great way to transform old egg cartons into elegant DIY flower decorations. They already have a rounded shape, and you can cut the edges into decorative petal designs. Molded fiber cartons take paint well, so you can customize the artificial blossoms to your preferences. Various craft supplies can be used to make decorative pistils in the centers of the cups.
Another perk of this craft is how inexpensive it is. You can realistically whip up the project without spending any extra money (assuming you eat eggs or know someone who can save their cartons for you). The top portion that holds the flowers is made of cardboard, another recyclable that you can typically find at home. You can use any string, yarn, or wire you have on hand, along with your existing bead collection. Or thrift beads and other decorative baubles to accent the dangling flower strands.
Assemble your egg carton floral hanging display
Cut the cups of the egg cartons apart to separate them into individual flowers. The number you need depends on how many flowers you put on each strand, how many strands you want, and how large of an installment you create. You can always cut up more egg cartons later if you want to fill out the display. Once you have them separated, cut four to five petals around the edges — you can make them rounded, pointed, or a combination. Not all of the flowers have to look the same. Then paint them, whether you choose a single color or a variety of hues.
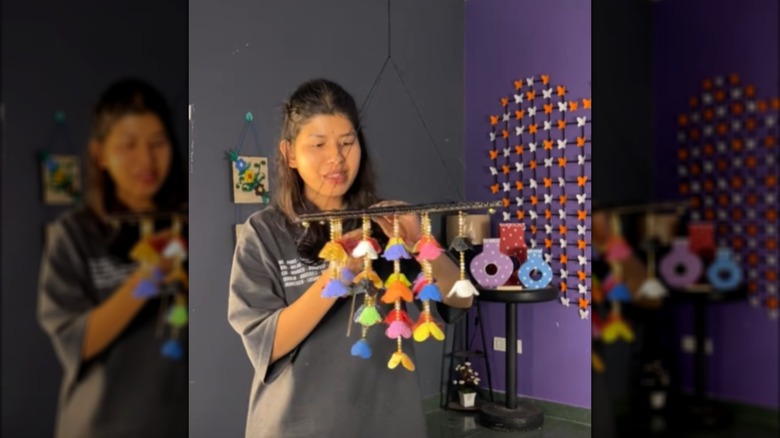
Punch a hole in the bottom of each flower, then thread the string through the holes, attaching a bead to the end to keep them in place. Slide more beads onto the string, then add another egg carton bloom, and repeat the bead section. You can place the flowers as close or as far apart as you want.
The final step is to create the top hanging piece. In the original, the creator cuts a square of cardboard (but there are other ways to reuse old egg cartons to DIY hanging decor). She draws equally spaced squares onto the cardboard and marks dots where she wants to hang the flower strands. This creates a guide for punching holes in those spots before painting the cardboard black. From there, you'll push the strings through the holes and tie knots on top to hold them in place. Attach strings to the four corners, and tie them together in the center to create a hanger.
Adapt the hanging floral piece with customized features
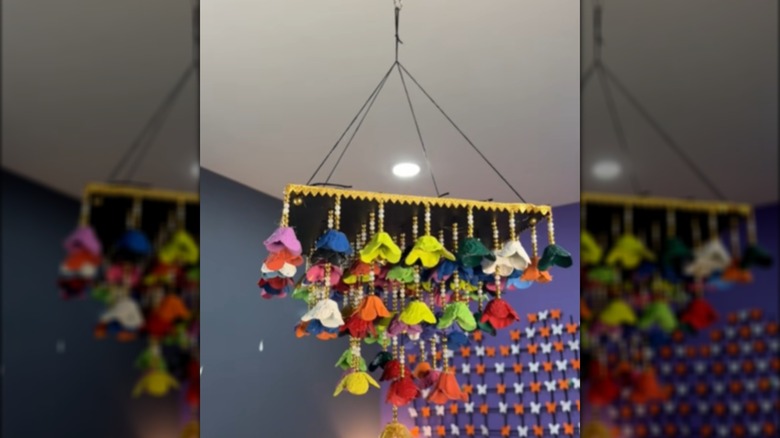
The original design features flower strands of gradually increasing lengths — the outer row around the square has a single flower with beads, and each ring adds one more flower until the center, which has the longest strand. However, you can make all the strands the same length or choose lengths randomly for a less structured, more whimsical effect. The colors of the flowers can also contribute to the pattern or design. For a simple, monochromatic look, choose a single color for all of them. If you paint them different colors, either alternate them in an organized pattern or string them up randomly.
To add more dimension, stack two or three of the flower cups together with the petals offset. The narrow dividers between the cups would make a cute center for the flowers. Brush some metallic paint along the edges to help define the petals and add a glam touch. You can also cut out and glue leaves onto them — cut them from the tops of the egg cartons to reduce waste.
Changing the shape or design of the upper support piece is also an option. For example, you might cut it into a circle or an abstract shape. And while the original design leaves the cardboard level, you could hang it at an angle for a modern effect. To make the topper more substantial, layer multiple pieces of cardboard together and cover it with fabric instead of paint. Trim glued around the edges gives it a finished look, and you can attach beads, gemstones, or even fairy lights to the bottom of the cardboard for extra decoration between the flower strands. Choose lightweight embellishments so the cardboard support stays balanced, and hang the finished decor from a secure hook.