

Dump The Pricey Vase: Upcycle An Old Pringles Can With A Cute DIY
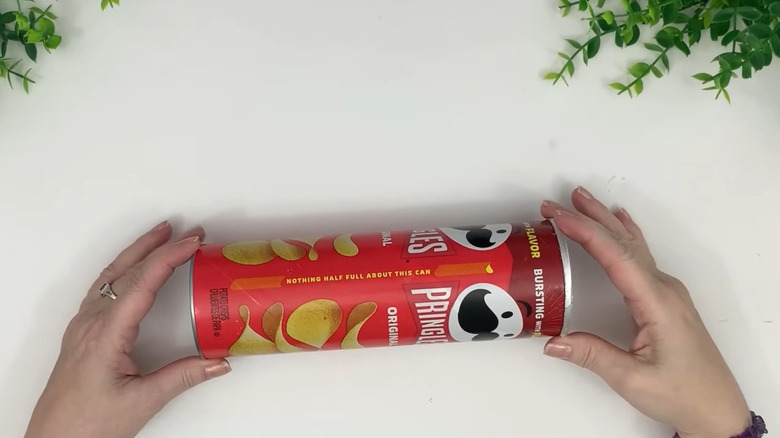
Seeing the bottom of an empty Pringles container might be the end of your snacking, but it's not the end of the line for the canister. The remains of your chips work for a variety of projects — like turning old Pringles cans into stylish wall decor. So wipe the grease off your fingers and grab a few inexpensive supplies. This time, we're creating a cute vase without a hefty price tag. This idea comes from the @vifaztufaz TikTok account, and the result is a shapely vase that you might be able to make for free, if you have some twine and cardboard on hand.
Lots of recyclable materials make their way into DIY content, as there are many ways to reuse old household items in your garden and home. Pringles cans work particularly well because they're designed to protect delicate potato chips, which means they're also sturdy as a vase foundation. While the cans do have an aluminum foil lining, you don't want to fill your vase with water. Instead, use this project for artificial or dried flowers to help it last longer.
A full-size Pringles can works best for this project — the standard can measures 10 inches tall, while the smaller versions are only 6 inches tall. That gives you a tall vase that allows for a substantial floral arrangement. You typically want a vase that's between ⅓ and ½ of the arrangement height. However, you can create smaller vases, too. Grab a sharp pair of scissors, lots of hot glue, and twine to make the basic vase structure. You can customize it with additional embellishments later on.
Add shape to a Pringles can for a custom vase
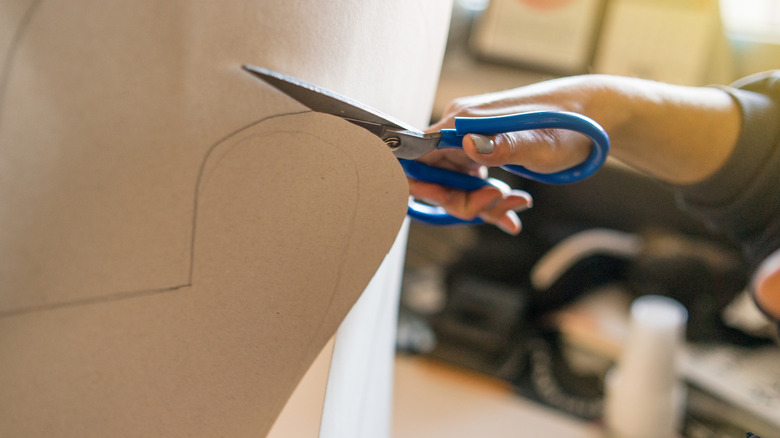
The Pringles can creates the main part of the vase, and the cardboard creates the shaping. You can paint the inside and outside if you want to change the look before you add the cardboard — the outside will be covered, but the inside will be visible. In the original, the creator cuts cardboard pieces that somewhat resemble half of a heart with a straight side that goes against the can, but you could omit this altogether and simply have a cylindrical-shaped vase by only decorating the Pringles can. Otherwise, think about how you want the vase to look, and cut several pieces of cardboard to create that shape. Create a template, so all of the pieces are the same.
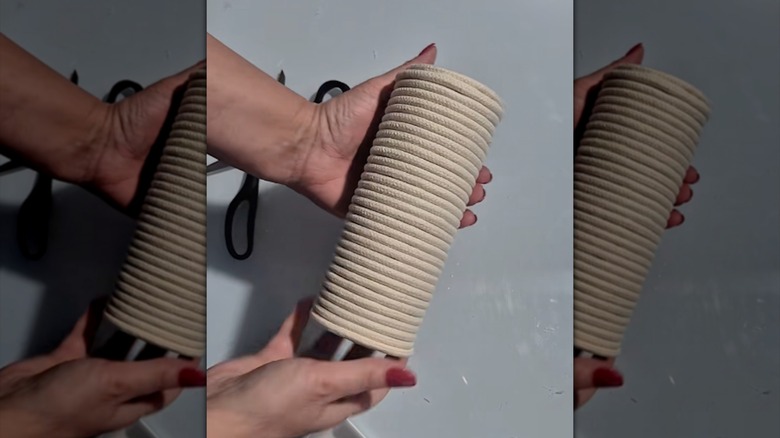
Glue the cardboard pieces to the Pringles can. You'll glue them right next to each other, so you'll need lots of the structural pieces. Then, starting along the top, glue twine around the top edge, and work your way down the can. You want to cover the can and cardboard completely, so make sure each pass of twine sits right next to the previous one. Use hot glue to hold the twine securely in place. When you reach the bottom edge, continue to cover the metal bottom completely. You can then add extra embellishments, like ribbons or bows.
Now you're ready to fill the vase with decorative arrangements. If you're obsessed with dried florals, arrange several stems inside the vase. You can add floral foam inside the Pringles can to hold your artificial or dried stems in a specific position.
Ways to adapt the Pringles can vase
While the original DIY leaves part of the Pringles can exposed at the top, you can cut cardboard pieces that are the full height of the can. Or, create more than one section of cardboard cutouts — use the half-heart design for the bottom and small half circles along the top, for example. To increase the height, glue a second Pringles can on top — if two full-sized cans are too tall, use one standard and one small chip container. You can cut off the bottom of the top can if you want to put taller flower stems inside.
Changing the covering material is another option. Instead of using thin twine, use thicker rope or yarn as the covering. You can also use multiple coverings to vary the texture and color. Start with a thick, white nautical rope along the top edge, then switch to a thinner brown rope or twine. Or, use different colors of yarn for a striped pattern. You can also cover the structure with the original twine completely. Then, cover some sections of the twine with yarn, braided fabric, or other materials.
Embellishment options are wide open. Beads along the top and bottom edges add more dimension and help disguise the can. Or, cut a few cardboard circles that are slightly larger than the bottom of the vase. Cover them with twine, and glue them to the bottom for a more defined pedestal base. You can also cut two strips of cardboard, and glue them to opposite sides to create an amphora or urn-style vase with handles. Just remember to wrap the cardboard handles with twine as well.