Don't Toss Old Pringles Cans — Turn Them Into Stylish Wall Decor With An Easy DIY
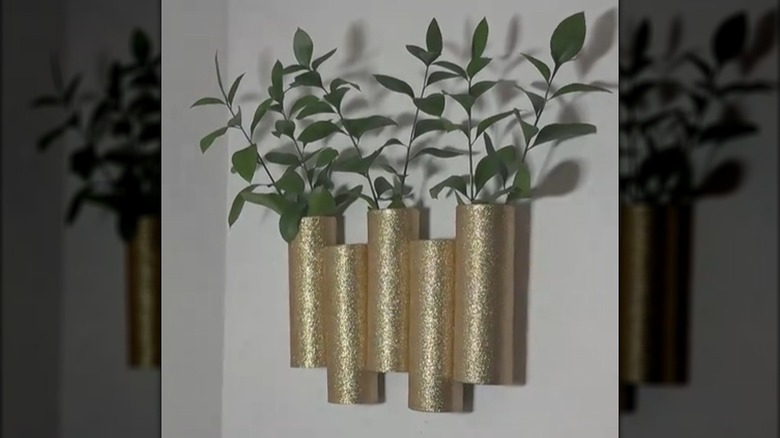
As the slogan goes, "Once you pop, the fun don't stop!" The makers of Pringles might be talking about eating the iconic curved chips, but we think the fun keeps going long after you eat the last one. The classic tube that keeps chips neatly stacked and protected is also perfect for DIY home decor. Turn an empty chip container into the cutest DIY planter, for example. Or, make the wall display designed by TikTok creator @2sistersstory, which features covered cans holding faux greenery stems. It's such a simple idea, but it makes a major impact on your wall.
To start, you'll need to eat a lot of Pringles — the original design features five full-sized Pringles cans. Feel free to adjust the size and layout (and collect enough cans accordingly). You could even mix in smaller single-serve Pringles cans to create more variation. Regardless of the size, Pringles cans offer a uniform shape with rigid construction that helps this wall decor maintain its shape. And since they're not recyclable, turning the cans into decor keeps them out of the landfill. If you need a large wall decor idea, use larger cardboard tubes cut to longer lengths instead.
You'll want to cover the Pringles cans, so grab fabric, wallpaper, glitter foam sheets, an old table runner, or other materials to get the look you want. The cover material needs to be flexible enough to curve around the can. The original keeps the decorations minimal, but you could add bows, beads, tassels, or other items to customize the look. Fire up your trusty hot glue gun (and your creativity) to design this inexpensive wall decor.
Decorate and connect Pringles cans
Clean the Pringles cans first to avoid attracting pests. Since the cardboard-lined tubes can't get soaking wet, dump out the crumbs; a vacuum or compressed air could help loosen particles inside the can. Then, wipe the inside with a cloth dampened with water or diluted vinegar.
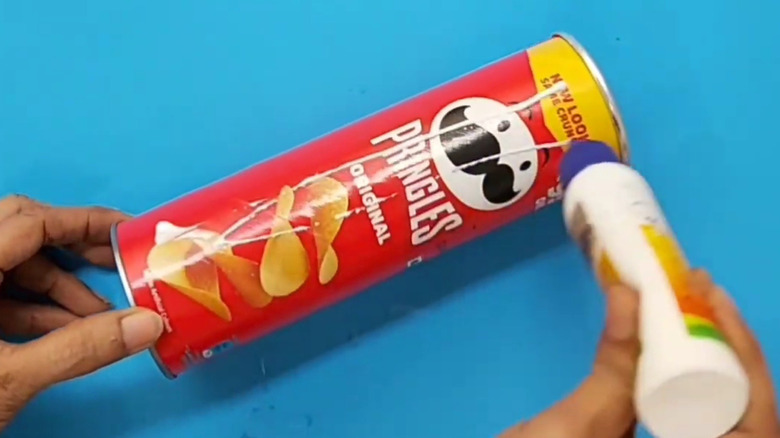
Spray paint the bottom of the can or cover it with the material you're using for the rest of the container. Then, align a large piece of the material with the bottom edge of the can. Use hot glue to attach the edge, and roll the can over the material, cutting it to the right size and hot gluing the other end. Either cut off the excess at the top or tuck it into the open can. Repeat with all of the tubes, using the same material or a different one for each.
Decide how to arrange the cans, and hot glue the sides to connect them. The original uses a staggered design, but you could align them in a straight row, use a random arrangement, or alternate between tall and short tubes. Tuck greenery in the top and hang the display, or continue with other embellishments. You could attach the connected tubes to a narrow plank of wood for a little contrast or attach trim along the top and bottom edges of the cans. Or, skip the flowers and place a mini puck light inside (Pringles cans are just over 3 inches in diameter, so choose smaller lights) to create a DIY wall sconce. Use the finished DIY as a beautiful entryway wall decor idea or hang it in the living room.