

Ditch Metal Racks: Turn Concrete Blocks Into A Durable Shoe Storage Solution
We may receive a commission on purchases made from links.
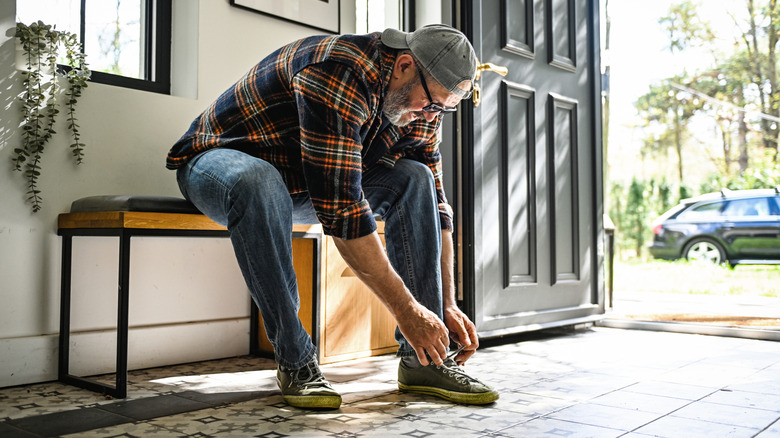
Sure, shoes are necessary, but they unfortunately create a lot of clutter. If you despise having a pile of shoes by your front door, perhaps you've considered using a metal rack to keep them organized. However, a DIY shared by BEHR Paint might have you grabbing concrete blocks and plywood instead. Turns out, you can easily combine the materials to create a durable furniture piece that's perfect for shoes. It's similar to a shelf, which can be kept near an entryway for when people walk in, or inside a bedroom for long-term shoe storage. You can also make it stylish with paint and other additions.
This is an excellent project if you've been looking to get rid of cinder blocks. You'll need six that are 8 inch x 8 inch x 16 inch — a standard size of the building material. Luckily, they aren't expensive if you don't have them already. Home Depot sells Concrete Blocks of this size for less than $2 each. The project also calls for three matching pieces of plywood. They should be 16-inches wide, but the length is more flexible (approximately several feet long). Choose a paint and stain for the materials. For example, Home Depot also carries BEHR Masonry, Stucco & Brick Paint, along with Varathane Classic Wood Stain.
How to make a unique & sturdy shoe shelf out of concrete blocks
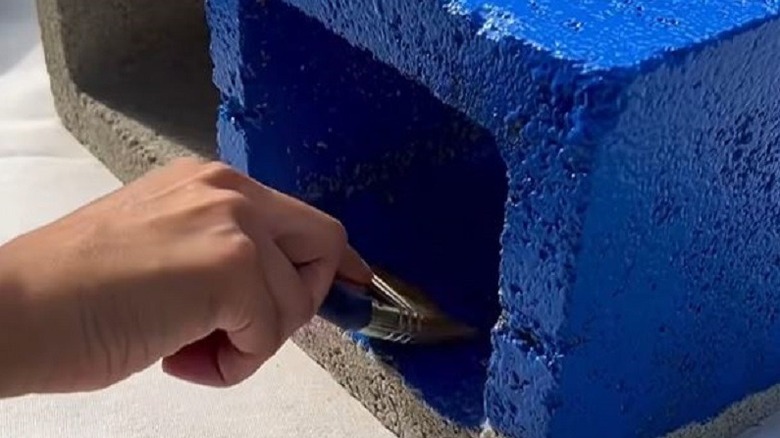
Begin by taking your cinder blocks outside and painting them. Since their openings will be visible, make sure to paint within the holes, too. If your plywood isn't smooth already, sand it with fine-grit sandpaper and wipe away the remnants. Apply the stain, then go over the wood with a rag or paper towel. Allow all of the materials to dry. While that's happening, it's time to prepare the area where you'll be keeping your DIY shoe storage solution. After all, you'll want to assemble it directly in the spot.
First, lay one piece of plywood down horizontally. Place two vertical blocks on top of its left side (one behind the other) with their openings facing forwards. Repeat on the right side as well. Next, set a horizontal wood piece over the concrete blocks. If desired, you could use Liquid Nails Extreme Heavy Duty Construction Adhesive during the assembly, but it should be sturdy even without it. Lay the remaining blocks down on either end of the piece, with their holes facing inward toward each other. Place the final board on top to complete it.
Time to set up your DIY shoe shelf
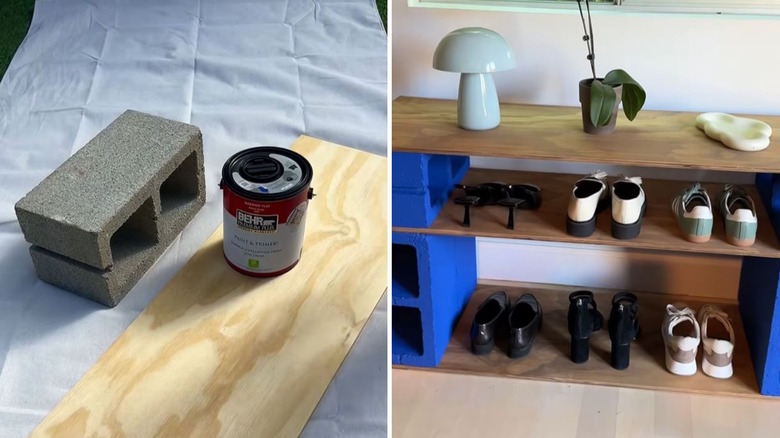
You'll have plenty of options with the furniture piece since it contains three levels. Not to mention, the holes in the concrete blocks could be used as tiny storage spaces, too. Line your shoes up in even pairs so that they look neat and tidy. Just like the DIYer showed, you could use the bottom two levels for footwear storage, then use the top as a surface for decor items. That way, it helps boost the look of the piece while corralling your shoes. For instance, you could add a lovely candle, photo frames, or a small collection of old books. You could also place a DIY doily storage bowl on the top level to hold belongings like keys or jewelry.
Not crazy about seeing the shoes at all? Set baskets or bins on the wooden levels to help conceal them. To keep it inexpensive, Dollar Tree has Essentials Harvest Rectangular Woven Looking Baskets for $1.50 each. Stick name labels to the front of the containers if you want everyone to have their own. Another idea is to store your footwear on just the bottom level. Then, add a tension rod and a short curtain to hide the shoes entirely. However you choose to set up the shoe holder, the beauty is it's a project that shouldn't break the bank.