

This DIY Pallet Project Turns Old Wood Into A Front Porch Shoe Rack Bench
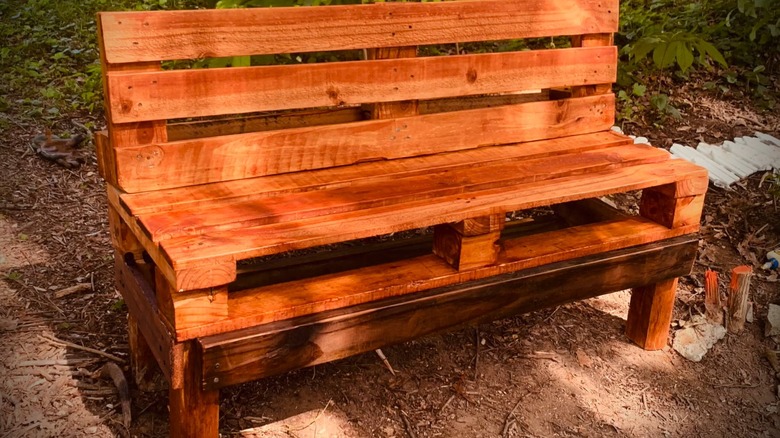
Porch clutter usually starts with one pair of sneakers you swear you'll put away later, and suddenly turns into an unruly pile of chaos. But instead of spending money on a storage rack and a separate place to sit, you can transform three matching wood pallets into one hardworking bench. You may already have all the materials you need at home. This creative DIY wood pallet project can form shelves for shoes, while additional boards create a seat and supportive backrest. Once sanded and finished, the piece provides a convenient spot to lace up while keeping everyday footwear from being strewn about. It makes the perfect addition to your porch, garage, or sunroom.
The most important part of this project is choosing the right material. Look for clean, dry pallets with intact boards, staying away from anything with rot, suspicious stains, strong odors, or damage. You should also check for treatment stamps. "HT" means it's been treated with heat, while "MB" means the pallet was fumigated with methyl bromide, a toxic pesticide that can harm the respiratory and nervous systems on exposure. For that reason, MB-marked pallets should not be reused for DIY projects. From there, the DIY involves cutting and stacking the base, adding a backrest, sanding away roughness, and applying a protective coating. With some paint, stain, and cushions, this practical porch upgrade will feel custom to your home.
Build and Personalize Your Pallet Bench
A shoe bench is one of the smart ways to use wood pallets for extra home storage, but its dimensions should fit both the porch and the footwear it will hold. Follow the golden rule of DIY by measuring twice before cutting once. Also, before you touch the circular saw, inspect each cutting path for nails and put on safety glasses to protect from flyaways. Lay two matching pallets flat and mark identical seat sections, using a carpenter's square to keep each line straight. Position each cut so the finished section has a thick support rail beneath both outside edges.
Next, turn the cut sections so their deck boards face upward and their openings face forward, then pry away any slats blocking access to the future shoe shelves. Stack the sections, clamp their edges flush, predrill the holes, and join them with exterior screws (preferably around 2 inches) driven through the thick supports at an angle. Trim the third pallet to the same width, remove excess boards, and leave two or three front slats to form the backrest. Stand it along the back of the seat and fasten its side supports to the base, adding scrap-wood blocks inside the corners if the joint flexes.
@ednak79 DIY shoe storage bench made of wooden pallets. #momsoftiktok #rona #fyp #foryou #diyproject #momsover40 #FeelTheFlip #foryoupage
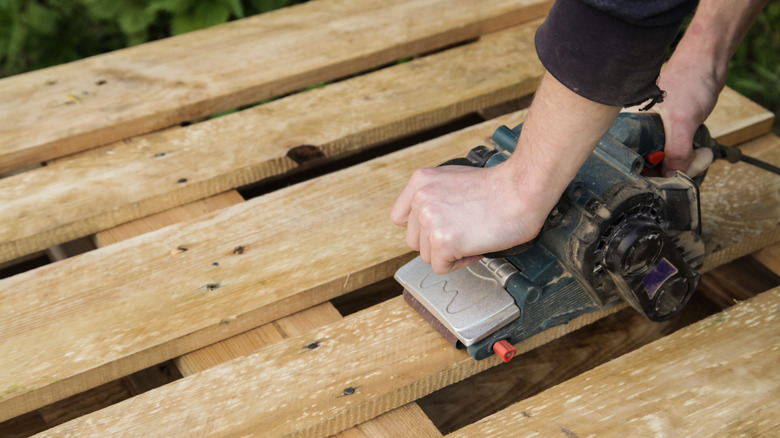
Place the bench on level ground and press firmly on each corner to check for sturdiness before using. Then, sand it down to create a smooth finish you'll actually want to sit on. If it will live outside, coat every face and exposed end with exterior acrylic latex paint or penetrating stain to protect to save your outdoor wood furniture from rotting. Finish it with an outdoor cushion, decorate with plants or fasten two matching units together for a longer bench with more storage.