

How Often You Should Dress Your Bench Grinder Wheels
We may receive a commission on purchases made from links.
There is no denying that a bench grinder is one of the best machines for sharpening bladed tools like chisels, axes, and drill bits. However, a bench grinder's capabilities are only as good as its wheels. And those wheels need to be dressed often in order to help your tools stay sharp and your grinder working efficiently.
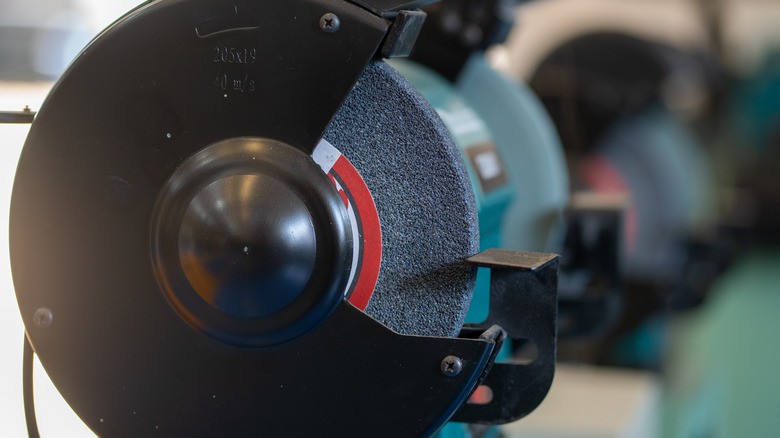
Bench grinder wheels are made from a combination of fiberglass and abrasive grains that are pressed together to form the wheel. When the grinder motor is turned on, these wheels spin at a high speed and create sparks when in contact with metal blades. The sparks will shoot downwards when the blade is dull, but upwards when the blade becomes sharp.
What dressing does is hone the surface of the wheel to get it back to its original abrasive state. How often you do this depends on how extensively you use your bench grinder. It could need dressing after a few hours of continuous use, or every few months if you're not sharpening your tools all that often. The key is to look for signs like uneven or slow sharpening, inconsistencies in the wheel surface, clogs, or overheating. Dressing is designed to fix all of this and get your grinding wheels back to being good as new.
How to dress a bench grinder wheel
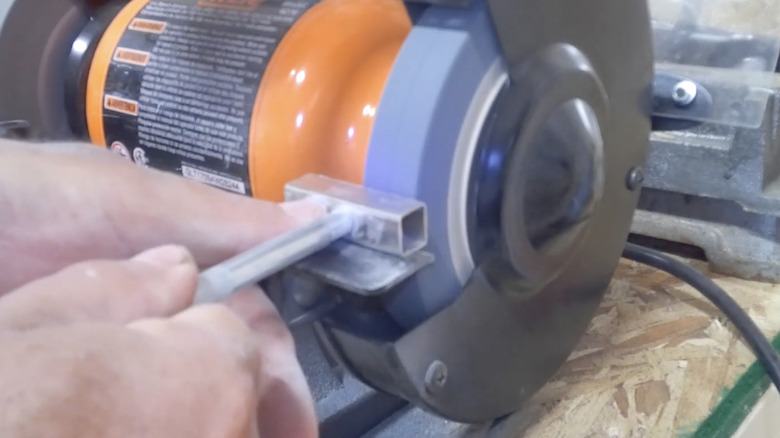
In order to properly dress your bench grinder wheels, you are going to need what's called a wheel dresser. These are small-handled tools with a diamond-gritted bar across the top. They're also relatively inexpensive; you can find one for as little as $8 at Home Depot. The purpose of these is to use the diamond tip to expose a new layer of aggregates and restore an even surface on the wheel.
To dress your bench grinder, first start by drawing a pencil line around the wheel. Next, turn the bench grinder on and wait until it reaches its full speed. Set the dressing tool up against the spinning wheel at a slight angle and apply modest pressure. A fair amount of dust and debris is going to be created by this, so it is critical that you wear a dust mask and eye protection to avoid inhalation or eye irritation.
You can gently move the dressing tool from side to side as the wheel spins. Once the pencil line you drew has disappeared, remove the tool from the wheel and shut down the machine. At this point, you can check for any remaining inconsistencies in the wheel surface. Some minor touch-ups may be needed, but once the wheel surface is restored, you can get right back to sharpening the chisels from your new carpentry tool kit.