

Use Old Doilies To Create Unique Wall Decor With Vintage Charm
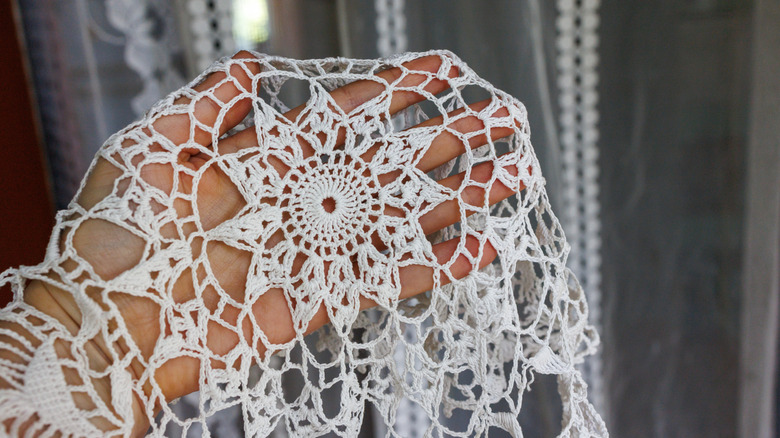
There are many ways to repurpose thrifted vintage doilies around the house. So, when you find a pile of them at the thrift store, snag them! Then, you can transform them into a unique DIY picture frame or wall hanging. In a YouTube video, craft enthusiast Maggie White sews several doilies together, adding layers of batting to add depth, and attaches a black and white photo in the center. While doilies are often associated with the Victorian era, they can also bring to mind the cozy familiarity of your grandma's living room.
With a little creativity, you can use doilies as an unexpected way to display artwork and photographs that you love. Gather at least five or six oval and round doilies for this wall decor project. You may want more, depending on how many layers you want. Other embellishments that work well include beads, imitation pearls, appliquéd designs, fringe, and lacy trim. You can also use patterned fabric for some of the layers if you want to work in some color or contrast. You'll need fabric scissors and glue, or a needle and thread, to hold it all together. Finally, take inspiration from White's video by choosing a photo for the center.
Layer doilies to create an old-fashioned frame
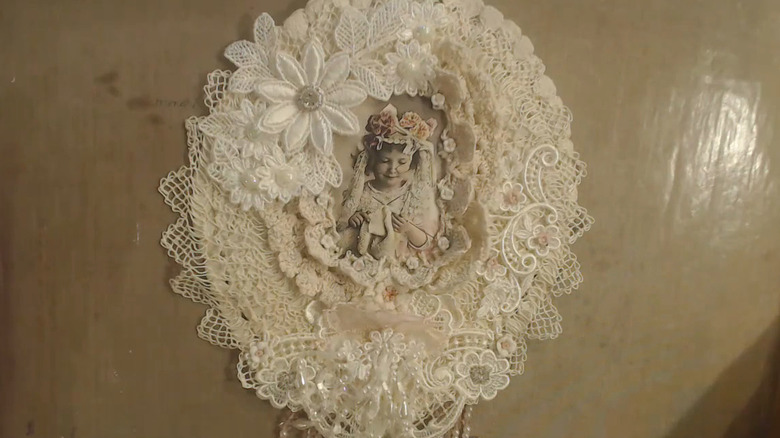
If you're ready to transform vintage doilies into wall decor, the first step is to find your base. YouTuber Maggie White sewed together two lacy ovals with a layer of batting between them. The batting adds thickness, creating a puffed-up effect. For a sturdier foundation, start with a photo backing board and glue doilies over it. You can still add batting for a softer, puffy look, or skip it for a flatter presentation.
With your background in place, layer more doilies on top. Gluing the doilies is the easiest approach, but be careful that the glue doesn't show through the finished layers. Hand-stitching is also effective. Placing gradually smaller doilies as you go lets the lacework of the previous pieces show and helps build the framing effect. Glue your photo in place when you're close to the end. Then, glue or stitch a lacy border around the image to make it look framed. If you're using embellishments, attach them around the frame for more dimension.
Gluing or sewing a ribbon loop near the top of the back of the doily creation makes it easy to hang on the wall. Or, attach an easel frame backing to display it on a shelf or table. If you end up with extras, hold onto them. You might be surprised by how many ways you can style vintage doilies in any room!