

Use Old Drawers And Rope To Create Cute Home Storage With A Smart DIY
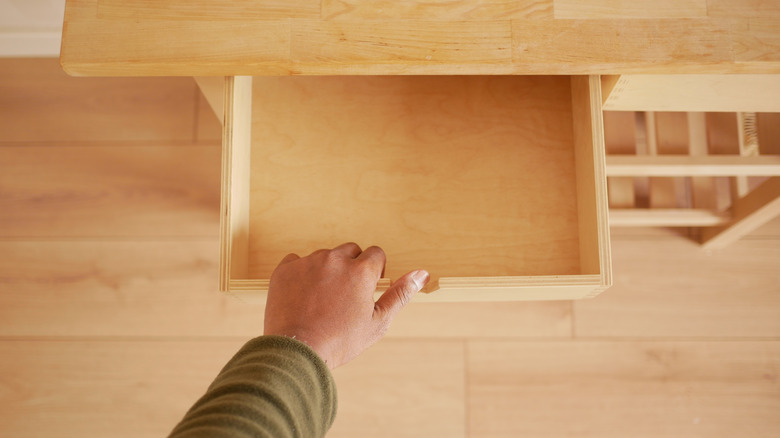
Solid wood boxes are a great way to store bulky items that might damage a lighter-weight container. They can be used to free up cabinet space currently taken up by large toys, firewood, books, or anything else too bulky or heavy for a wicker or cloth basket, and can add a touch of rustic utility to your home. Unfortunately, they also come at a (literal) cost — decorative, heavy-duty wooden boxes are often more expensive than their somewhat less durable fabric or plastic counterparts.
Fortunately, there is a simple solution: Instead of buying a storage box or basket, why not make one yourself with materials you may have lying around? You can create a cute new storage container for your home using nothing more than an old drawer, some rope, and a can of paint. That unused kid's dresser or damaged cabinet sitting in the garage could have the perfect drawer. If you don't already have leftover desk or cabinet drawers lying around, check online at places like Craigslist or Facebook Marketplace, or at a local salvage store like Habitat for Humanity. In no time at all, you will have a brand new box (or several) that makes for stunning storage with a dash of vintage charm.
Drawers don't need to be in dressers to be functional
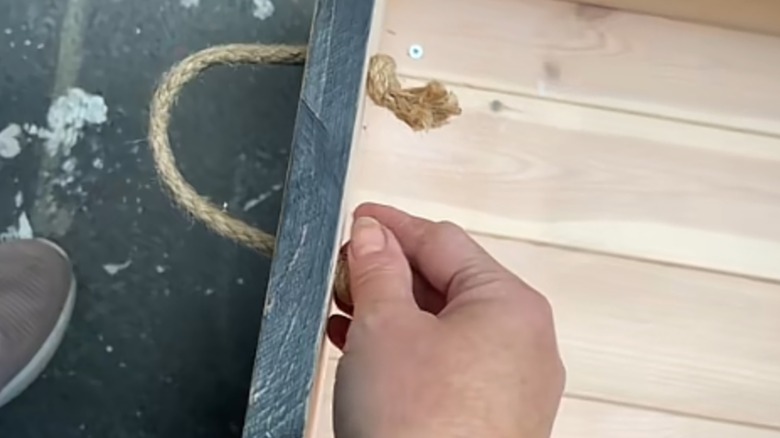
This simple DIY project, shared by kerryrose_home on TikTok is another genius storage solution you can DIY with an old drawer. The first step involves using a hammer to remove the facade from the front of the drawer, if it has one, leaving you with the plain box. Using a drill, make holes just large enough to thread the rope handles through — two holes on one side and two on the other. You may also need to remove drawer tracks on the sides or bottom. Finally check to make sure there are no nails, screws or staples sticking out of the wood.
@kerryrose_home I used an old drawer and knicked the frint section off . Painted it in black chalk paint and added a stencil detail . Drilled holes for string handles and popped fancy feet on . This was destined for the dump but i flipped it and sold it in my vintage shop ! Cute eh ?? What do you think ? #upcycle #homedesign #makeit #craftit #paintit #homeinteriors
Once everything extra has been removed, lightly sand the box inside and out to remove splinters, smooth rough spots, and buff up any existing stain or paint. Now it's time to paint your new storage box. For a more textured or distressed, farmhouse chic vibe, go with chalk or milk paint. If you are looking for a more durable, smooth finish, an all-in-one acrylic or an enamel paint that doesn't require a primer is your best bet. Depending on your paint choice, wood type, and any existing stain, you may need more than one coat of paint. Once the paint is dry, you can add more decorations like stenciled flowers or words, colorful stripes, jute rope, or whatever works with your aesthetic.
Putting the finishing touches on your new storage box
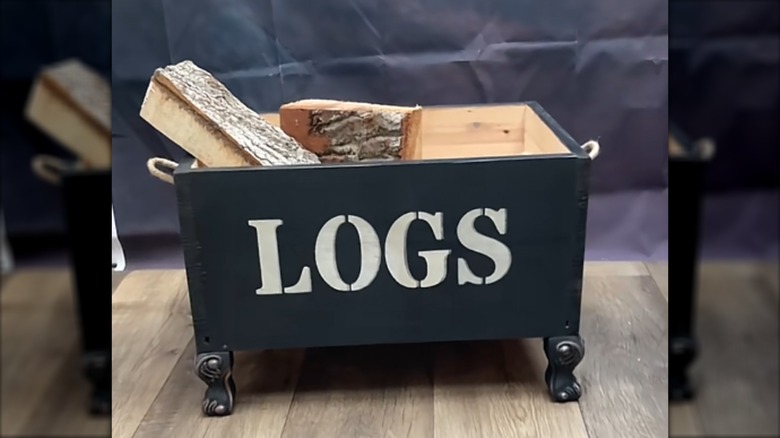
With that done, you can go ahead and attach handles by threading rope through the holes you made and tying knots on the inside to keep the rope from pulling back through. If you have trouble getting the rope through the hole, tape the ends to make it stiffer and easier to thread. Don't like rope? You could also use strips of fabric or leather, or lean into the upcycled drawer vibe and add distinctive metal drawer pulls.
While you could stop here, the original DIY adds a bit of extra flair by adding feet to the bottom of the drawer. Depending on where you plan to keep your new storage box, this may or may not be practical. But if you like the look and you're not planning on sliding it anywhere narrow or precarious (like a cubby or a shelf), adding furniture feet, wood spheres, or casters is the perfect finishing touch. Look for "decorative brass furniture feet" at a local hardware store or online. There are plenty of styles, and in most cases the installation isn't more difficult than simply screwing your chosen hardware set into pre-drilled starter holes in the base. If you want to take things a step further, consider lining the inside of your new box with fabric — spray adhesive works well for this. Alternatively, you could use Mod Podge and decorative napkins to give the inside of your basket a fun, peekaboo decoupage.