

Not Traditional Shelves: The Genius Storage Solution You Can DIY With Old Drawers
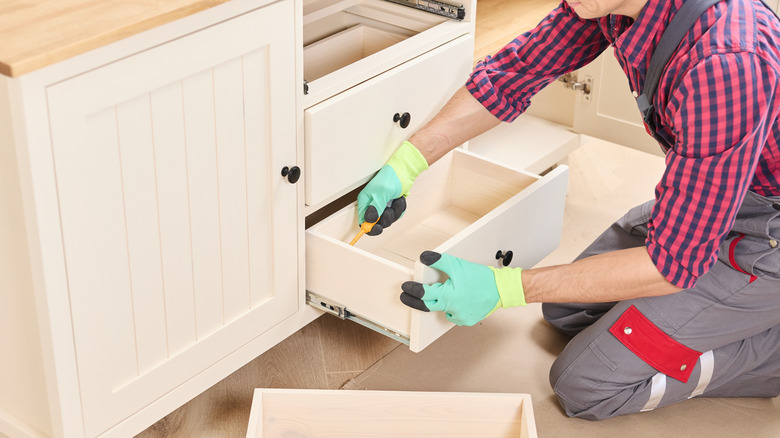
We may receive a commission on purchases made from links.
Furniture doesn't have to blend into the background. A unique piece can serve as a focal point, highlighting your personal style and serving as a point of interest in a room. DIY a contemporary shelf that shows off your style and provides storage space by following TikTok user diywithshantelle's brilliant shelf design. Their idea stacks multiple drawers on top of one another in a staggered fashion to create an eccentric storage spot for home decor and essentials.
This idea is larger than most DIY storage ideas, like the whimsical Dollar Tree storage shelf. The original creator didn't design a countertop or tabletop accent; this is a bookshelf-sized display that will take up considerable space. It requires a wide repertoire of tools, however, many of them are commonly found in households. You may already have many on hand, including screws, a chisel, a drill, a hammer, a sander, leg brackets, and trigger clamps. Ensure you also have wood filler, wood glue, and Gorilla glue, which are necessary for a sturdy finish.
The goal of this DIY is not to look like traditional shelving. Copy the original DIYer's 3D sun design that used a round sign and wood trim, or come up with an original alternative pattern. You'll also need a set of four legs to elevate the drawers, and spray paint and acrylic paint as a final touch. Keep in mind that this idea is only clever if done safely. Don't attempt it with a worn-out furniture piece that isn't worth upcycling.
How to craft a stylish storage shelf from old drawers
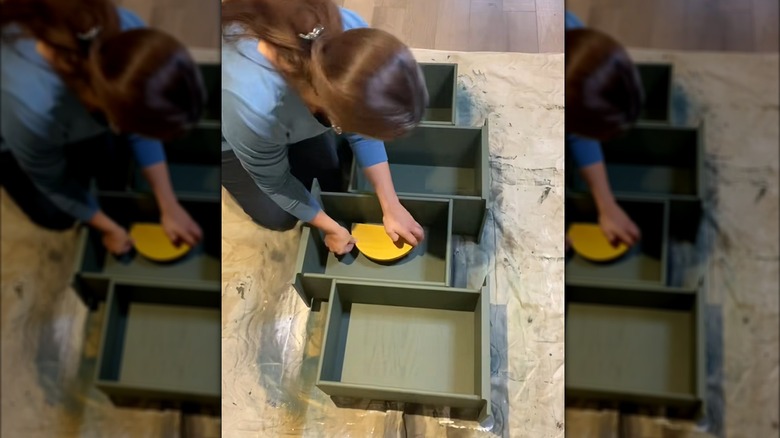
Start by pulling four identical drawers from a dresser or old cabinet. Use anywhere from two to four drawers, but don't go any higher. Too many drawers will make it top-heavy, requiring extra hardware to make it sturdy and safe. Map the design by staggering them on top of one another, with their open side facing out, and mark their placement with a pencil. Follow diywithshantelle's process by drilling two holes into each drawer side. Screw and glue them into place so they're extra reinforced. Use clamps to ensure they don't slide out of place, and also add furniture pads as an extra cushion to protect the soft wood. Wait up to 60 minutes for them to dry while clamped.
After this step, the TikToker goes back and forth with using wood filler and sanding down her project at different times throughout the process. Cut down on some of the back-and-forth by prying off the drawer slides with a hammer and chisel before getting started with the wood filler. Once these pieces are off, use wood filler to cover any damaged sections as well as the gaps left from the removed slides. Sand as needed to remove excess wood filler and give it a more rustic aesthetic, and add a paint or stain that befits your interior. Repeat this process with each drawer as you build up.
@diywithshantelle What do you do with a bunch of dresser drawers without the actual dresser? You turn it into a cool shelving unit that you would never find at a store. Upcycling is the best way to fill your space with unique pieces. Follow me for part 2 and if you love DIY of course 😉 #diy #diyshelf #diytutorial #upcycledfurniture #decortutorial #howtodiy #tutorialtiktok #furnitureflip #diyfurniture @Shantelle Canzanese
The final step is to add legs and embellishments. Omit extra accessories for a more modern aesthetic, or add wood pieces to give the finished shelf more depth and texture, such as MUXSAM Wood Appliques for an ornate look. Your chosen accents can help break away from the look of traditional furniture to create shelving just as unique as your space. If you plan to fill the shelf with heavy objects, or you have youngsters or pets, consider anchoring the shelf to your wall using a kit like the Booda furniture anchors from Amazon.