

Use Old Skateboards To Create Budget-Friendly Storage With This Clever DIY
We may receive a commission on purchases made from links.
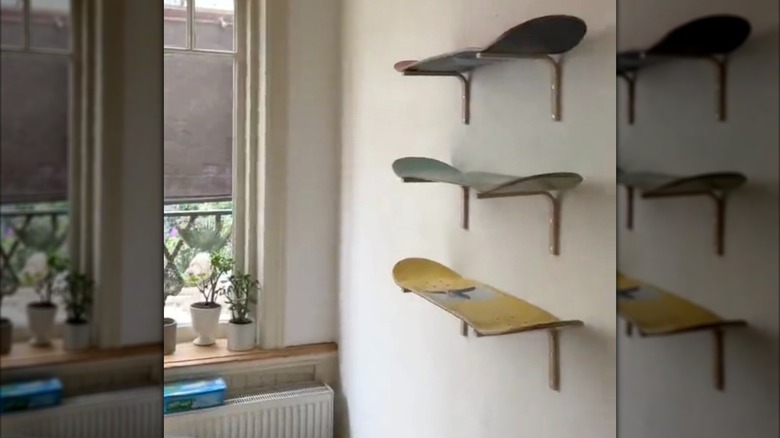
Do you have a spare skateboard or two in your garage that you're not using anymore? You might want to think twice before throwing out or donating them. With a little bit of creativity and a couple of common household tools, their decks can be converted into unique floating shelves that showcase a little bit of your personality. You'll need to remove the trucks and the grip tape from the wood before using it, which will be the trickiest part. But once that's done, you can simply get some L-shaped brackets, attach them to your wall, and place the boards on them. This storage-minded DIY includes plenty of opportunities for customization, and shouldn't come anywhere close to breaking the bank. You can use as many or as few skateboards as you want, and configure them on the wall however you see fit.
To complete this project, you'll need either a heat gun or a hair dryer for loosening the grip tape, plus a hobby knife and a skateboard T-tool. Depending on the current condition of your old board, you may want an electric sander for smoothing out its surface. You can order L-shaped brackets online from sites like Amazon. Make sure the ones you pick have a horizontal run that's approximately as wide as your skateboard, so that they fully support it and the objects you store on it. The basics of installing floating shelves may also be worth reviewing before getting started. You should ultimately be ending up with a stylish storage solution that can reduce living room clutter.
How to make floating shelves with old skateboards
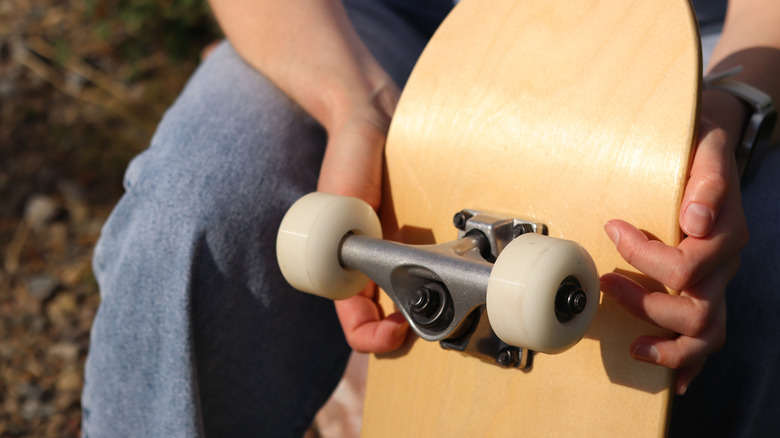
The first step of this DIY is to remove the trucks from your skateboards. This includes taking off the baseplates, hangers, axels, and wheels. You can do this by hand with your T-tool. Once you're left with just the decks of the skateboards, you can turn your attention toward removing the grip tape. Heat the corners of the tape first, around the nose of the board, with your hair dryer or heat gun. Then, carefully peel up the edges with the help of a hobby knife. Take care not to scratch the wood too much — after removing a few inches of the tape, you should be able to peel the rest off by hand. Once that's done, you can use a product like Goo Gone Adhesive Remover Spray to get rid of any lingering sticky stuff. From there, consider sanding down the boards to give them a finished feel. At this point, you can also paint the decks to give your shelves more unique aesthetic flair.
Next, measure and mark the points on the wall where you're going to affix your L-brackets. A laser level will make this easier. Once the brackets are up on the wall, you can simply place the boards on top of them to finish off the shelves. If you're worried about them slipping when you store stuff on them, drill holes in the tops of the boards that align with the bracket's holes, and thread wood screws with metal nuts through them. Next up, you can try turning old wood pallets into extra home storage on a budget, too.