

She Shares Her 'Secret Formula' For Giving Dated Wood Furniture A White Oak Upgrade
Do you own some ugly (or just out-of-fashion) furniture? The reason some otherwise sound furniture looks dated and funky could just be its finish. Perhaps the finish is cracked and flaking away. It might be painted an out-of-trend color or have an orange hue. (Good Lord, not orange!) The furniture itself may be solid and even attractive, but the finish is ruining its value.
Online DIY influencers have developed a depth of content dealing with just such problems, teaching how to get a new and updated look ... most recently the white oak look. In fact, the TikTok handywoman at Surry Place has even developed her own secret formula (whitewash plus Minwax Weathered Oak and Provincial) to help you achieve the white oak look. She breaks a few traditional rules in the process (mixing the white stain with dark stains), but you cannot argue with the results. In truth, there are many ways to deal with a dowdy finish, but let's face it, who can resist a secret formula? (Apparently becoming less secret ...)
One important point of clarification is that the "white oak look" is a finishing trend that applies a medium dark stain (the "oak" hue in this finish) and then adds a white stain (often called a pickling stain) to add whitewashed highlights (the white part of the white oak look). This is not to be confused with actual white oak lumber, which is a medium tan color when a clear coat finish is applied.
The secret formula for the white oak look
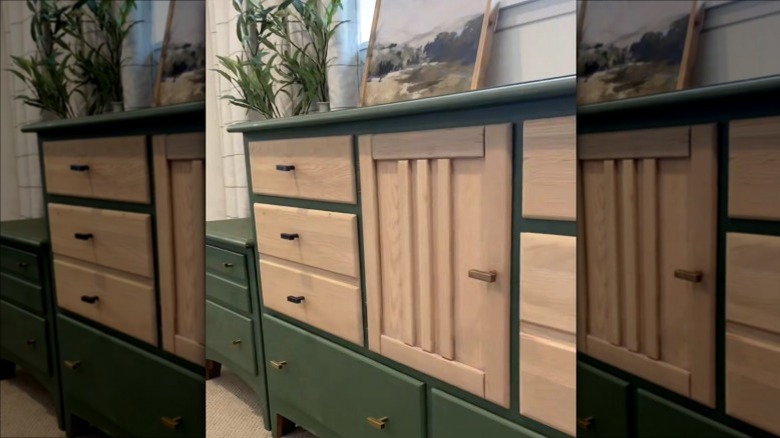
As stated, her formula has three parts: Old Master's Pickling White, Minwax Weathered Oak, and Minwax Provincial. She mixes them all together with equal parts Pickling White and Weathered Oak, and a ¼-part Provincial. You may wish to add more of one color or another to get your desired look. It's important to note that these are all oil-based stains. You can't combine water-based and oil-based stains. It will just make a mess. It should also be noted that she uses her formula on raw wood. For existing furniture, she sands the finish away. Therefore, Surry Place also uses a fourth component of her formula, an oil-based pre-stain. Pre-stains are used to prevent blotching when you apply a dark-colored wood stain to bare wood. Follow the directions on the pre-stain can, but usually you flood it on, wipe it off, and then apply your stain over the top of the still-wet pre-stain.
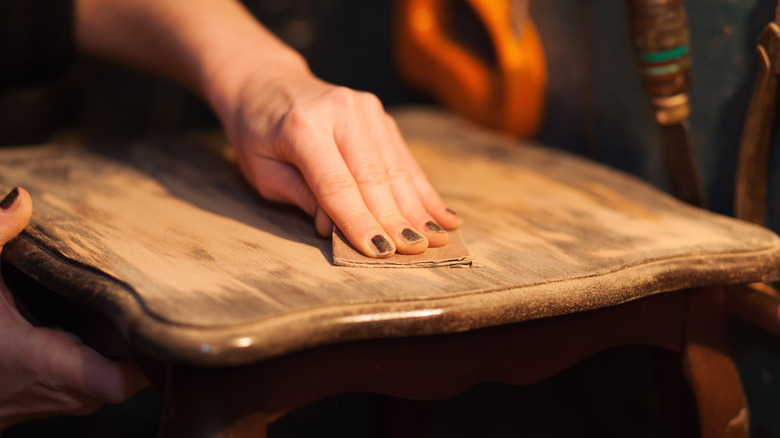
Her application process for her secret formula is this. First, sand away any existing finish from where you will be applying the stain mixture. Removing finish works best with coarse sandpaper, but to get a good finish, you'll need to sand up through the grits to at least 220-grit. Using proper sanding technique will get the job done quickly. Mix your stains together and try it out on a hidden area to see if the color is pleasing to you. If so, apply the pre-stain, then wipe on the stain mixture. Wipe away the excess with a separate cloth and allow it to cure. When it's dry, apply at least two coats of clear, water-based polyurethane. Congratulations, you've updated your piece with a white oak look.