

Turn Simple Wood Planks Into A Beautiful DIY Privacy Screen
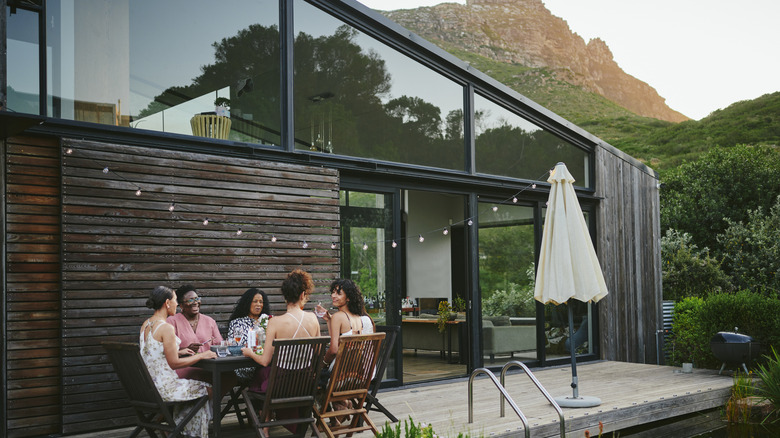
An open patio or deck can feel a bit like a stage, with you as the headliner. That's not always the vibe you're going for when you just want to enjoy a relaxing meal outdoors or have intimate conversations with friends. And that's why there are so many privacy screen ideas, like the easy portable DIY privacy screen that adds style and seclusion to your yard. Instagram creator Shayna Alnwick shared a simple idea that seems obvious but looks high-end and well thought out. She attached wood planks horizontally between two wood support posts for the deck above to give her lower patio a secluded feel. And while she left gaps between the planks, the design still gives that privacy you want for an outdoor space.
This project is easiest to carry out when you have a seating area underneath a tall wooden deck. That way, you can copy the original design by nailing the planks to the supports that are already there. It could also work on a front porch or covered patio with similar supports that would allow you to screw in the boards. If you don't have either of those, you can add separate support posts for this project.
The original DIY uses 1-inch by 6-inch boards as the main screen component. You can use that same size or choose wider or narrower planks based on the look you want. Or, use a mix of dimensions and vary the sizes from top to bottom, creating a predictable pattern of widths or mixing them in randomly. This project is a good way to use scrap wood if you have enough boards on hand. You'll also need a drill — something like the Avid Power 12V Cordless Drill would work — screws, and stain or paint for this creative privacy screen idea.
Build your privacy screen from wood planks
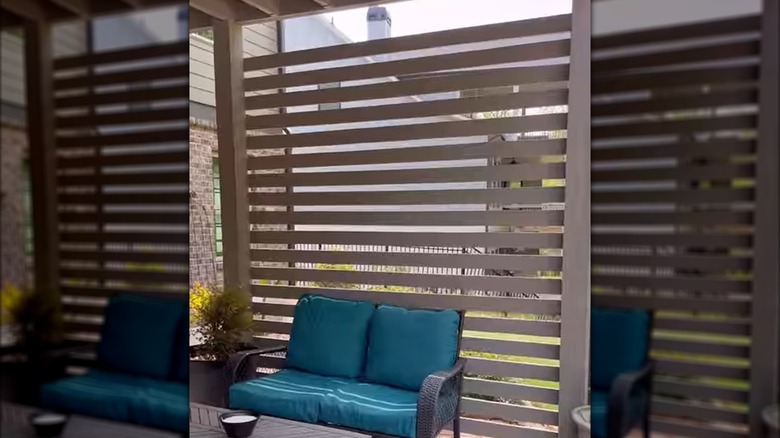
Decide on the layout of your privacy screen first. Horizontal planks are the easiest to cut and attach — you just need to make straight cuts to get the correct length and attach them to the posts. To maximize privacy, run the planks from the top of the posts to the bottom. For a cost-saving option when you don't need extreme privacy, stop the plank privacy wall at about the halfway point of the post height, or slightly over that point. Decide on the gap spacing — using a board the same thickness of the gap as a spacer makes placement easier if you want a uniform look.
You can also vary the layout. You might place the planks on the diagonal, for example. This option becomes more complex because you'll need to cut the ends of the boards at an angle, too. You'll also likely need to attach a horizontal support beam at the bottom and possibly at the top since some of the boards won't reach the upright posts. Once you decide on the design, pre-drill holes and screw the planks in place.
Painting or staining the boards gives your privacy wall a little color and personalization. Consider the other wood finishes in your outdoor area to choose the right shade. The planks can be used to support vining plants if you want something natural to fill in the gaps, or use faux vines, like the Freyalife Fake Vines for Room Decor, with string lights for a maintenance-free gap filler. You can also add small shelves to the wall for decor or lights. Or, hang potted plants from the boards to create a vertical garden that also adds extra privacy.