The Easy DIY Privacy Screen That Adds Style And Seclusion To Your Backyard
We may receive a commission on purchases made from links.
A private outdoor space at home makes your backyard feel even more like a place to relax and unwind. If you don't have hedges or a tall fence to make your yard feel more private, however, it may feel like you're under constant watch when you're out enjoying your patio. One simple DIY solution won't involve plants or permits, looks attractive, and can be put away when you're done using it. A portable privacy screen made from large outdoor rugs and wood offers a more secluded space to enjoy iced tea with friends or to work outside on a lovely afternoon.
This project can be as simple as making a frame and stapling the rugs to it. The screen can show off a bit of personal style, based on the colors and patterns in the rugs you choose. It can tie the look of your entire patio together, blending in with other design elements in your outdoor living space. As an added bonus, it folds neatly away for compact storage when you don't need it.
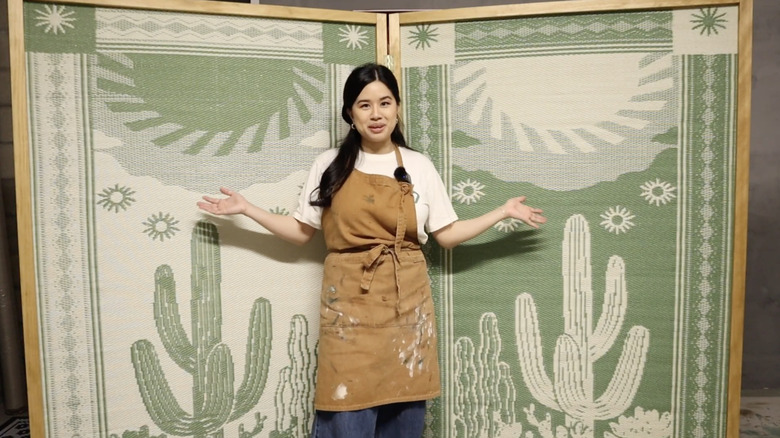
Outdoor rugs come in just about any style imaginable, so it won't be difficult to find some that fit your budget and your aesthetic. The best outdoor rugs for this project are attractive, durable, easy to clean, and rectangular or square. You'll need two that match or that pair well together that are at least 4 feet by 6 feet. If the rugs are reversible, your screen will look nice on both sides. TikToker tinalemac made hers with two panels, but you could build a larger one with three or four panels using the same number of rugs. Each rug, when framed, becomes one panel of your privacy screen, and note that you'll also need a pair of hinges between each set of panels.
Building a portable privacy screen for your yard
To make panels for your screen, purchase 2-inch by 2-inch boards, which often come in 8-foot lengths. The thicker the boards are, the heavier the screen will be. The exact number of boards you'll need depends on how many panels you're making. The goal is to have each rug cover its frame without wrapping around the edges. Cut the boards to size, then secure them together with screws and wood glue. Protect the wood with an outdoor-rated stain, sealant, or paint. Let the frame dry for several hours or as long as recommended on the label, otherwise the finish may be damaged.
@tinalemac If you're looking to add some privacy to your outdoor space this summer, this project will only take you a weekend and won't cost you a small fortune in lumber! I wanted to find an easy solution for my patio that was lightweight enough to move around. So when I saw these woven mats at World Market, I had the idea to use them vertically and worked out even better than I thought!! It also doesn't hurt that it makes such a backdrop too 😍🌵 #diyhomedecor #balconymakeover #patiomakeover #privacyscreen #foldingscreen #diyhomeprojects
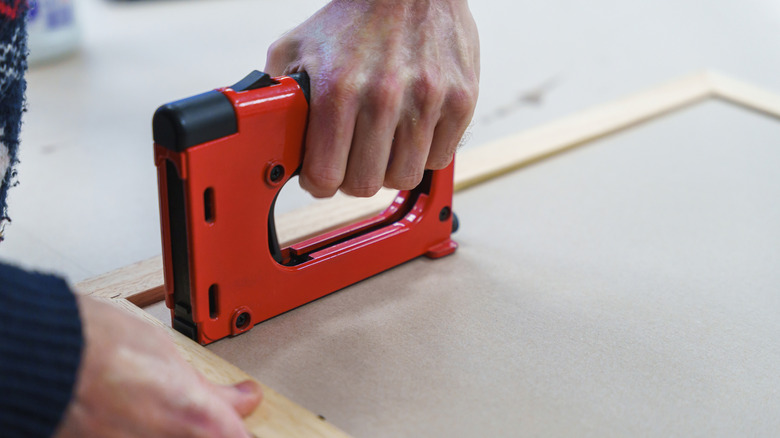
Staple each side of the stretched rug to all four sides of the frame, then repeat the steps for additional panels so that the rugs cover their respective frames. Add narrow hinges to connect the frames and ensure that the hinges let the screens fold inwards, if that's what you prefer. Adding sturdy shelf brackets to the front and back bottom outer edges can help a two-panel screen stay upright, even in a slight breeze.
Set up your DIY screen whenever you seek solitude. It can be taken down when you don't need privacy, which makes it a neighbor-friendly fence, too. Going the DIY route means your screen can be customized to have multiple panels or have a color scheme that matches your patio set. You could even swap out the rugs from time to time if you'd like a different look. Keep the screen tidy by wiping the frame down with a slightly damp cloth. Vacuum the rugs regularly to remove pollen and dust. Though the screen is fairly weatherproof, it's a good idea to store it in a protected area during high winds or during wet weather.