

How To Paint Kitchen Cabinets Without Brush Marks
We may receive a commission on purchases made from links.
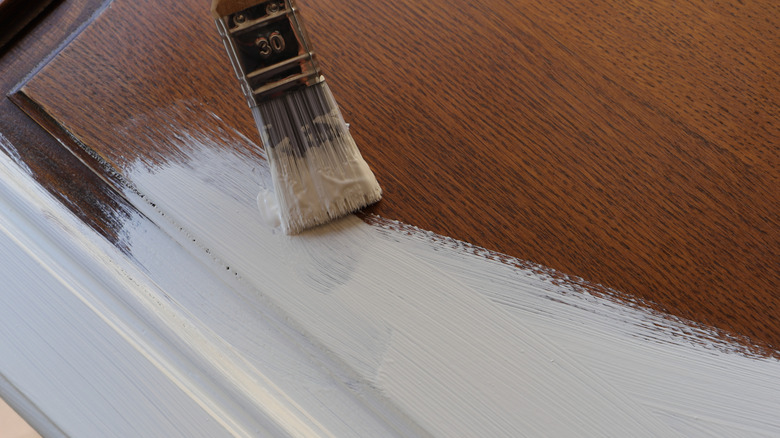
As a professional woodworker, I understand why some folks like the look of painted kitchen cabinets, and I especially understand that painting those cabinets is a great DIY option for upgrading your kitchen. The good news is that DIYers can get great brush-mark-free results if they just follow a few basic steps outlined below. Along with using quality brushes and paint, surface preparation is the key to any type of finishing — the smoother the surface, the better the results. Personally, I'm convinced that letting wood be wood is the best and most beautiful option for kitchen cabinets, but my vote only counts as one. I'm assuming here that we are talking about painting existing cabinetry, but the principles are the same if you are starting with raw wood on newly made cabinets.
For already painted cabinets, start by doing a deep clean with something like Trisodium Phosphate (TSP). You need to get rid of any grime or buildup that will harm paint adhesion. Take the doors and drawer fronts off the cabinets and remove all of the hardware. Examine the surfaces and edges of your cabinets. If there are chips, cracks, or surface fractures, they need to be filled and sanded smooth. Now it's time to sand all the surfaces that will be painted. Proper sanding technique is important here. For surfaces that are already smooth, I like to start with 150-grit and work up to 220-grit. As counterintuitive as it may be, paint sticks better to very smooth surfaces than extremely rough ones. If the existing surface is badly damaged, you'll need to strip the existing finish and sand down to raw wood. You should then employ a primer as a first coat.
Flowing on the paint
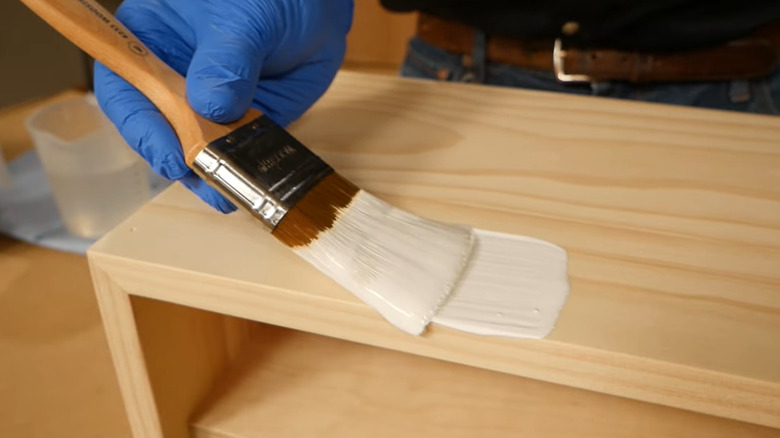
Although the prep is the same for most methods, here we are talking about using a paintbrush. There are two critical components you'll need to eliminate brush marks: a high-quality paintbrush and high-quality paint. They're more expensive than their bargain-based brethren, but without them, you're fighting an uphill battle. The next important component is proper brush technique. A paintbrush has bristles mounted into a handle, and they are shaped so there is a "well" where paint is held when you "load" the brush. Start by dipping the brush into the solvent of the paint you are using. For latex, it is water. Soak the bristles and then squeeze the water out. Dip about 1/3 of the brush into the paint and tip off any drippy extra on the outside of the bristles. Take the paintbrush to the surface you are painting, hold it at about 60 degrees to the surface, flex the bristles against the surface, and move the brush in a slow, steady pace as you apply the paint. You'll see the paint flow out of the brush and "pool" behind the bristles on the surface you are painting. No primer is required if you are painting over an existing finish.
As the paint lies on the surface, it should flow, and any brush marks should disappear. If they remain, you'll likely have to thin the paint a bit. You could also choose to use an additive like Floetrol – a product that, as its name implies, helps paint lay down flat. It will take a bit of gloss off the finish, which is a downside. While you can't do it with the cabinet carcasses, paint the doors and drawer fronts while they are lying horizontally. That encourages the paint to level and eliminate brush strokes.