

Save Your Money: DIY A 3-In-1 Deck Box For All Your Outdoor Storage Needs
There are few storage solutions for outdoor living spaces as practical as the deck box. These containers are handy places to keep items such as cushions, blankets, gardening supplies, and extra string lights. And though you can easily buy them at big box retailers such as Home Depot or Lowe's, there's also a creative way to build your own that doesn't involve spending quite as much money. The original design for this build comes from MicroProSienna on YouTube and uses just a couple of varieties of scrap wood, some deck screws, and a few crown staples. What sets this DIY apart from others is how multi-functional it is. Besides its storage compartment, it also has a raised tray for small plants and a flat lid that can serve as an effective coffee table. This last feature is especially handy whenever you want to sit outdoors and perhaps observe some of the stunning landscaping trends that are taking over this year.
Assembling this deck box isn't an overly complicated affair; you might find that the hardest part of the project is procuring the necessary wood scraps if you don't already have them in your garage. You'll need a couple of long two-by-fours, plus a stack of one-by-six fence boards, and a few four-by-six deck boards. Cedar and cypress woods will work well, and most forms of treated lumber are also a good choice. What you're aiming for is a material that offers some rot resistance since the box is going to stay outside most of the time. The completed DIY can be a small part of these desk design ideas that completely transform your outdoor space.
How to build your multi-functional deck box
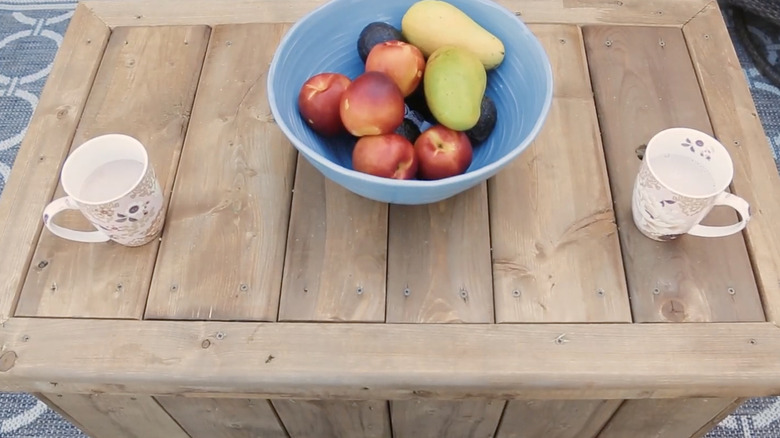
First, assemble your outdoor storage box's frame using your two-by-fours. Cut four of these down to 17 inches in length, four to 11½ inches, and four to 29 inches. The first of these sets makes up the corner legs. The other two sets are horizontal braces for the sides. Attach the legs to the ends of the longest braces first, at a 90-degree angle, with braces at the top and bottom of each leg. Repeat the process with the short boards at a perpendicular angle to finish off the frame. Next, attach two-by-fours to the shorter interior sides of the frame, midway up, to create a ledge for an interior shelf. Use a level if possible. From there, cut your fence boards down to 18⅝ inches, and put them on top of the bottom braces to make the bottom of the box. Once that's done, attach 20-inch fence boards to the outsides of the box with crown staples on all sides.
Now consider fastening more thin scraps of wood to the top and bottom of the box to create an exterior trim. This step is technically optional. Attach interior trim around the top of the box, too. You'll next strap together some four-by-six deck boards with scrap wood to create a removable shelf that sits on the inside of the box. Finally, use more of your deck boards to make a lid, with a couple of wooden rails running lengthwise on the underside. Drill a hole in the lid or install some cabinet handles on either side to make it removable. You'll end up with a smart storage solution for outdoor clutter.