Goodbye Clutter: Here's A DIY Solution That Turns Scrap Wood Into Useful Storage
Cutting down on clutter in your home isn't just about sorting through your belongings and getting rid of things you no longer need. It's also about finding a permanent home for small items that have a habit of reappearing on your countertops, side tables, and desk. You don't necessarily need to spend money on organizational products in order to do this. If you have some spare pieces of scrap wood and a couple of other staple tools, you could follow the example of hautehouselove on TikTok and make a handy storage caddy that'll help you store all sorts of miscellaneous objects. This DIY project is very approachable and especially suitable for beginner woodworkers. It simply requires you to cut your scrap wood down to a length that suits you, and then glue, clamp, and nail the pieces together into a rectangular box. Fit dividers into the middle of this box, and you'll have the perfect tool for tidying up just about any space.
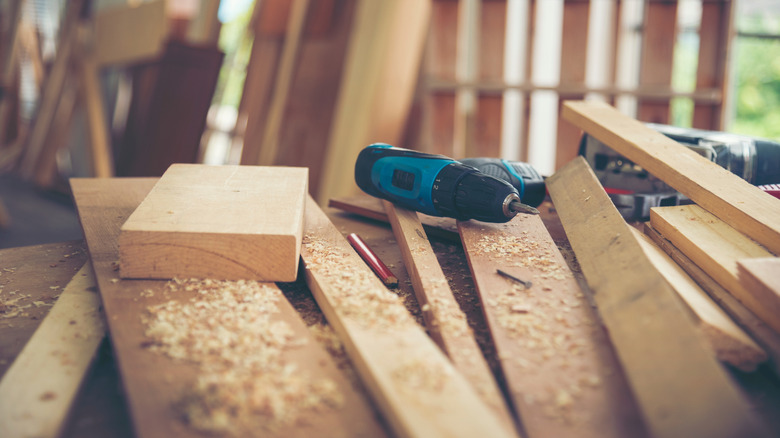
For the bottom of the box, you'll need a 1-inch-by-6-inch board. For the sides and the dividers, you can use 1-by-4s instead. In terms of tools and other supplies, you'll need some wood glue, F clamps, corner clamps, and a brad nailer. A tape measure might also be handy. The completed project could be great for organizing your bathroom countertop or the workbench in your garage. The functionality and rustic look of the caddy also make it a smart storage alternative for small kitchens. You could even fill up your caddy with accessories, keys, and mail to make it a space-saving solution for an entryway.
How to assemble your DIY caddy from scrap wood pieces
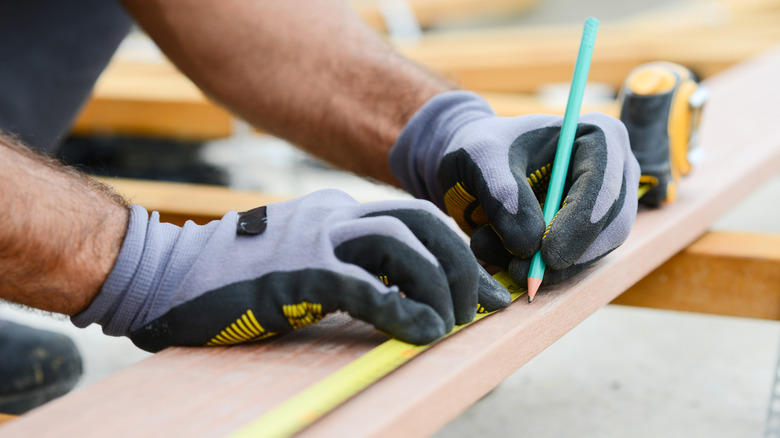
Your 1-inch-by-6-inch board will be the base for your caddy box from edge to edge. As a result, you'll need to cut your 1-by-4s so that their length and width match. Consider the type of joint that you'll use in the corners before making your cuts as well. You can either follow hautehouselove's lead and link together the sides of the box with square butt joints or miter the edges of the side pieces at a 45-degree angle to make mitered butt joints. The latter will require either a miter box or a miter saw, but will likely look much neater. Once you've prepared all of your boards, use your wood glue and F-clamps to join the sides of the caddy. After it dries, you can then brad-nail the edges together for extra hold. Pocket screws along the outside of the box are a stronger alternative option here when working with square butt joints, but you'll have to fill and sand the resulting holes for aesthetic reasons if you use them.
@hautehouselove It's a storage caddy! What should we build next? #woodworking #diyproject #build #easydiy
After assembling the sides of the caddy, glue down the bottom panel. When it's dry, fasten it into place with more brad nails. Flip the project over, and glue in dividers to create compartments within the box. Use your tape measure to ensure that they're evenly spaced, and use your square clamps to hold them in place while they dry. You can customize your brand new caddy with paint and primer, or color it with a magic nails-and-vinegar wood staining hack.