Turn Empty Soup Cans Into Bottle Storage With This Clever DIY
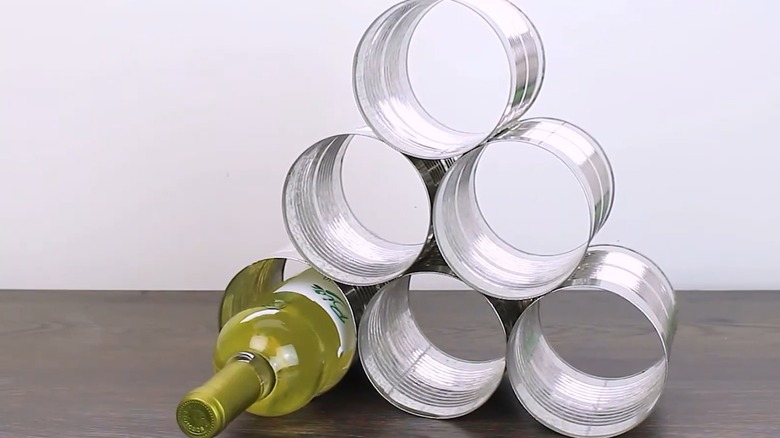
There's no reason to toss old soup containers when there are many genius ideas to repurpose metal cans around a house. Instead of washing and recycling a family-size soup can, hold onto it for a unique but clever home storage solution. All you need are three empty metal tins to start a triangle-shaped and multi-tiered bottle rack for countertops. The diameter of soup cans matches up close enough to most standard wine bottles, so they can be used as individual storage pockets.
Like the adorable DIY that turns empty cans into craft organizers, this idea has infinite customization potential. The YouTuber Homedit ® doesn't add any additional decor to their project, so the bottle rack has a modern, industrial look. However, you can pick up additional materials to accessorize your piece, such as paint, twine, decoupage, peel-and-stick paper, and other stick-on embellishments. Aside from the optional embellishments, this clever DIY only requires a single tool: a hot glue gun.
This idea is especially smart because it's so straightforward yet practical for organizational purposes. You can add on as many soup cans as needed, building up the organizer as your personal wine collection also grows. It can also be used for storage beyond a wine rack. Stow kitchen utensils, rolled-up towels, and even kitchen ingredients. The round pockets are perfect for tucking in various bottles filled with vinegar, oil, and other cooking sauces, and you can slide it into any corner, putting these items within easy reach for recipes and meals.
How to make a customized bottle rack from soup cans
This simple DIY storage solution will keep countertops clutter-free in just a few steps. Start by completely removing the top and bottom of a soup can with a can opener. Be sure to sand down the sharp edges by rubbing them with a small hammer, metal file, or rotary tool. Also thoroughly clean all the food debris and sticky labels off of the can using hot water and dish soap.
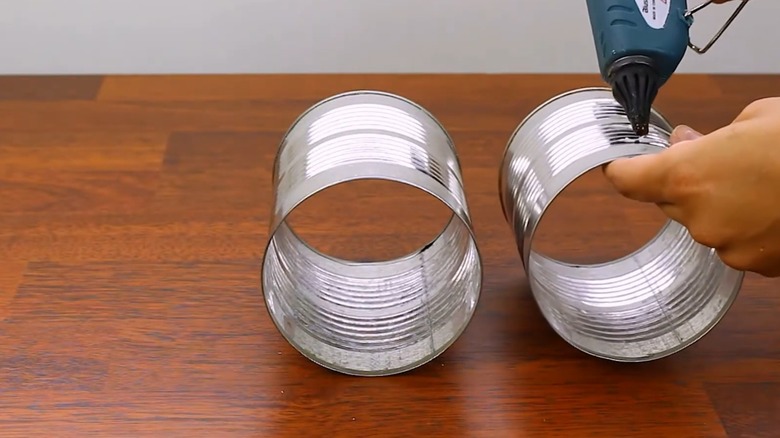
Once the soup cans are prepped, start the DIY. Lay each can horizontally, and use a long line of hot glue to adhere them together. Press them against a flat back surface as you glue them together to ensure they're perfectly lined up, making a pyramid shape as you work your way up. Always have more cans on the bottom to keep the build sturdy, and load it up from the bottom up as well.
If you want to mask the cans' natural silver surface, paint, decoupage, or wrap them in peel-and-stick before hot-gluing them together. Additional accents like stick-on rhinestones or twine edging can be added afterward, as they may get in the way when hot-gluing each can close together. Try to match the wine rack to the rest of your interior so it complements your space. If you have stainless steel appliances in a minimal or modern kitchen, leaving the rack in its natural state with the silver-colored cans might better fit your kitchen aesthetic. On the other hand, if your space has a more farmhouse or boho-inspired look, you may want to dress up the rack to match surrounding decor. When dressed up right, this bottle holder is even suitable for spaces beyond kitchen countertops, such as on a dining room buffet or sideboard table.