Don't Toss Old Takeout Containers — Turn Them Into Easy Countertop Organizers
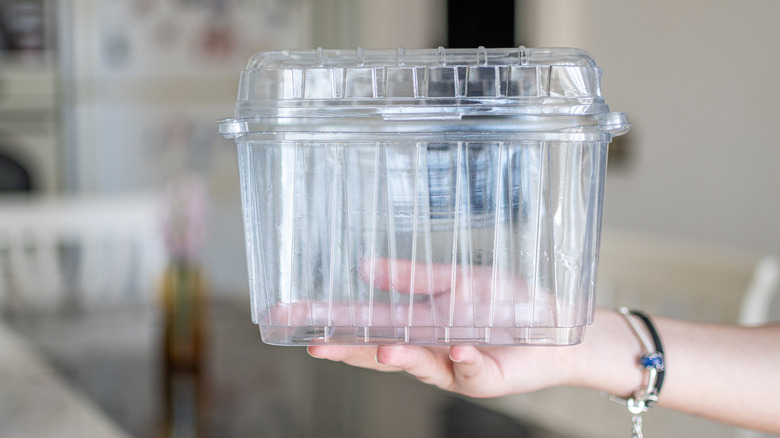
When you open your kitchen cabinet and an avalanche of plastic takeout containers crashes to the floor, you know you have been saving too many. Cluttered cupboards can lead to more junk sitting on your countertop since your main storage area is full. Luckily, you can kill two birds with one stone by upcycling a couple plastic takeout containers into a nifty countertop organizer. Manju Unique Creative shared a tutorial on YouTube showing how to turn old takeout containers into clever storage that's perfect for bathroom or kitchen countertops. With two of those black, rectangular restaurant containers and one of the clear lids, you can make a little storage basket with two compartments and a handle. However, other square plastic containers could also work.
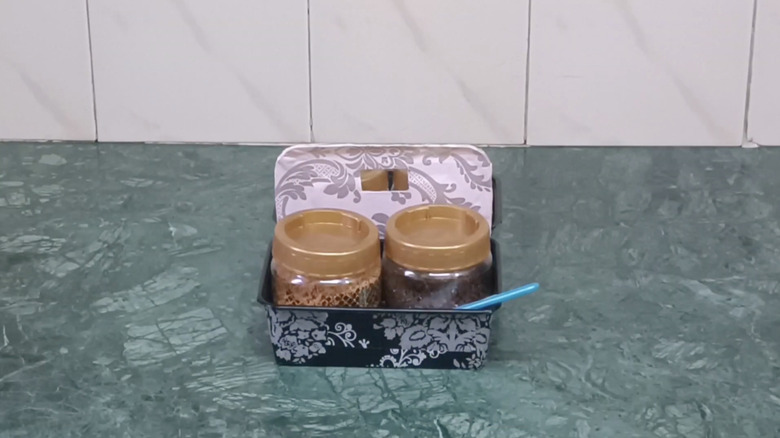
To construct the organizer, you'll need a pair of scissors and hot glue. The DIYer also used decorative paper to make this plastic basket look more stylish. Paint or colorful, patterned tape would also be a great way to dress up your takeout boxes, and you could glue on accents like ribbons or beads to further customize them. After it's finished, this organizer would be fantastic as a countertop catch-all. Otherwise, the two side-by-side bins and the convenient handle make this project perfect for storing hygiene products in the bathroom, as well as sugar dishes or spice containers in the kitchen. This brilliant way to reuse old plastic containers around the house is easy to make and offers an affordable and eco-friendly solution to countertop clutter.
Building cute countertop storage with takeout containers
Manju Unique Creative started to create this chic countertop storage box by trimming the edges of the plastic containers to get rid of the lip around the sides. This makes the sides flatter to help you attach the pieces, and it improves the appearance of the containers to look more like little boxes. If you end up with sharp areas, lightly sand the plastic until smooth. For the divider in the middle of the two-sided basket, use a lid from one of the containers. Trim around this piece as well. Then, cut a little rectangle in the middle of one of the long sides of the lid. This will act as your handle later.
Glue the paper, such as wrapping paper or scrapbook paper, onto the sides of the containers. Wrap the lid in paper too, though you can consider using a different color or pattern than the rest of your organizer. Otherwise, decoupage cute paper napkins, newspaper, or even book pages onto the plastic. While the DIYer only covered the outside of the takeout containers, you could attach paper to the insides as well.
It's super easy to put this countertop storage organizer together. Line up the two rectangular containers so that the long sides are next to each other. Then, place the lid in between them with the cut-out facing up. Hot glue the side of each container onto the lid to finish this cute and functional organizer basket.