

Creative DIYer Turns An Old Takeout Container Into Clever Bathroom Storage
We may receive a commission on purchases made from links.
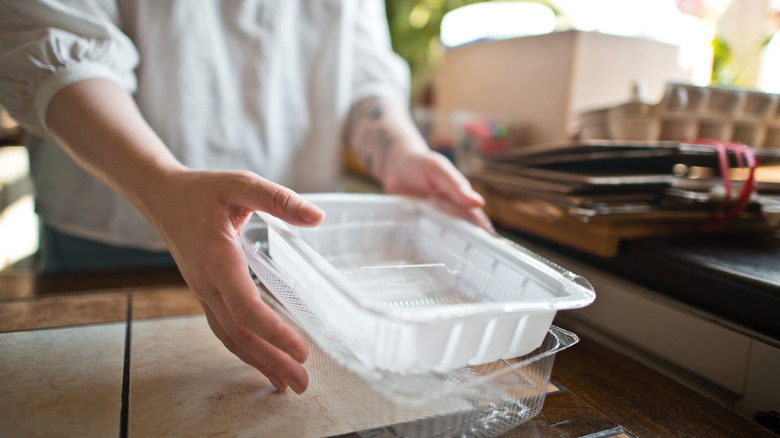
Organizing a bathroom can be tedious, especially when keeping hygiene in mind. There are some items that are better off stored away from other bathroom clutter, such as toothbrushes and toothpaste. Keep teeth-cleaning essentials isolated from the rest of a room with a bathroom organizer idea that keeps countertops clean and tidy. The YouTuber Mana creative corner came up with a brilliant idea that repurposes plastic containers, namely those saved from food deliveries. They used simple household tools to chop up a takeout container and create a wall pocket for a bathroom interior.
The best part about this DIY is the cost. Aside from a rectangular-shaped empty takeout container, only a few supplies are necessary, and you may already have them on hand. You'll need either a hot knife, a box cutter, or a pair of heavy-duty kitchen scissors, depending on the thickness of the container. This project also requires double-sided tape and hot glue. For the decorative aspect, you'll need a paper product, whether it's peel-and-stick vinyl, wrapping paper, scrapbook paper, or another crafty medium.
Since takeout containers are made of plastic, they're ideal for a bathroom setting. Food-grade plastic is usually mold- and mildew-resistant. This is convenient for a bathroom setting, where moisture and humidity are inevitable. It also makes it easy to keep the wall pocket itself clean, which is safer for storing hygiene products. Don't forget to pair this idea with other wall-mounted items that create bathroom storage to improve your organization and interior design.
How to make wall bathroom storage with a single takeout container and lid
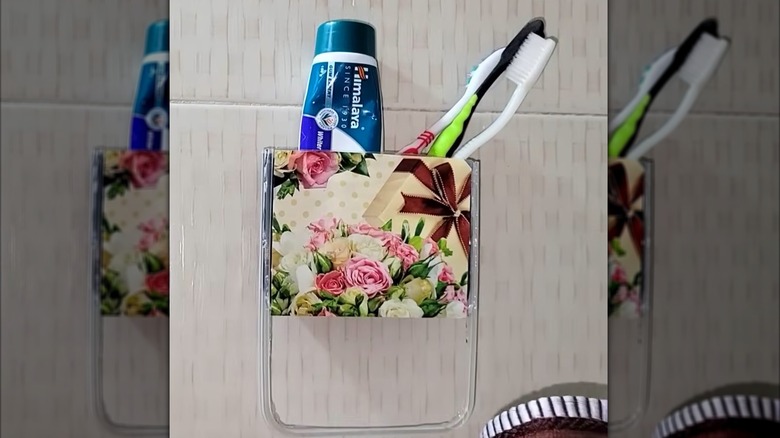
Crafting this storage pocket for a bathroom wall is doable in under an hour. Follow Mana creative corner's first step in marking the container lid and bottom with a Sharpie. Cut the edge off one side and about ⅓ down the other side, then copy the additional cutting steps. Choose the right cutting tool based on the container's thickness — thicker containers may require a hot knife for a smooth cut. Hot glue the pieces together to create the base design for the wall pocket.
If you love the look of the original DIYer's project, use a similar peel-and-stick paper pattern like the Jeweluck Floral Wallpaper. If you want a more complex and creative look, try a textured lacey paper, like the KonsaitLace Rose Scrapbook Paper. If neither pattern fits your aesthetic, use any other craft paper, preferably one with a color scheme that complements the rest of the bathroom. If the paper material doesn't have a plastic coating, seal it with Mod Podge Waterbased Sealer.
Be mindful of where you place the finished piece. Toothbrush storage containers should be kept away from a sink and toilet, so they're far from bacteria and other bathroom products. Use double-sided tape to stick it to a wall or mirror, so it's out of the way but still within reach. If following the YouTuber's original design, this pocket should also have a bottom rung for a hand towel. Ensure that wherever it's hung is high enough so the towel is also out of the way. Keep in mind that this idea works for items beyond toothbrushes. It's also good for holding other narrow bathroom essentials, like makeup brushes and combs.