

Reuse Plastic Lids To DIY Cute Living Room Decor That Also Protects Your Furniture
We may receive a commission on purchases made from links.
When you save old lids and containers rather than throwing them in the trash, they quickly accumulate, but this DIY lets you put those plastic discs to good use. With a little plaster of paris and some imagination, you can turn old lids into the cutest coasters for your coffee table. By using the lid as a mold, you'll create several round coasters that are perfectly uniform in size and shape. This DIY alternative to store-bought coasters also allows you to customize the look, creating fun decor to brighten your space. To complete this project, you'll need sandpaper as well as paint and buttons or other accessories to decorate your coasters, depending on the style you want. Food container lids work great for this project, though you could also repurpose any plastic lid with a rim.
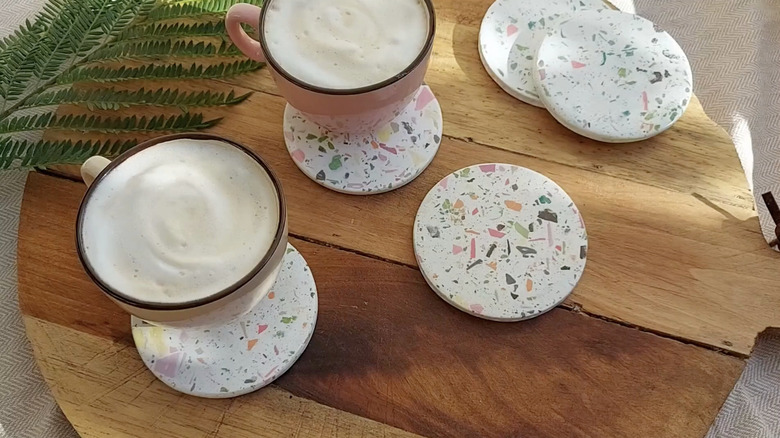
A mosaic pattern or a hand-painted design is a great way to make these homemade coasters stand out as adorable, personalized decor. Alternatively, you can press objects into the mold to make imprinted, three dimensional designs in your coasters. This is a great way to add texture and dimension to your decor. Using coasters is a simple trick to keep your wooden furniture in tip-top shape for years to come, protecting it from moisture and those pesky, ugly rings. Luckily, this project helps you to make functional, decorative coasters on a tight budget. On Amazon, you can find a 1 pound bag of Falling in Art plaster of paris for about $10.
Creating decorative coasters from old plastic lids
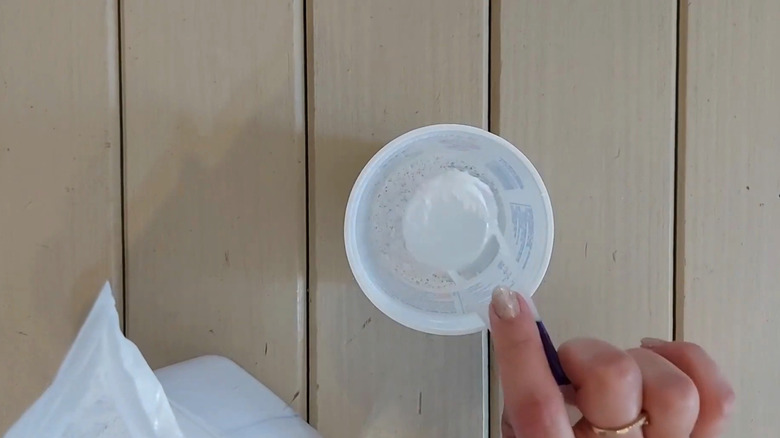
This genius way to reuse old lids from plastic containers is super easy and customizable. First, mix your plaster of paris with water according to the directions. Since you'll need a disposable bowl to combine the ingredients, reuse the container that fits your plastic lid as well. The liquid should turn out rather thin. If you'd like your coasters to be dyed a color, add acrylic paint into the mixture.
After lightly greasing the inside of your plastic lid with vegetable oil, pour your plaster into the DIY mold. Gently jostle the lid back and forth to help the liquid become level inside the mold. Once it has dried, peel or cut off the plastic lid to reveal your coaster. Sand the back of the coaster to make it perfectly flat. Now, you can paint designs onto the decor.
Alternatively, mix several colors of plaster and pour a little of each onto plastic wrap. Once they're dry, crumble them to make unique tiles for a mosaic pattern. Add these pieces into your wet plaster before pouring it into the lid. Otherwise, press your colorful tiles into the mold. Buttons or other small, colorful objects work great for this effect. To create a 3D design in your coaster, push an object like a leaf or flower into the wet mold, removing it after about 10 minutes. This leaves behind an impression in your coaster. Finally, spray with a clear coat to seal your coasters.