Clever DIY Storage For Any Room Using Dollar Tree Baskets And Upcycled Materials
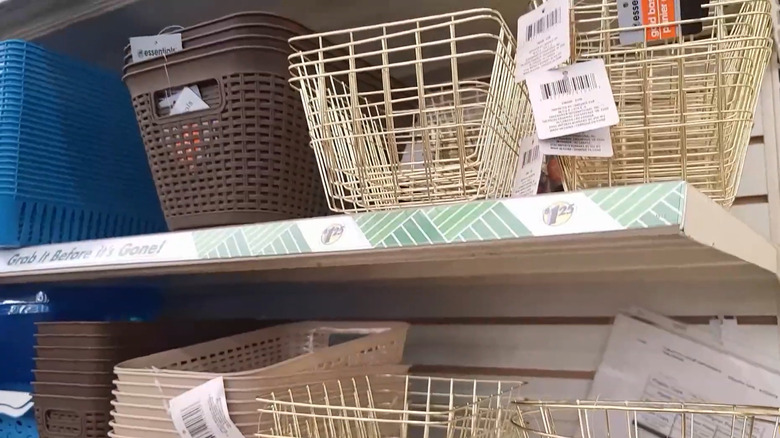
You might be surprised at just how cute (and functional) many of the Dollar Tree storage items are. In fact, we have a whole list of affordable Dollar Tree organization finds that as act as decor. Take the Essentials Iron Rectangular Baskets, for instance. They look sleek and modern on their own as pantry storage, desk organizers, or countertop bins. But YouTube creator Heidi Sonboul DIY elevates the look by creating a wall organizer with a shutter as the background and the wire baskets as individual storage compartments. You can create something similar using an old shutter or another upcycled item as the backdrop.
Repurposing items you're no longer using is a great way to get a new piece of decor inexpensively, while also cutting down on waste and reducing your consumption of new materials. While the original creator used an old shutter, you could also use a closet door with the same louvered design. If you have an old wood window, attach the baskets along the bottom to replicate flower boxes. Or, use reclaimed wood, scrap wood, an old cabinet door, or an old sign. You could even turn a garden trellis into styling hanging storage by attaching the Dollar Tree baskets to that.
And if you don't have those materials on hand, jump in the car on trash day to see if you can find someone's discarded items that work. Habitat for Humanity ReStore is a good source of secondhand home items, so you could snag a shutter, door, or other items there.
Assembling a storage unit with a shutter and wire baskets
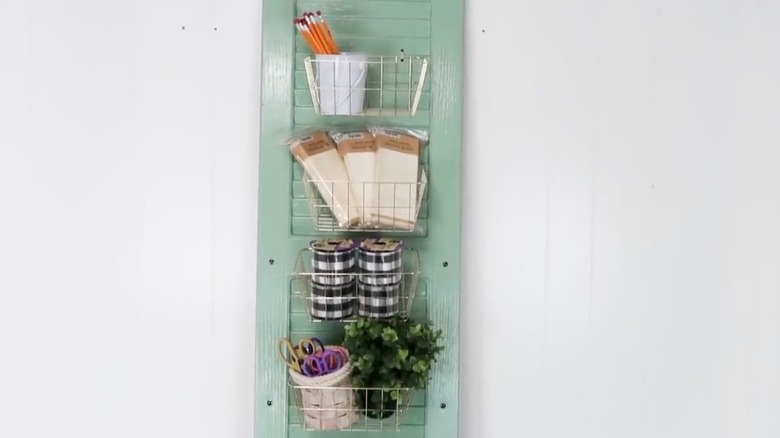
Wire baskets are perfect for Dollar Tree DIYs that make stunning affordable wall decor. They come in black and gold finishes, but you can also spray paint them to fit your desired look. Next up is prepping the background piece. The shutter in the inspiration video already came in a pretty green color, but when you're upcycling old items, you may need to paint or stain them to get the look you want. You can add trim around the edges to create a framed look, especially if you use a regular board.
Position the baskets on the board to decide where to put them and how many you'll use. Make sure to leave enough space between them to get items in and out easily. You'll use zip ties along the top edge to secure them. Drill two holes, one slightly above the other, for each zip tie. Thread the zip tie through the hole and around the top edge of the basket before pulling it tight. You can paint the zip ties to help them blend in.
You can also customize the unit based on where you put it. Make it a family command center by adding other sections onto the board — paint a flat section with chalkboard paint, add a decorative hook for a calendar, or attach a clamp-style clip to hold important notes or to-do lists. For use in the bathroom or kitchen, add hooks along the bottom edge for hanging towels. Then, hang the unit and fill the bins.