The Clever DIY Upgrade That Hides The Gap Above Your Kitchen Cabinets
We may receive a commission on purchases made from links.
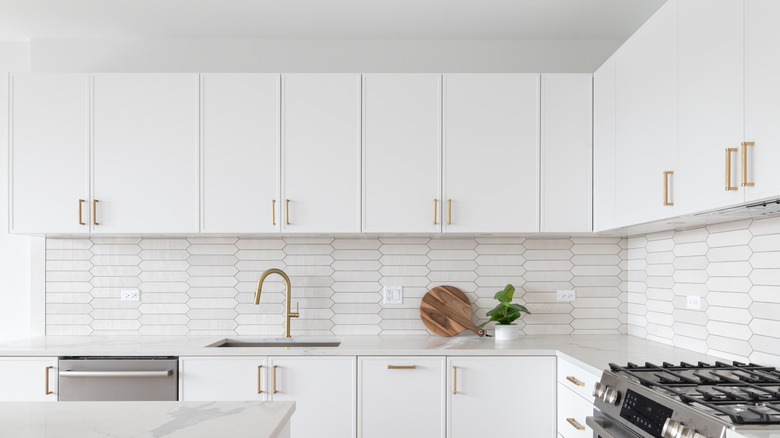
Storage is an important element to any home. This is particularly the case in busy rooms like the kitchen, which house everything from food and dishware to cooking utensils and recipe books. Cabinets solve much of this problem, but not all kitchen cabinets reach the ceiling, making them lack a critical aesthetic element. According to some cabinetry companies, builder's grade cupboards leave this gap to cut costs. Fortunately, you can fill the void with a little DIY ingenuity and some wood molding that blends into the ceiling. This is among the modern kitchen ideas that are sleek and streamlined — but far from boring, and it's easy to customize it to your tastes.
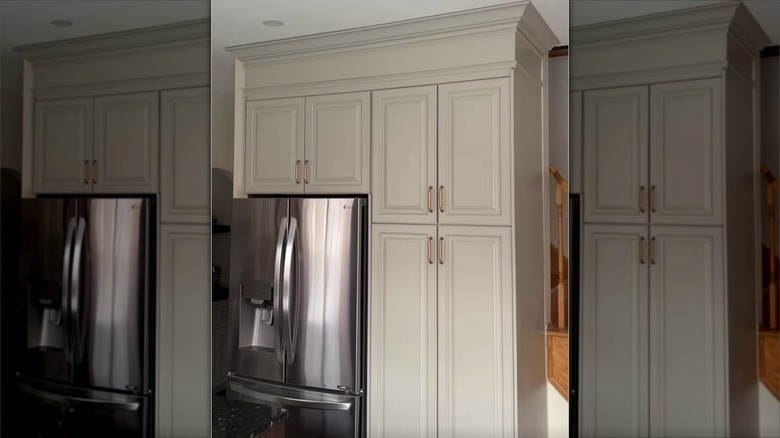
For this upgrade, wood planks are inserted into the opening, facing forward, to cover the space behind them. A molding of your choice is placed along the top, with a strip of trim below the board to seamlessly integrate it into the cabinet design. This is a creative way to refresh dated cabinets and transform builder's grade into designer — without paying labour costs to have the kitchen remodelled. This height-adding hack may just become your favorite. And who knows? Once you've finished the cupboards, you might look at how you can extend cabinets in other rooms as well.
Closing the gap between cabinet and ceiling
For this cabinetry extension hack, you'll need to grab a few supplies. Measure the gap between the top of the cupboards and the ceiling, and purchase wood boards wide enough to fill it, or cut them to fit. Shops like Home Depot allow you to rent power tools like table saws, so you can do this if you don't own a saw. You'll also need molding, such as Woodgrain Millwork Primed Finger-Jointed Crown Molding, that matches any you already have in the room, and trim like Furring Strip Board. You'll also need a nail gun, 2-inch nails with a narrow head, a measuring tape, and caulking. With supplies gathered, it's time to fill those gaps.
Cut the boards to fit the opening above the cabinets and slide them in to cover the empty space. Add the trim to the bottom and mount the molding above, using the nail gun. Run caulk down any seams to create smooth lines. Paint the new coverage to match your current cabinets and enjoy a custom-kitchen look, without the custom-kitchen budget.
If you want to make the job a little easier, you can also go with a peel-and-stick molding like Art3d Ceiling Cown Molding, rather than nailing up wood pieces. Make this look your own by painting the trim an accent color, or choosing ornate onlays like MUXSAM Wood Carved Appliques. No matter the personal touches, you'll enjoy your new cabinet-to-ceiling makeover without calling in the builders.