Forget Cabinets And Baskets: This Affordable Shoe Storage DIY Is A Game-Changer
Shoe baskets and cabinets can often lead to cluttered and unorganized footwear as shoes are tossed inside and become jumbled. On the other hand, this exciting wood pallet project you can DIY at home neatly stores your shoes on the wall. Wood pallets are fantastic for DIY projects, as you can often find them for free. By cutting the pallet into sections and mounting the pieces on your wall, you'll install racks to keep your shoes together and out of the way. Since pallets are designed with wide parallel boards on the front and back, they can make perfect rectangular cubby shelves for your shoes to sit upright against the wall.
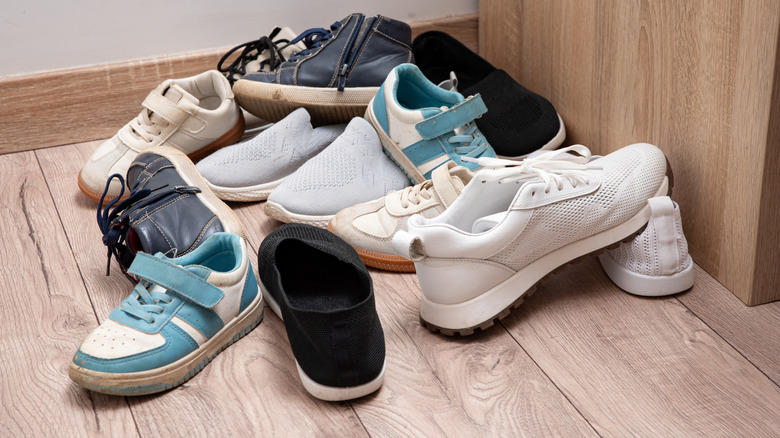
This project may be as simple as sawing a pallet into a few pieces to make your hanging racks, or you may have to adjust some of the slats to space them more evenly. For people with more wood working experience, consider disassembling your pallet and using the wooden boards to create your own customized wall-mounted storage. Because this budget-friendly shoe storage hack makes use of empty wall space, it's a great solution for cramped entryways without much room on the floor. While the slot between the boards can accommodate most footwear like sneakers and high heels, larger shoes like work boots may not fit in this storage solution. You can leave the pallet's wood plain for a more rustic style and a faster project, though wood stain or paint will elevate the look.
Transforming a wood pallet into helpful hanging shoe racks
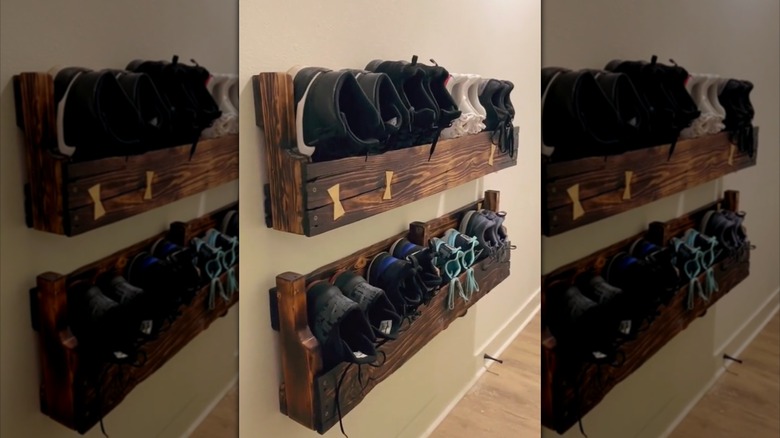
With a single wood pallet, you should be able to make two or three shelves for your footwear, depending on the pallet's size. Lay your pallet flat on the ground. One side should have more slats than the other. With some pallets, the slats will be grouped closer together on one side. Simply take off a board and attach it back to a different spot on the pallet to make the slats even. Cut your pallet into even sections so that the front side of each has just one horizontal slat. The other side of each section will have two parallel boards and will act as the back of the storage rack. The back side of the rack will be taller, which gives you more room to mount your storage and prevents your shoes from touching the wall. The bottoms of your shelves will be open, so consider using an extra board to enclose each, nailing or screwing them into place.
Once you've cut your pallet and added bottom boards, most of the work for this project is done. Alternatively, with smaller pallets, you may simply mount the entire piece onto your wall to act as shelves for an easy entryway shoe storage DIY that saves space. Before hanging your new shoe storage, sand the wood to smooth it out, and paint or stain it if you'd like. Finally, stick the toes of your shoes into the slots in each rack.