Too Much Shoe Clutter? You'll Love This Sleek Built-In Storage Solution
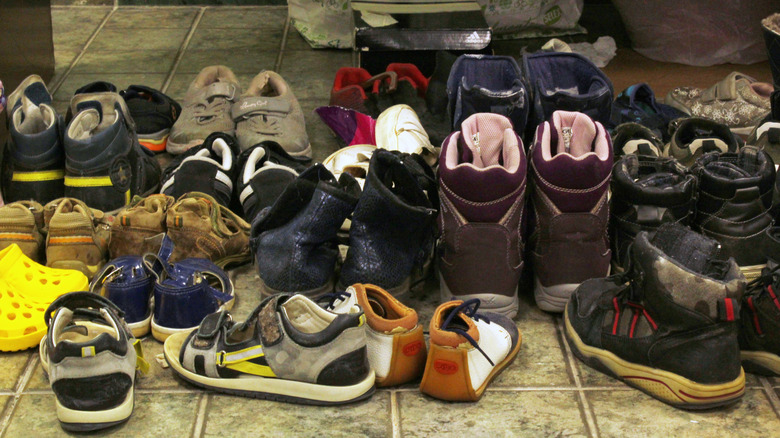
If you have way too many shoes, they're probably making a mess in your entryway, closet, or wherever else you can find space to cram them. This isn't an easy problem to solve, either, as many store-bought shoe racks are either too small, too bulky, or just way too expensive. To avoid the mess, TikTok creator @eternalharvestdecor shared a brilliant solution that made plenty of space for all of their shoes and hung neatly on the wall. It's a slim, multi-tiered shelf that mounts cleanly on your wall without taking up too much space. You will need to gather some supplies for this DIY, but it's still a relatively budget-friendly shoe storage hack that makes great use of empty wall space.
The primary material you'll need to make this built-in shoe shelf is wood, specifically several 1-foot-by-8-foot boards in a durable variety of your choice, like maple or white oak. These will make up the frame and the selves. You'll also need several screws, and if you want to stain or treat the wood, you'll need the appropriate coating, too. To start building, grab a saw and a jig for making pocket holes. (Looking for a smaller, less resource-heavy solution? Check out this genius Dollar Tree hack your cluttered closet needs for extra storage.)
@eternalharvestdecor Ask me how many times I threw that shoe for the transition! 😅 this is a great beginner friendly #DIY #shoe #closetmakeover #closetstorage
Assembling and using your floating shoe shelf
To build your mounted shoe shelf, start by measuring your space and finding the studs in the wall and ceiling. If you have enough shoes to cover a whole section of wall, and you have the anchor points to hold the shelf up, then design your frame to cover the whole section. Purchase enough boards to make one shelf for roughly every foot of space (though you can choose to space them closer together if you don't have enough room for more open shelving). If, as you're mapping out the shelves, you find yourself with a large collection of high heels that won't fit, this space-saving curtain rod hack can keep them organized.
Once you have all your boards, start by assembling the shelf's frame to the necessary size, according to your space and needs. Next, mount the shelf to the studs in the wall and ceiling. This will create a floating look that remains sturdy. Next, start placing the boards at a slight upward angle to make your shelves. For a flush look, make pocket holes with your jig to mount all the shelves.
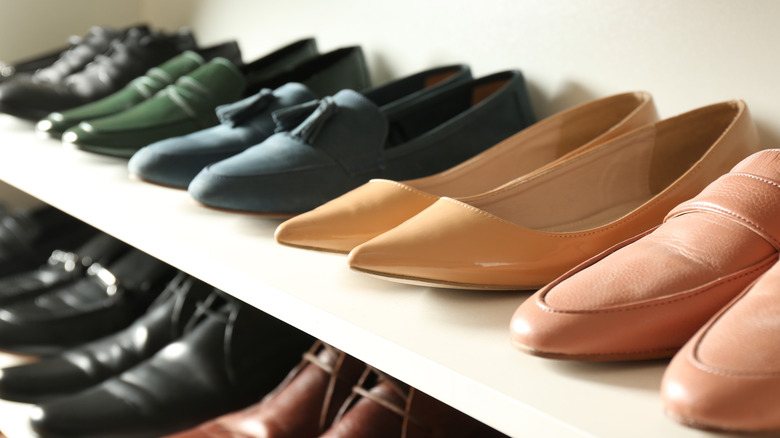
Consider reserving a middle shelf for any shoe care needs, such as shiner, leather treatment, or anything else required for shoe cleaning and maintenance. You can also use this area for decoration to break up the wall of footwear, as @eternalharvestdecor demonstrated in their video. Once the shelves are mounted, use a stain or treatment of your choice to bring the wood to life and match your home (while also protecting it from your shoes' grime). Once done, your shoes will have a stylish new home.