Turn Empty Soup Cans Into Adorable Garden Decor You'll Love
Gardening has a list of benefits that go beyond helping plants thrive. According to UNC Health, it can also lower stress, boost self esteem, and promote a healthier heart. If you adore planting flowers or are looking to start a vegetable garden, there's a way to make the area even more of a "happy place." Start saving those old soup cans! With a creative DIY, you can transform them into adorable critters to place throughout your garden. Online creators, like the YouTube channels Hobbycraft and Adyasha Mohapatra, have shared examples of this project, which calls for cans, a plastic bottle, and basic art supplies.
Keeping pests out of your garden is important, but these creatures are ones you'll actually want to welcome in. Soup cans are perfect for making buzzing bees, grasshoppers, ladybugs, and even furry friends. Paint is the main addition you'll need to bring them to life, but items like decoupage, markers, googly eyes, popsicle sticks, wire, and thin wooden dowels can help complete them. In the end, they become unique decor that'll bring a whimsical touch to your garden.
Upcycle soup cans into quirky critters
Before starting this DIY, wash your cans and plastic bottle. Keep in mind, you don't need the tops. Start by removing the labels, then clean your cans in a sink using warm water and mild dish soap. Rinse and thoroughly dry. We also recommend printing out cartoon images of the characters you want to create before jumping into the project. That way, you'll have examples to look at when deciding how to paint your crafty critters.
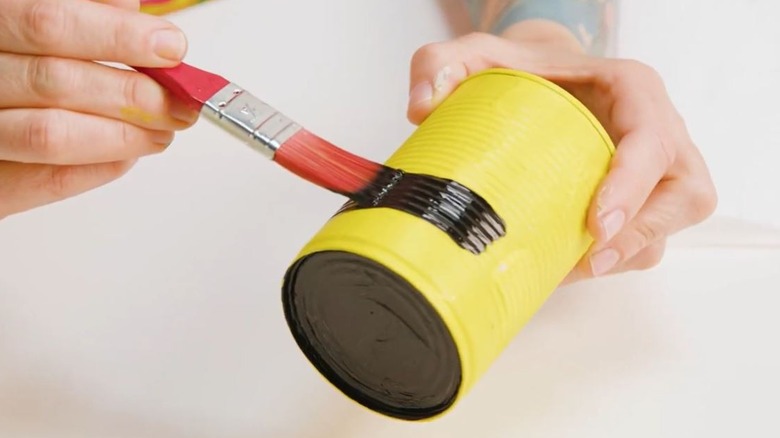
While there's no right or wrong way to repurpose empty soup cans as decor, this project does require imagination. Start by painting your cans white to create a base layer. Once they're dry, you can then jump into using colors and features that are specific to the creature you're crafting. For example, if you want to make a ladybug, paint the entire can bright red, then give it time to dry. Next, paint black polka dots all around the sides. Use paint and markers to create a face on the can's bottom, then seal everything with a layer of decoupage.
Don't forget the details
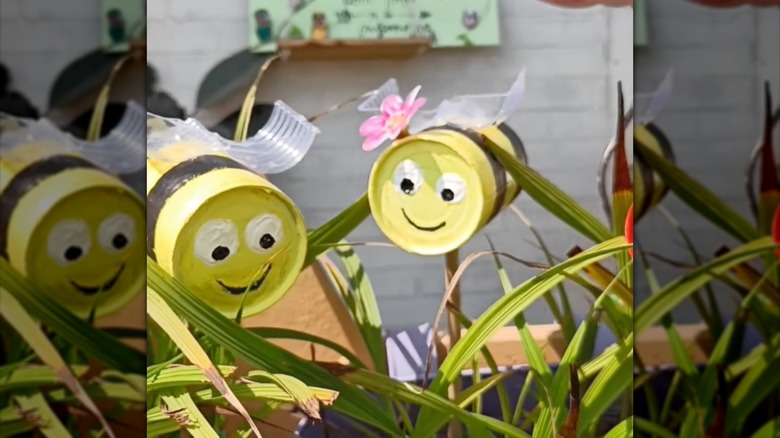
What ladybug would be complete without wings and a pair of antennae? That's where some of the other supplies come in. Cut a set of wings from the plastic bottle and glue them onto the ladybug's back. Use wire for the antennae. If you'd prefer to make a bee, paint your can yellow with black stripes instead. Create a face on the bottom of the can, then add the other features. Popsicle sticks can become grasshopper legs, while plastic can easily become bunny ears. Use foam sheets to craft a turtle's signature shell, or try shaping wire into beautiful dragonfly wings.
The last step is to figure out how you'd like to display your new garden decor. If you poke holes into the cans, you can insert dowels and stake them into the dirt. To hang a creature, make a hole around the middle of its back. Stick twine through and knot it from the inside of the can. Finally, find a place where it can keep a watchful eye over your flowers. You could also set the critters on the ground next to your plants. Chances are, they'll make you smile every time you tend your garden.