Say Farewell To Shoe Clutter With A DIY Closet Makeover
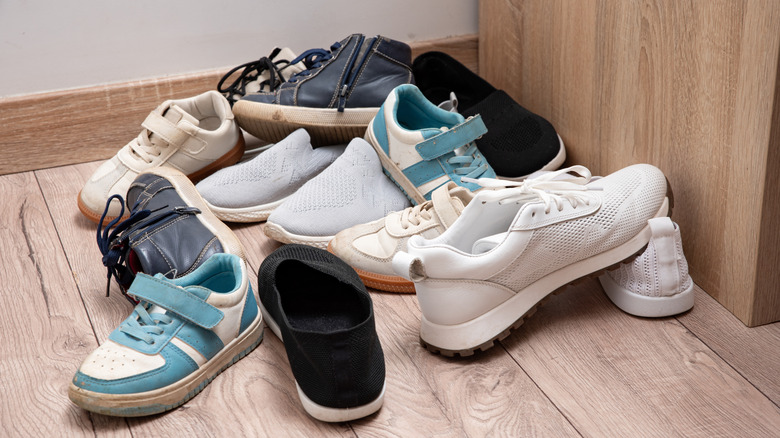
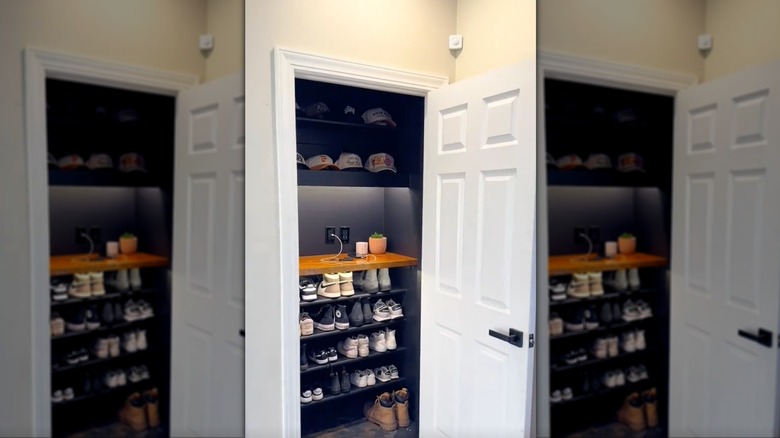
The entryway of your home can quickly take on a cluttered appearance if you don't have a good system to keep your shoes organized. A simple shoe rack might seem like the most obvious solution to this problem, but the shelves of such a small fixture rarely have enough space for families or people who love collecting footwear. To make sure you never have to trip over your rain boots on the way to work in the morning, start by emptying a closet close to your front door. Once it's all cleaned out, install wooden shelving that runs from floor to ceiling, with approximately eight shelves evenly spaced throughout. Then, stain, paint, or decorate the shelves to give them some more personality, and load them up with your favorite sandals, sneakers, and heels. This sort of budget-friendly shoe storage hack is a great way to make your entryway feel more inviting.
To get started with this project, you'll need some spare plywood that you can cut down to create supports for the shelves. The supports will hold up the shelves from both the back and side walls. For a larger closet, these supports should be around one-and-a-half inches thick. For a smaller closet, instead use half-inch thick wooden dowels as supports. You'll also need plywood or MDF boards for the shelves themselves, and some construction adhesive and wood screws. A level is also an important tool for this DIY project, as is a brad nailer and a tape measure.
How to install shelves for shoes inside an entryway closet
Begin by using a stud finder within your closet to determine where your wall studs are, and mark them with a pencil. Alternatively, you could try learning how to find a stud without a stud finder. Attaching your shelf supports to your wall studs is essential if you want your shelves to hold any significant amount of weight. Next, measure your closet's depth and width to determine what size shelves match the space. Once you've determined the ideal dimensions, cut your boards and supports down to size with a miter saw or a table saw. If you're uncomfortable with saws, you can also ask your local home improvement store to cut the boards for you for a small fee. Then, attach the shelf supports to your wall studs with your brad nailer, starting from the bottom of the closet and working your way up. Remember to continuously check that the supports are level throughout the process.
The next step is to attach your shelves to your supports with wood screws and construction adhesive around the seams. If you're planning to stain your new shelves, though, you should do so before attaching them to the supports. If you want to paint the entirety of the closet a single color, put the shelves in first instead. For a slightly cleaner look, consider hiding nail holes and other blemishes with wood filler. Stock your new shelves with shoes, and your entryway will suddenly feel significantly tidier. You could also sprinkle a few faux plants or other decor items around the closet to make it look classier, or add bonus storage to your closet door by installing a few hooks along its inside surface.