Turn An Old Plastic Container Into An Artsy Small Bathroom Storage Solution
Cluttered bathroom countertops can be frustrating as you waste time looking for the specific things you need. Not to mention how easy it is to accidentally knock things over, scattering them across the floor. Storage bins are helpful, but the cutest options often come with a higher price tag. Plus, it can be hard to find something that fits your specific vision or vibe. Luckily, there's an easy and affordable solution! If you have any plastic containers lying around that you were about to recycle, consider upcycling them instead. You can DIY your own cute and unique artsy storage box using them as a base.
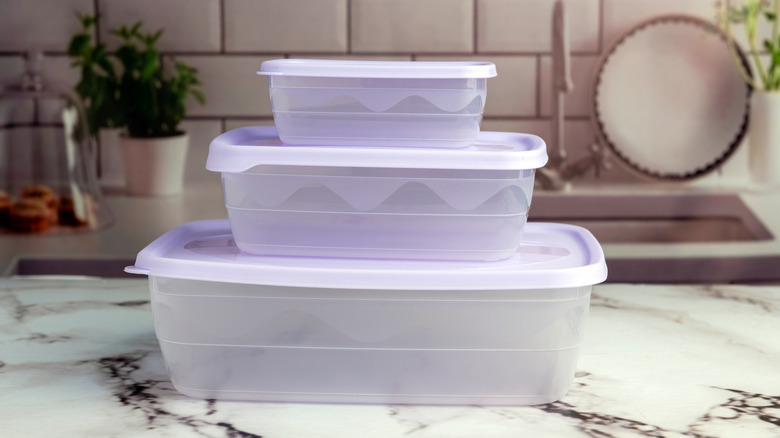
When picking which container to start with, it's a good idea to consider what you want to store in it. Make sure your items fit properly before you put in the effort to make the container pretty, or else you might end up with a lovely but useless bin. For this project, you can reuse plastic meal prep containers or empty cottage cheese tubs. However, keep in mind that thick plastic will hold up better than thin materials. When using a food container, be sure to clean it thoroughly with soap and water first. If cleaning grease is needed, use an easy removal method such as vinegar or baking soda to avoid having any lingering food smells on the items you're storing. While you can just stop at this step — a container is a container, after all — there are some easy ways to make it more artsy.
Decorating your storage container
Once your container is thoroughly clean, you can start the fun part! There are plenty of ways you can decorate your container, with the simplest option being to paint the outside. Be sure to prime it to keep paint on the plastic surface and give it a coat of sealant to stop the humidity in your bathroom from damaging the paint. For a more complete transformation, gather some patterned fabric or paper that you like, along with an appropriate adhesive. If you don't want to buy new fabric, you can repurpose your old bedsheets or curtains. Go ahead and grab any extra decorative bits you'd like to add now, too, or wait until the box is covered to decide what embellishments to add.
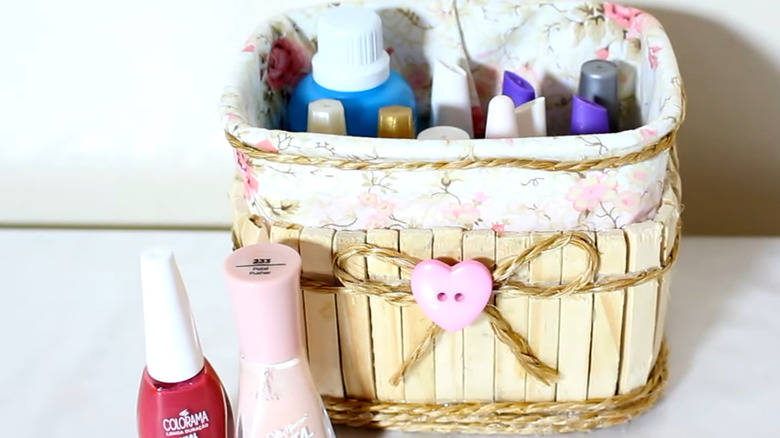
Cover the outside of the container with your fabric or paper, smoothing carefully to avoid wrinkles. You can fold some of the excess under the container to cover the bottom, but trim or sand any bits that won't lie flat, so the container doesn't wobble. Do the same for the inside, cutting a separate piece for the inside bottom to ensure it lies flat. Once it's covered, you can add your decorative elements. Tie a ribbon into a bow or wrap twine around it and glue it in place. Use popsicle sticks or clothespins to create a wood veneer that's easy to paint or stain. Add buttons or beads to add whimsy to it. Since they're customizable, these containers are also a great way to sort items belonging to different members of the family that each can decorate to suit their style.