A Handy DIY To Protect Your Garage Floor All Winter (Without Breaking The Bank)
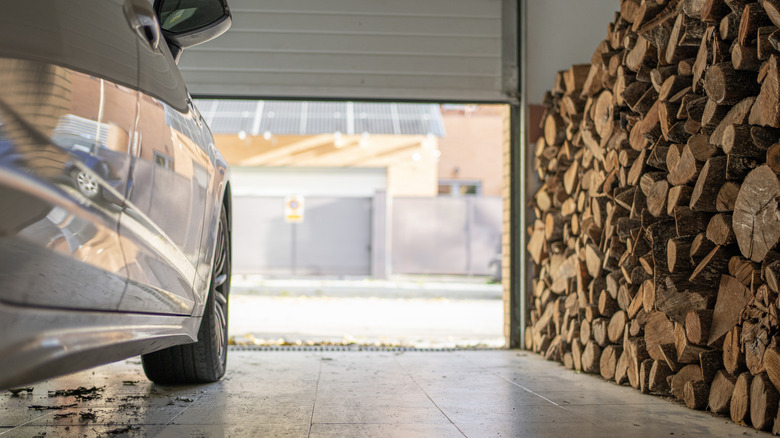
Winter weather can have a dramatic impact on your garage, but not necessarily in ways you would always consider. Whenever you open your garage and bring in your vehicle, shovels, or snowblowers from the ice and snow, you wind up with those intrusive elements right on the floor. Snow will melt (especially in a heated garage space) and create puddles that can potentially damage what you have stored in there while corrosive road salts can seep into porous concrete and deteriorate the surface. If you do nothing to protect your garage floor, you could wind up needing a repair or replacement that costs a ton of money. Thankfully, there are easy, DIY solutions you can use.
One of the easiest ways to protect your garage floor is to build a dam your vehicle can enter. The idea is to create a space that will contain any winter debris that comes off your car or snow removal tools. This doesn't have to be an expensive venture. YouTuber The Jeff of All Trades shared how he was able to create a dam in his garage for a little over $15 in materials. This cost will vary depending on what materials you use and what prices are like where you live, but it is a heck of a lot cheaper than building a brand new floor.
How to build a DIY garage dam
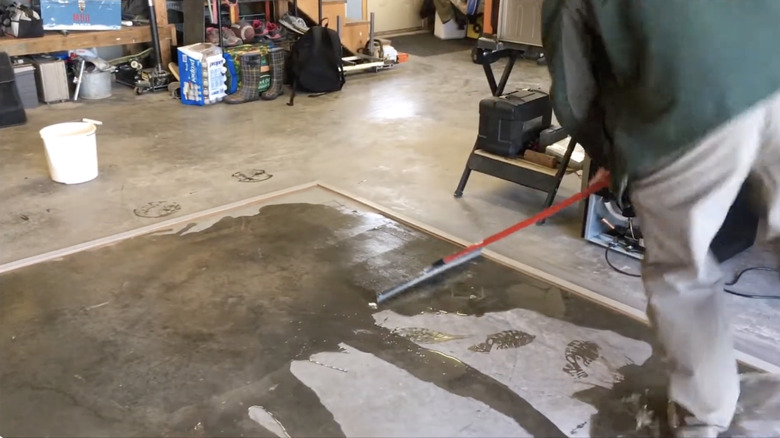
To make a garage floor dam, first get your garage floor as clean as possible. Any dirt or debris in the area is going to prevent the adhesive you're going to use from properly sticking to the floor. After cleaning, measure the width and length of your car, adding an extra foot or two of additional clearance. The extra space will help keep the floor clear of any additional snow or water that comes off your car and will fit easily inside a standard two-car garage. Use a chalk line or sharpie to mark out your frame.
Now it's time to create the dam frame. Jeff of All Trades used rubber door jams that were for sale at his local hardware store. You could also use strips of scrap wood. Just make sure there is enough height to block snow and water from flowing over the sides.
You can adhere the rubber jams or wood to the concrete with a caulking adhesive. Run a bead down the length of the jam pieces and then press them into your concrete floor. Add weights to make sure the pieces stay in contact with the floor and leave to cure overnight. Next day, take a bucket of water and pour it into the dam as a test to see if everything is sealed and that the water is running out of your garage instead of all over the floor.
Other options for garage floor protection
If there is one downside to The Jeff of All Trades' floor dam it is that it does not protect the concrete itself. It merely keeps the water and snow and salt from getting to the rest of the space. If you want to protect your floor, spend a little extra money on a floor coating which you can apply to the inside of the dam. This will add a layer to keep the salt, snow, and water from deteriorating the concrete.
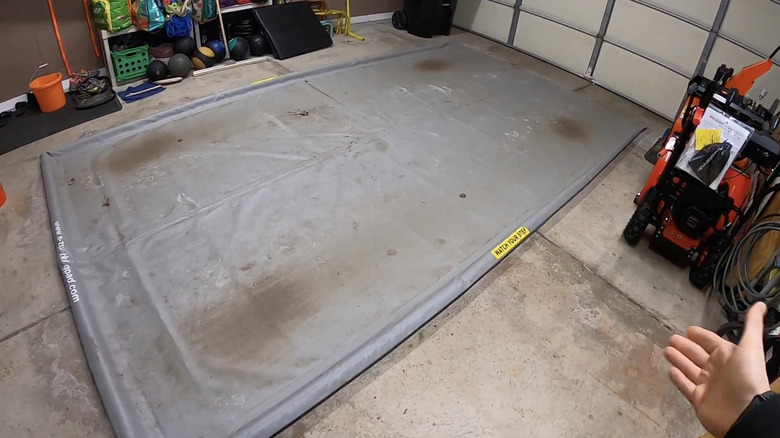
However, there is a far easier, more affordable, and potentially more beneficial alternative. All you need is a heavy duty tarp. This is an incredibly useful tool to have during winter. Some people even lay it across their driveways as a method of snow removal. Make sure you have a tarp large enough to cover the entire dam, and then staple it in place. You could also build foldable winter mat made using wood and staples. The wood provides a sturdy frame for the tarp to attach to so it doesn't bunch up or slide when its driven on. In the spring, the mat can be taken up and stored until next winter.
Another option would be to opt for protective interlocking tiles. This is less DIY however, and will definitely cost you a lot more than either of the options we've previously mentioned.