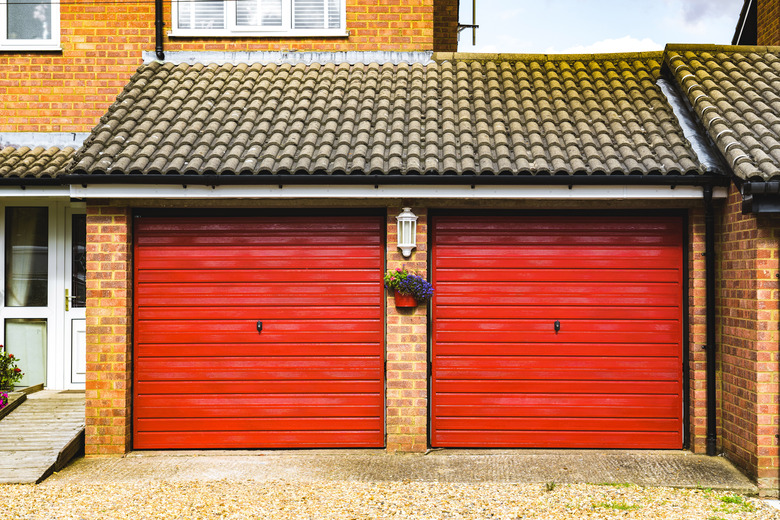
How To Weatherstrip A Garage Door
We may receive a commission on purchases made from links.
Garage door weatherstripping is more important than you think, especially if your garage is connected to the house and even if you've installed garage door insulation. Without it, cold air can pass into the garage and warm air out, which will cause your energy bill to skyrocket. Weatherstripping is an important part of garage door maintenance that can minimize energy bill fluctuations and keep your garage comfortable.
If your garage isn't connected to your house, weatherstripping is still important. The air that passes through from the outside is typically laden with moisture that can damage the tools and machinery you keep in your garage.
Installing a garage door seal is a good DIY project for a Saturday afternoon, and it's a job you should be able to complete in a few hours. The bottom, sides and top of the door are all places that need weatherstripping, and depending on the type of door you have, it may also need reinforcement between the individual panels. Your door may already have weatherstripping installed in these places, but if you can see daylight through it, it's time to replace it.
Types of Garage Door Weatherstripping
Types of Garage Door Weatherstripping
Door Sweep
The bottom of a garage door is often one of the most difficult places to seal, especially if the pavement isn't level. You'll need a door sweep to attach to the bottom of the door — the type you need depends on the door. If you have a wooden garage door, you'll need a door sweep that nails to the bottom of the door. If your door is made from metal, vinyl, or PVC, you'll need a length of U-shaped rubber seal that slides onto a flange on the bottom of the door. You can also install a brushseal door sweep, but this is more often used for a commercial door than a residential one. You may also need a threshold to attach to the pavement if the pavement is uneven or if the driveway slopes toward the garage, and water comes in when it's raining.
Stop Molding
The weatherstripping for the sides and top of the door is also called stop molding, and it's similar to the stop molding you install on an entry door, such as your front door. It's available at any building products outlet or anywhere garage door parts are sold. This type of garage door weatherstripping is typically a length of wood or vinyl trim, otherwise known as a flange, with a pre-attached flap of rubber that seals the gap between the door and door jamb. You nail the flange to the jamb, or side post, on either side of the door and along the top so that the flange presses against the door when it's closed.
Foam
If your door has individual panels, the gaps between the panels are also potential sources of heat loss. Newer doors usually have angled edges between the panels and preinstalled weatherstripping, but if you have an older door with flat edges between panels, you might need to purchase some stick-on foam weatherstripping to close these gaps.
Caulk or Wood Filler
As long as you're devoting your time to weatherproofing your garage door, you might as well go all the way and purchase sealant to fill small holes and gaps. You'll need silicone caulk to seal the door stop trim you install on the top and side of the garage door. If the holes in the door are very small, you can use the same caulk to seal them. If you have an older garage door with large holes caused by rot or deterioration, however, it's a good idea to invest in two-part wood filler to fill them.
How to Install Garage Door Weatherstripping

How to Install Garage Door Weatherstripping
If you're up for a (relatively easy) DIY, you can install garage door weatherstripping yourself. You can opt to tackle this on a cold day or even at night, but don't do it during rainy weather. If you need to install a threshold, keep in mind that it has to be glued to the pavement under the door, and the door and door jamb have to be dry before you apply any caulk or sealant.
1. Measure Your Garage Door
Measure the width and height of the door as well as the thickness to determine how much garage door weatherstripping you need to purchase. Buy strips of door sweep, side seals, and top trim that are slightly longer than these measurements so you can cut them to fit. It's a lot easier to cut long parts shorter (which you can do with a hacksaw) than it is to make short parts longer.
2. Determine Whether You Need a Threshold
If there is already a threshold under the door, you probably don't need a new one, but if there isn't one, close the door using your garage door opener and check for gaps between the bottom of the door or the existing door sweep and the pavement. If you can see daylight in some places and not in others, your door is a good candidate for a threshold. If the door is wood, you may be able to straighten the bottom edge with a circular saw, but installing a threshold is a lot easier, and it's the only option if the door is vinyl or metal and can't be cut.
3. Install Garage Door Bottom Weather Seal
Open the door halfway using the garage door opener and remove the old door sweep. If you have a wood door and the old sweep is nailed on, simply pry it off using a pry bar. If you have a metal or plastic door with a U-shaped rubber seal, slide the seal toward one side of the door and pull it off. If it's stuck and won't slide, it may be easier to cut it into pieces with a utility knife to get it off.
To install a new aluminum or wood sweep on a wooden door, cut the sweep to the proper length, spread silicone sealant on the back, line it up along the bottom of the door with the rubber seal extending below the edge of the door, clamp it in place, and then drive screws into the door to hold it. Remove the clamps. To install a rubber seal on a metal or plastic door, simply feed one end onto the flange, slide that end to the opposite side of the door, and trim off the excess with a knife.
4. Install the Threshold
A garage door threshold is a heavy-duty strip of rubber that you glue to the garage floor. Thresholds rise to heights of 1/2 inch to 1 1/4 inches, so choose the height that ensures that all the gaps between the door sweep and the floor will be covered. Before installing the threshold, clean all dirt from the floor and wash it down with soap and water to remove grease and oil that could prevent the glue that holds the threshold (which usually comes with it) from adhering.
Measure the distance between the outsides of the door tracks and cut the threshold to that length with a knife. Set the threshold on the floor, notch the ends to fit around the tracks, push the threshold into place, and mark its outline on the floor with a pencil. Remove the track, spread adhesive in the outline, set the threshold back in position, and press down to seat it in the adhesive.
Tip
After installing the door sweep and threshold, you'll probably have to adjust the close door limit on the door opener slightly to ensure the door closes all the way without completely compressing the door sweep.
5. Do the Top Seal
Install weatherstripping on the top of the door before you do the sides, which makes it easier to seal the gaps in the corners. Pry off the old weatherstripping from the top and side jambs of the door using a hammer and pry bar. Cut the new top seal to length and then apply silicone caulk or a similar sealant to the back. Close the door, position the top seal in place with the rubber seal pressed firmly against the door, and nail it in place with 1 1/2-inch galvanized finish nails.
6. Weatherstrip the Sides of the Door
Cut the weatherstripping for the side jambs to length using a hacksaw. It should butt up against the top seal and extend all the way to the floor or to the top of the threshold. Apply sealant to the back of each strip in turn and nail it to the side jamb. Do this with the door closed so you can be sure the rubber seal presses firmly against the door.
7. Stick Weatherstripping to the Door Panels
Close the door to install weatherstripping between the panels. You can use standard self-stick foam weatherstripping for this. Cut strips from a roll that are long enough to extend across the width of the door and stick one strip to both edges of every panel to cover the gap between them. The foam will compress when the door opens and expand to form a seal when the door closes.
8. Fill Holes in the Door
Apply caulk or two-part filler to seal holes in the garage door to complete the weatherproofing. When using two-part filler, mix only as much as you can use in five or 10 minutes with the hardener supplied with it, apply the filler with a putty knife, and scrape the repair flat. When the filler sets, you can sand it flat with an orbital sander and touch up the color with paint if desired.