How To Weatherstrip A Door
When a door doesn't fit tightly in its frame, the resultant draft can frustrate your efforts to heat your house. At the very least, your energy costs will go up, and if the gaps let enough cold air through, you might never feel completely warm. Weatherstripping the exterior doors is as important as insulating the walls, and it's a lot easier to do. You can choose from a number of different kinds of weatherstripping products. Some have adhesive backings, some come attached to metal or wood runners that you attach to the door, and some require special grooves to be cut into the door jamb.
While you're weatherstripping the door, don't forget to install a door sweep. Insulating the gap between the bottom of the door and the threshold is even more important than insulating the sides and top of the door. The bottom gap is wider, and drafts that blow through it often carry moisture, which can deteriorate the door and the floor.
 Country Metals LLC.
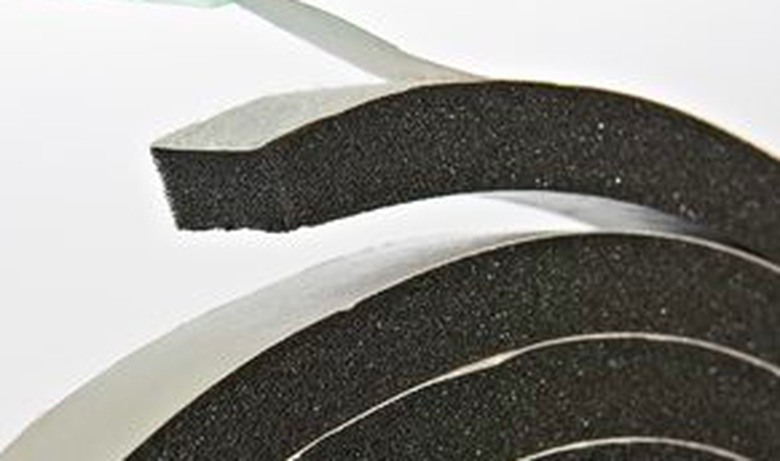
Self-Adhesive Weatherstripping
Self-Adhesive Weatherstripping
Felt and foam weatherstripping both come with adhesive backing, and you install them on the edge of the door stop molding that faces the door. Before you buy the weatherstripping, measure the gap you have to fill to ensure you buy material just thick enough to do the job without overdoing it and making the door hard to close.
 Frost King
Things Needed
-
Tape measure
-
Paint scraper
-
Cleaning supplies
-
Scissors or a knife
- Scrape debris off the edges of the door stop with a paint scraper. If you end up scraping off loose paint, you may want to repaint the door jamb before installing the weather stripping.
- Clean the door stop with soap and water, then dry it thoroughly with a rag.
- Measure the height and width of the frame, and cut pieces from a roll of weatherstripping tape to those measurements, using scissors or a knife. Make the pieces a little longer than the measurements so you won't come up short. You can always trim off the excess.
- Install the weatherstripping on the head jamb first. Peel about one foot of backing from the weatherstripping and push the exposed end into the corner of the door stop. Stretch the material gently along the edge of the stop that faces the door and press it into place, removing backing as you proceed.
- Start at the top of the door and work your way down when installing weatherstripping on the door stops along the sides of the door jamb. Cut off any excess when you reach the floor.
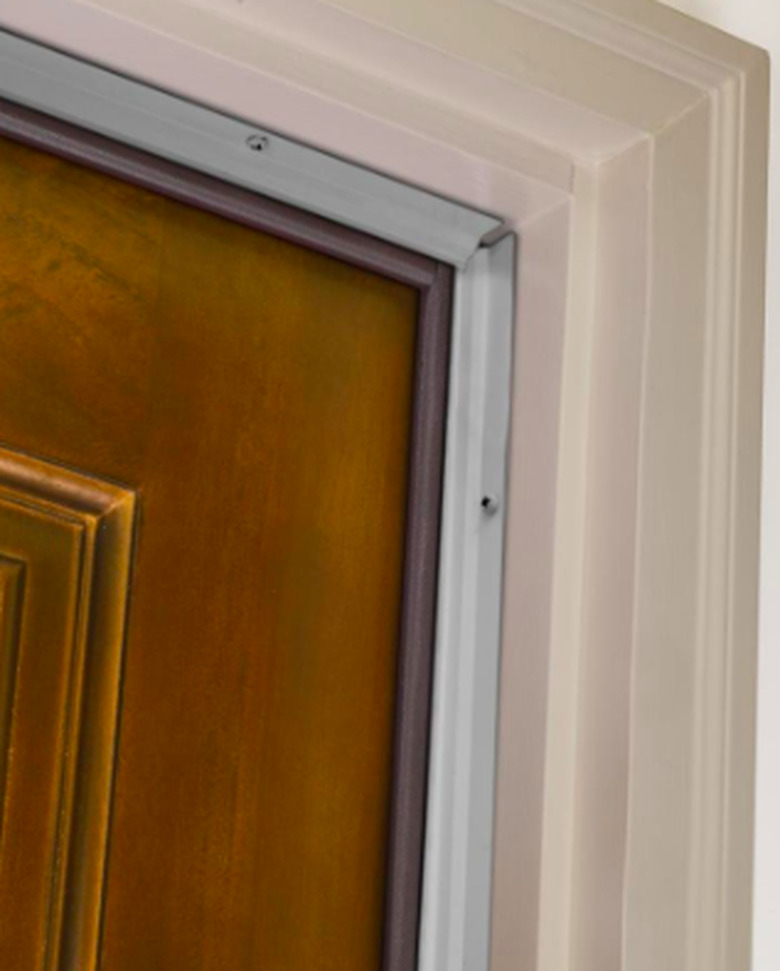
Flange Weatherstripping
Flange Weatherstripping
Wrapped foam and vinyl bulb weatherstripping come attached to a metal or wooden flange that is screwed or nailed to the inward face of the door stop instead of on the side edge facing the door. This type of weatherstripping is easier to adjust than the self-adhesive type and is recommended for covering unusually wide or irregular gaps.
 Lowe's
Things Needed
-
Tape measure
-
Utility knife
-
Hacksaw
-
Screws or nails
- Measure the lengths of the top and side jams and cut pieces of weatherstripping to fit. Cut accurately, because you can't trim the pieces in place. Use a knife to cut the foam or vinyl and a hacksaw to cut the wood or metal flange.
- Close the door and fit the top section of weatherstripping on the face of the door stop, adjusting it as necessary to fit tightly against the door. Drive one or two screws or nails to hold it in place.
- Install the weatherstripping along the left and right side of the door, making sure it fits tightly against the door and against the weatherstripping on the top. Secure each piece with two screws or nails.
- Test the door to make sure it opens and closes smoothly. Reposition the weatherstripping if necessary. When everything looks good, drive more screws and nails to finish securing the weatherstripping flanges to the door stop.
Barbed or Kerf-Style Weatherstripping
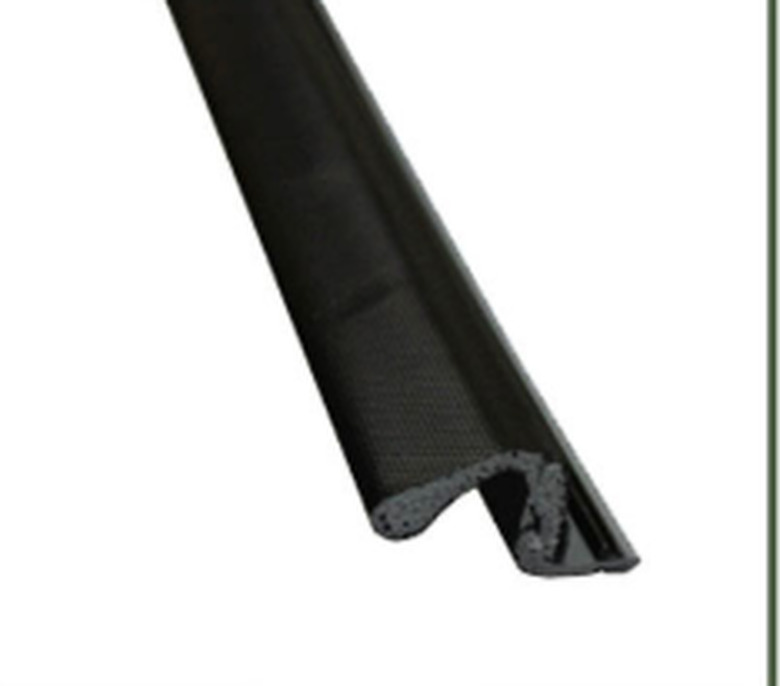
Barbed or Kerf-Style Weatherstripping
Kerf-style weatherstripping is perhaps the most elegant and permanent option, and when it does wear out, it's easy to replace. It's the most challenging to install, however, because it fits into grooves cut into the jambs with a special grooving tool. You may have trouble finding one of these tools, so it may be worth the modest expense of having a pro cut the grooves. Once the grooves are done, it's easy enough to install the weatherstripping—you simply force the kerf into the groove and push, working your way along the jamb from one end to the other.
Installing a Door Sweep
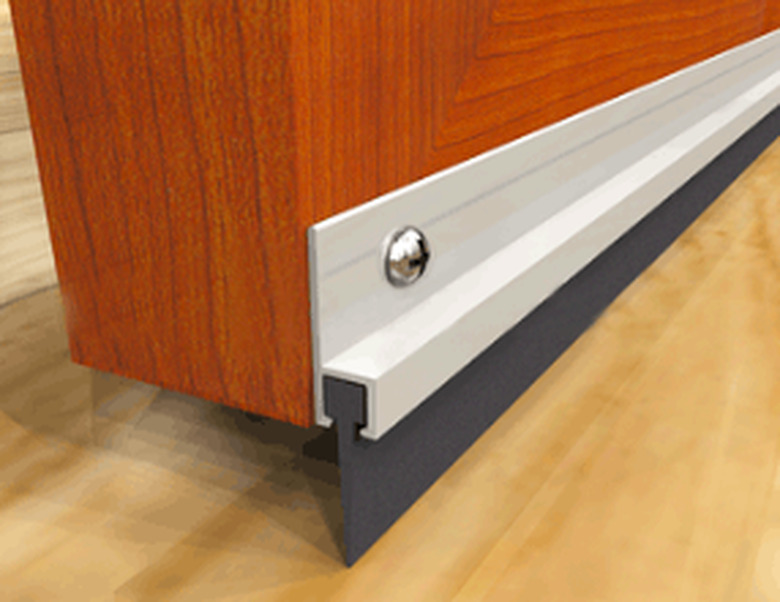
Installing a Door Sweep
Like weatherstripping, door sweeps come in various styles and are made from various materials. Some have a U-shape that fits around the bottom edge of the door, and to install one of these, you must take the door down off its hinges. Other styles fit into pre-cut grooves on the bottom of the door, and to install them, you also have to remove the door from the hinges.
The easiest door sweeps to install are face-mounted sweeps. You simply measure the width of the door, cut the sweep to that measurement using a knife and hacksaw, and fasten the sweep to the bottom of the interior face of the door with the screws that are provided. You can do this while the door is hanging, and the entire process takes less than half an hour.