How To Install A Pocket Door
We may receive a commission on purchases made from links.
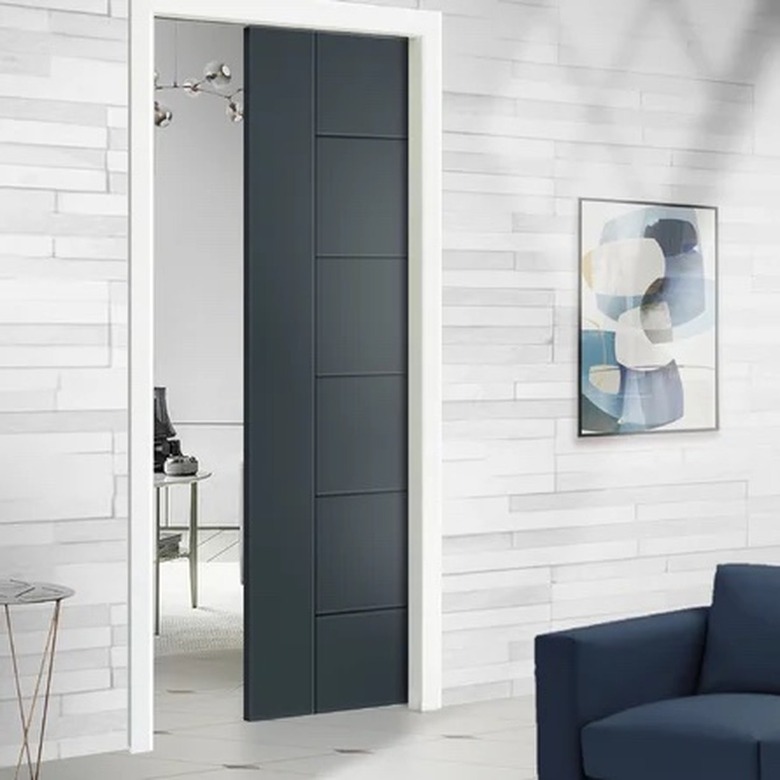
A pocket door is a space-saving passage door option that fell out of style sometime in the mid-twentieth century. But as more homeowners customize their home interior, pocket doors are making a comeback. Although it seems like you need to hire a contractor to install a pocket door, motivated DIYers can get the job done themselves. That said, this is a fairly difficult DIY, so hiring a pro may be your best bet (unless you're really handy).
While you technically can do the entire installation with your own framing lumber and a table saw, it will be much easier to use a store-bought pocket door kit that includes a new door, a track, and all the necessary hardware. You can also reuse your old door and purchase the pocket door frame and track separately.
Things to Consider Before You Install a Pocket Door
Things to Consider Before You Install a Pocket Door
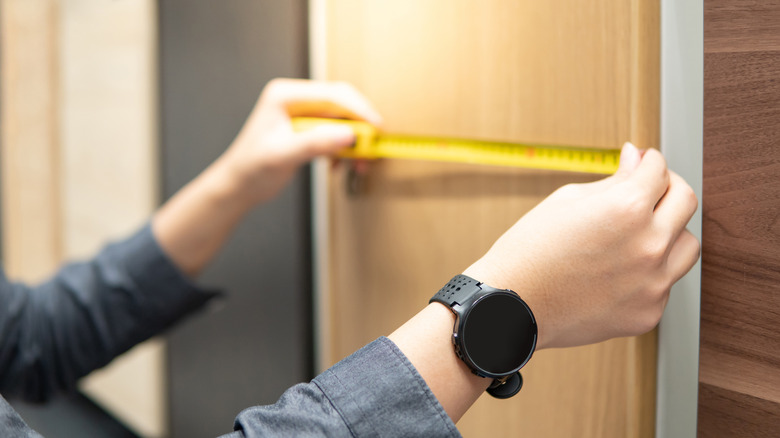
You can either install a pocket door in a wall that doesn't already have a doorway or replace an existing interior door. Either way, you need to frame a rough opening that is twice the width of the actual door, plus an inch. When converting a standard door opening, you'll need to remove the drywall from the wall on the side of the door opening into which the pocket slides so you can modify the framing. Consider the following before you start:
Is the Wall Load-Bearing?
You need a header (a support above the door) that spans the entire distance, and it has to be strong enough to hold the load the wall was supporting before you installed it. A 2x4 header is usually all that's required in a non-load-bearing wall, but if the wall is load-bearing, you'll need a heftier one.
Consult with a contractor or structural engineer to determine the actual header dimensions if you suspect the wall to be load bearing. You should also check with your building department in your city because you often need a permit to modify a bearing wall, and if so, you'll probably also have to file a plan for supporting the load until you get the header installed.
Are Pipes and Wiring in the Way?
The wall on the side of the door into which the pocket slides must be completely free of electrical wires and plumbing pipes. If there is just a single wire or pipe, you may be able to reroute it, but if there is a bundle of wires or more than one pipe, you should probably install a different kind of door.
Will You Have Enough Privacy?
Pocket doors are not good privacy doors, and because they are usually flimsy, they aren't very soundproof either. They work well for pantry, hallway, closet, and living room entry doors. A pocket door doesn't make a great bedroom or bathroom door.
How to Install a Pocket Door
How to Install a Pocket Door
Things Needed
-
Wood for door header
-
Pocket door latch (optional)
Tackling this DIY yourself? Follow this instructions to install your pocket door the right way. And if you're hiring a pro to take this one off your hands, this is the route you can expect them to take.
1. Remove the Drywall and Existing Door Jambs
Although you can install a pocket door by simply removing drywall from one side of the wall, it's easier if you open up both sides of the wall.
- Before you cut into the drywall, use a non-contact voltage tester to check for electrical wires and mark their positions so you don't accidentally slice through any.
- Instead of simply cutting an opening for the pocket door, remove the drywall from the entire wall, ceiling to floor.
- Reroute any pipes or wires in the way (or have a plumber or electrician do it).
- Remove the existing door casing, starting at the floor.
- Pry off the side jambs using a flat bar and then the top jamb to expose the studs framing the rough opening.
2. Remove the Studs
- Cut through the fasteners holding the studs to the top plate of the wall using a reciprocating saw.
- When the tops are free, you should be able to tilt the stud toward you and pull it off the nails holding it to the bottom plate (unless they're screwed on, then you'll have to cut through those as well).
- Remove all the studs that intersect the space in which the door will fit.
3. Remove the Existing Header
There are two studs joined together bordering the pocket side of the door opening: a jack stud to support the header and a king stud behind it that spans the distance from the top to the bottom plate.
- Detach the header from the jack studs on both sides of the doorway and remove it.
- Pry out the jack stud/king stud pair from the pocket side of the door.
4. Install a New Header
You need a new jack stud/king stud pair to support the new header, and the height of the jack stud must be the same as the height of the existing jack stud on the opposite side of the doorway. Consult the frame manufacturer's instructions because they may specify longer jack studs than the ones you have, in which case you'll also have to replace the one in the door opening.
- Install the new king stud/jack stud pair so that the face of the jack stud is a distance of twice the width of the door plus an inch from the face of the opposing one. Check the installation instructions that come with your kit because the distance may be slightly longer than this.
- Secure the king stud to the top and bottom plates of the wall with screws after first plumbing it with a level to make sure it's straight.
- Cut a new header to fit between the king studs. Set it on top of the jack studs and check to make sure it's level. If not, insert shims as needed under the low end and then secure the header to the studs with screws.
- Finish by installing cripple studs, short studs that you can cut to size, between the header and top plate at 16-inch intervals.
5. Install the Pocket Door Frame
Most pocket door kits include brackets for fastening the frame to the stud and the bottom plate.
- Set the frame in the opening you created in the wall and fasten it to the jack stud in the pocket and the bottom plate. If the pocket jack stud is properly placed, the split stud in the door opening will be flush with the end of the bottom plate.
- Plumb this stud with a level before connecting it to the bottom plate and the header with the provided brackets.
6. Install the Upper Track
- Screw the upper part of the frame that extends between the jack studs to the header.
- Screw the track to this part of the frame, making sure the track tays centered in the frame for its entire length.
7. Install the Hangers and Hang the Door
- Install the door hangers on the top of the door according to the manufacturer's instructions.
- Hang the door on the track.
- Make sure the door hangs straight by opening it all the way into the pocket to make sure that the edge is flush with the split stud in the doorway. Then, close it to make sure it glides smoothly.
- Install a jamb on the side of the door against which it closes. Without this trim piece, the door opening is too wide. Close the door again to make sure it completely covers the door opening.
- If desired, put trim on the top of the frame to hide the track. This trim may be supplied with the kit.
8. Cover the Wall With New Drywall
- Install new drywall over the exposed wall, screwing it to the wall studs and to the pocket door frame. Use 1 1/4-inch drywall screws for this; if you use anything longer, the tips of the screws may penetrate the nailer or the intermediate studs and scratch the door.
- Use tape and joint compound to finish the drywall before installing door casing and hardware.
9. Install Door Casing and Door Hardware
- Trim the door opening with door casing, painting as desired.
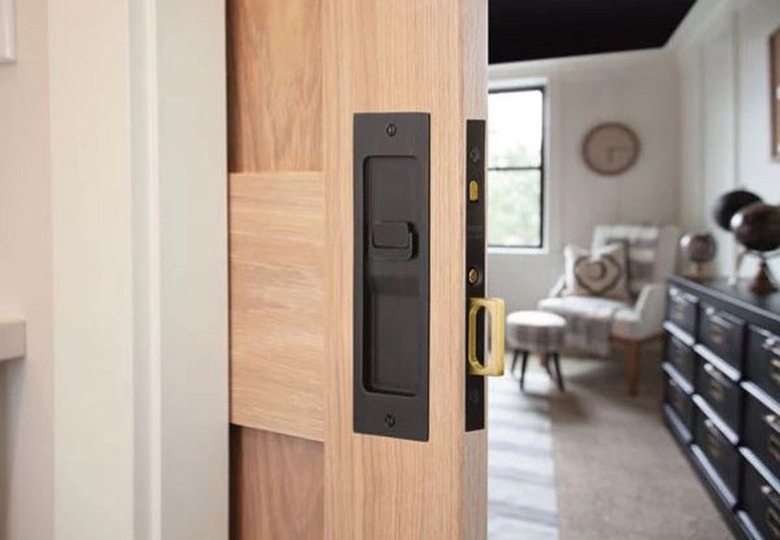
- If there isn't one already, install a thumb hook in the edge of the door to allow you to pull the door when it's inside the pocket. Pocket door kits will come with these hooks along with instructions on how to install them.
- You can also install a latch to keep the door locked, which you can purchase separately.