How To Replace A Sheet Of Drywall
We may receive a commission on purchases made from links.
Drywall repair is easy, and it's generally unnecessary to replace a whole sheet. If you have a large hole — perhaps made when someone was moving a chair or table with a tad too much enthusiasm — you generally need to cut out and replace only the damaged section.
One situation might call for removal of an entire sheet, however, and that's water damage. When drywall gets wet and mold starts to grow, replacement is the only option, and since mold can spread, it's often safer to replace an entire sheet rather than just the moldy section. Although this type of drywall replacement does call for carrying a large and somewhat heavy sheet of drywall through the house, it's even less challenging than replacing a section.
Things Needed
-
Tape measure
-
Screwdriver
-
Drop cloth
-
Utility knife
-
Clay hammer
-
Drill
-
Phillips bit
-
Pencil
-
Paint
How to Replace a Sheet of Drywall
How to Replace a Sheet of Drywall
Before you start, make sure you know the thickness of the drywall you're replacing. It's probably 1/2 inch because that's the most common size, but it could also be 5/8 inches. A good way to tell is to remove the cover plate from a switch or receptacle on the same wall as the damaged sheet to expose the edges of the drywall. You can measure the thickness with a tape measure.
1. Remove the Baseboard and Electrical Cover Plates
If the drywall is on the wall, pry off the baseboard with a pry bar to expose the bottom edge. Do this carefully so you can reuse the baseboard. Now unscrew and remove all the electrical cover plates on the damaged sheet using a screwdriver. You don't have to turn off the power for this; just be careful not to touch any exposed electrical wires or terminals.
2. Pull the Tape Off the Seams
With the baseboard off, you can see the ends of the tape covering the seams on both sides of the damaged sheet. Grab the end of the tape and pull the tape off the wall all the way to the ceiling. All the dried joint compound (mud) covering the seams will crumble and fall off, so make sure there's a drop cloth on the floor to catch it. At the top of the wall, use a utility knife to cut the ends of the tape joining the sheet to the ceiling and pull off the tape. Try not to disturb the tape joining the adjacent sheets to the ceiling. Scrape loose mud off the adjacent sheets with a paint scraper.
3. Remove the Screws or Nails
If the drywall is nailed, pry out one edge to make the nails pop out and then pull the nails with a clay hammer. Pry a little farther to make the nails pop out of the next stud and pull them. Go over to the other edge and repeat. There should only be four studs behind the sheet.
If the drywall is screwed, use the utility knife to scrape mud off the top of the screw heads and then back out each screw with a drill and a Phillips bit.
4. Remove the Damaged Sheet and Clean Up
Lift the damaged sheet away from the wall and place it on top of the new one — either on the floor or leaning against a wall — so you can use it to mark the holes for the electrical fixtures. Clean up all the old mud and dust from the floor and make sure there are no stray fasteners in the studs.
5. Prepare the New Sheet
Line up the edges of the damaged sheet with those of the new one and trace the outlines of the holes for electrical fixtures with a pencil. Cut out the holes with a drywall saw.
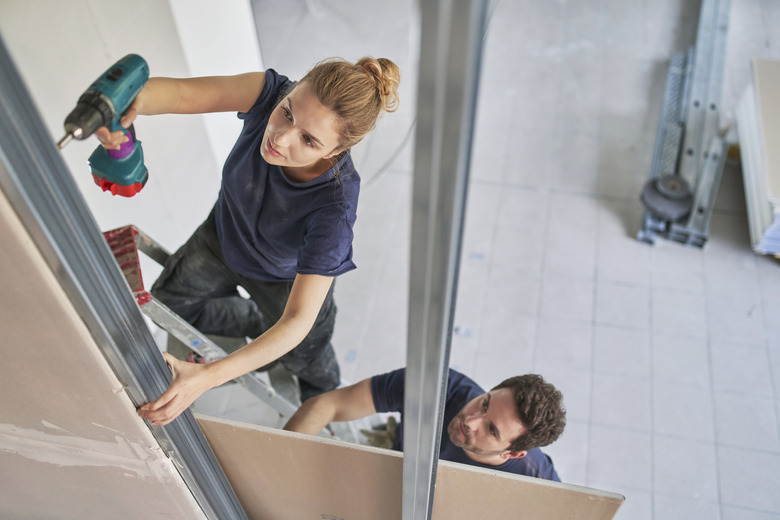
6. Hang the Drywall Replacement Sheet
Set the new sheet in position and lift it so the top edge is flush against the ceiling. Fasten it to the studs with drywall screws. Sink the screw heads about 1/16 inch below the paper so you can cover them with mud.
7. Tape and Mud the Joints
Tape the joints along the two edges and the top with drywall tape and mud just as you would if you were installing new drywall. It usually takes three coats of joint compound applied with successively wider drywall blades to make the seams disappear. Don't forget to cover all the exposed screw heads.
8. Paint the Entire Wall
Apply a coat of PVA drywall primer to the new sheet and to all the dried joint compound. Paint the entire wall — not just the replacement drywall — to ensure uniform color. Replace the baseboard and cover plates when the paint dries.