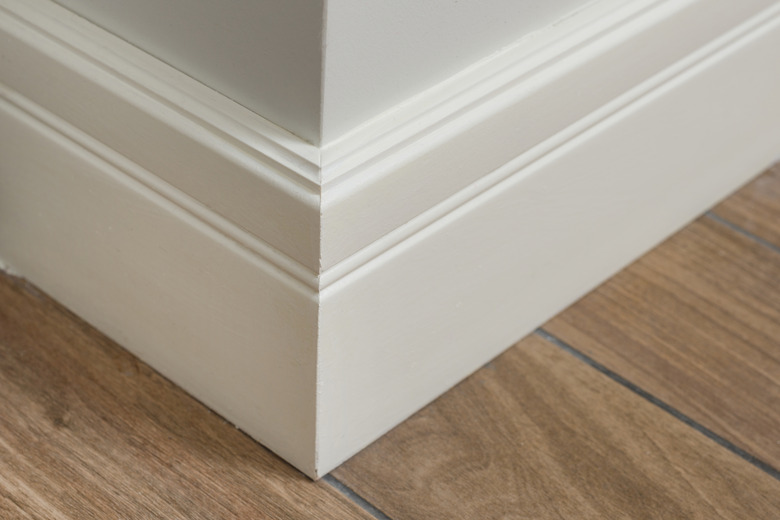
How To Remove Baseboard Moldings
No room looks complete without baseboard molding. Its main function is to hide the gap between the flooring and wall, and, depending on the style, it can make a design statement. Baseboard molding is a very important architectural element of room design. Baseboard moldings comprise a notable expense in a room, which means that if you want to strip or repaint them for reinstallation, it makes sense to take care when removing them. Even if you are just replacing the moldings with new ones to upgrade the style, careful removal is essential to avoid wall damage. Baseboards can crack, and removal can damage the wall, but neither will happen if you take your time and work methodically.
 Valeriy_G/iStock/GettyImages
Things Needed
-
Utility knife
-
Heavy-duty putty knife
-
Hammer
-
Pry bar
-
Scrap wood or cardboard
-
Pencil
-
Pliers
Removal Procedure
Removal Procedure
If you plan to reuse the baseboards, it's a good idea to number them as you remove them. Find a safe place to stack them, keeping in mind that some of the pieces could be 10 to 12 feet long.
1. Cut the Caulking
Run a sharp utility knife along the top edge of the baseboards to cut through the caulking, if it is present. If the baseboards are caulked along the bottom edge, it's also a good idea to cut through that, but it isn't as important here. The main reason to cut the caulking is to prevent damage to the wall when you pry off the baseboards.
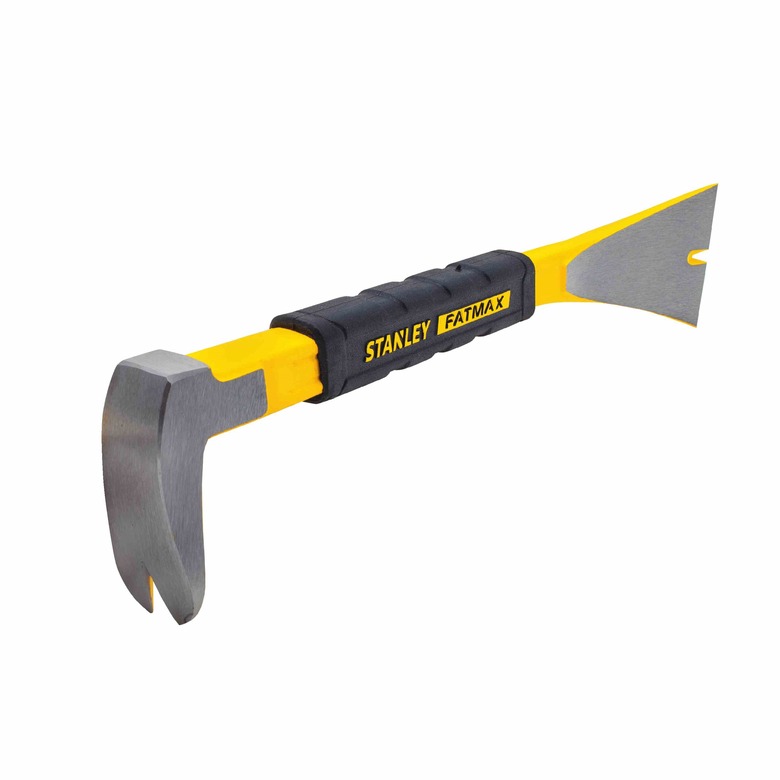
2. Start at the Center of Each Board
Move to the center of the wall and tap a thin-bladed tool between the baseboard and the wall. A stiff metal putty knife is the ideal tool to use for this because it will cause minimal damage. Insert the blade close to a nail and pry outward to open a gap, then insert a pry bar and gently work out the nail. You may be able to pry out the baseboard with the putty knife, in which case, you don't need the pry bar.
Tip
To avoid damage to drywall or plaster surfaces, use a wood shim or a piece of scrap wood or cardboard between the putty knife or pry bar and the wall surface. Excess force can easily dent or even break wallboard.
3. Work Toward the Corners
Locate the nearest nail to either side of the center point, and repeat the procedure with the putty knife and, if necessary, the pry bar. As the baseboard bulges away from the wall, you may be able to insert your fingers to help coax the baseboard further. Keep working out the nails until you reach the corner. Be especially careful at the corners, as it is easy to splinter the mitered or coped ends of the molding. Once the first corner is free, return to the center and work your way toward the other end.
 Stanley
Tip
Small pieces of baseboards in corners can easily crack when you try to remove them. You may be able to prevent this by working carefully with the putty knife. Pry gently until the nail pops out slightly, then grasp the nail with pliers and pull it out.
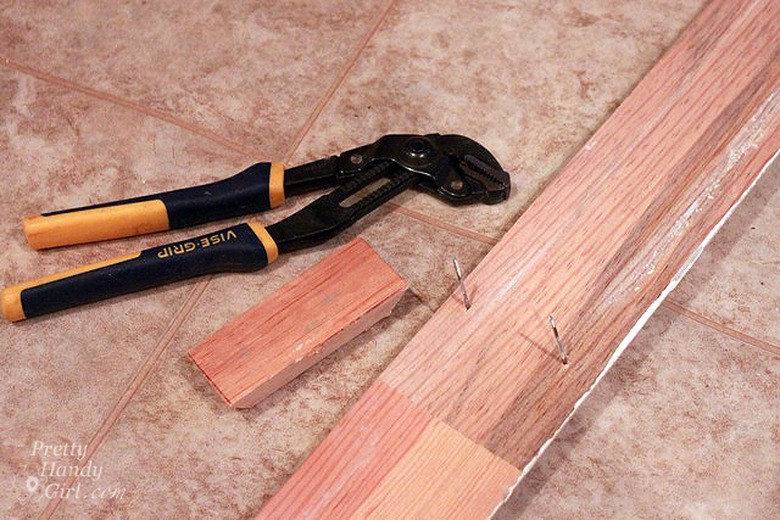
4. Remove Nails and Number Each Board
Set the baseboard on a workbench or sawhorses and remove the nails. If the baseboards will be discarded, you can simply pound the nails out from the back side. But if you are planning to reuse the baseboards, it may be best to use a pry bar or channel-lock pliers to pull the finish nails through the molding from the back side rather than pounding them back through the front face of the molding. Pounding the nails out toward the front face of the moldings can easily sprinter them, but pulling them all the way through from the back side will leave you with minimal damage.
 Unique Wood Floor
If this isn't practical, carefully drive the nails a short distance back out the front side, then use pliers to grip the nail heads and pull them free. This will minimize splintering. If you plan to reuse the baseboards, write a number on the baseboard with a pencil, then write the same number on the wall as a reference.
Stack the baseboards out of the way for reuse or disposal.
Tip
It's important to remove the nails from the baseboards even if you don't plan to reuse them. The nails are hazardous. Even if no one steps on one, they make carrying and disposing of the baseboards more difficult and dangerous.
5. Clean Up the Wall
Use pliers or a nail puller to remove nails from the wall, if they didn't come free when the baseboards were removed. It's fairly common for nails to remain in place as the baseboards are pulled free. If the baseboards were caulked, some of the caulk will still be stuck to the wall. You can usually remove this with a combination of cutting with a utility knife and pulling with pliers or your fingers.
Tips for Replacing Baseboards
Tips for Replacing Baseboards
- If you plan to reuse your baseboards, you'll likely want to repaint them as well as repainting the walls. Do this before reinstalling the baseboards. It is much easier to simply retouch caulk and nail holes than to paint the entire baseboard after reinstallation.
- If you're removing carpeting and replacing it with a thinner floor covering, you may find that there's a gap between the bottoms of the baseboards and the floor when the baseboard moldings are reinstalled. You can cover this gap by adding new quarter-round molding or base shoe molding at the bottom of the baseboards.