How To Reroute Electrical Outlets
We may receive a commission on purchases made from links.
When you need to move an electrical outlet, you usually don't need to move it very far. You may, for example, want to install a shelf or cupboard on the spot where the outlet is now, and you just need to relocate the outlet a few feet away on the same wall to make room for the new furnishing. However, moving an outlet even a short distance can call for running new wires, particularly if the direction you're moving it is farther from the main panel.
You almost always need to run new wires if you move the outlet horizontally farther than the separation between pairs of studs (which is 16 inches in standard framing) unless you're willing to cut out a significant hunk of drywall to allow you to access the old wires and disengage them from the studs. If the outlet is daisy-chained to another one, you may also have to run new wire from the outlet's new location to the outlet to which it's connected. It goes without saying that all this must be accomplished with the breaker off, and it's also important to remember that this is generally a job for a pro and should be undertaken only if you have confidence in your electrical wiring skills.
Start by Disconnecting the Outlet
Start by Disconnecting the Outlet
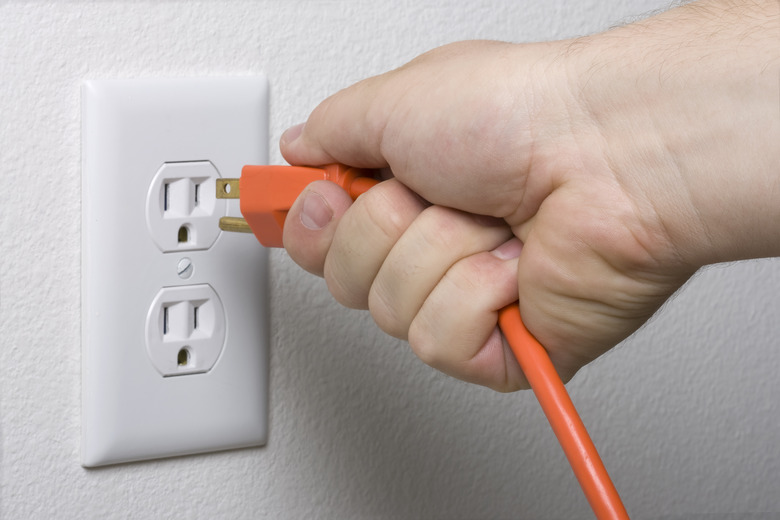
First, turn off the breaker controlling the outlet and then remove the outlet cover and test the terminals with a noncontact voltage tester to verify that the power is off. Now you can safely unscrew the outlet from the electrical box, pull it out, and disconnect the wires from the outlet terminals. If the outlet is at the end of a circuit, there will be one black wire, a white one, and a bare one, but if the outlet is daisy-chained, you'll find an extra black, white, and bare wire.
When there is more than one wire pair, you need to know which of the black wires is the line wire (connected to the panel) and which is the load wire (connected to another outlet). To determine this, separate the wires, turn the breaker back on, and test each of the black wires with the voltage tester, being careful not to touch any wires with your hands. The live black wire will light up the tester. Turn off the breaker and mark that wire with tape (along with the white wire in the same cable) for easy identification.
Run Cable to the New Location
Run Cable to the New Location
Determine the new location of the outlet, trace the outline of a remodeling electrical box on the drywall, and cut along the outline with a drywall saw to make a hole. If the new location is closer to the panel, you may be able to push the wires out of the old electrical box and feed them through the hole. That's the easiest scenario, but there are two other possibilities:
- The outlet is farther from the panel, and you don't plan to permanently cover the old electrical box. In this case, you can run a short length of cable between the old and new locations, splice that wire onto the wires in the old box, and cover the box with a blank cover plate. Code allows this only if the cover plate remains accessible, so don't do it if you're planning to build something that will cover the electrical box.
- The outlet is farther from the panel, and you plan to permanently cover the old electrical box. In this case, your only option is to run a new cable to the new outlet location directly from the panel (or from another switch or outlet). If the outlet is daisy-chained, you'll probably also need to run new cable from the new outlet location to the next device in the chain.
Install an Electrical Box and Make the Wire Connections
Install an Electrical Box and Make the Wire Connections
Feed the cables coming out of the hole through the back of a remodeling box and secure the box to the drywall by tightening the screws. If there is more than one cable, attach the live wire pair to one set of terminals (black goes on a brass terminal, and white goes on the chrome terminal across from it) and attach the load wires to the other set of terminals. Twist the ground wires together, leaving one longer than the other, and connect the long wire to the green ground terminal. Screw the outlet to the box and install a cover plate.
If you're drawing power from the wires in the original outlet box, connect the line wires going to the new location to the live wire pair in the original box that you marked with tape — black to black, white to white, and ground to ground. Twist the wires together with pliers, screw a wire cap onto each spliced pair, push the wires into the box, and install a blank cover plate. If there are load wires in the original box that were powering another outlet, you can twist them together with the line wires, and they will still power that outlet. Just make sure you use larger wire caps that can accommodate three wires, not just two.
Tip
If you run new cable from the panel to the new location and decommission the old electrical box, an easy way to cover the box is to use a drywall repair patch. It has mesh that sticks to the drywall and a metal plate that covers the box. Cover the patch with two or three coats of joint compound to make a seamless repair.