How To Install A Sliding Barn Door — An Easy DIY Guide
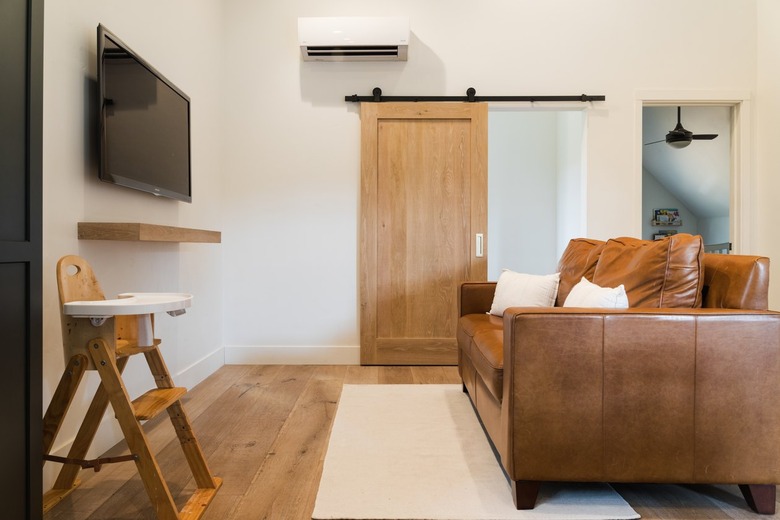
A sliding barn door doesn't work with every home decor scheme, but if you're looking to bring some farmhouse style into your living space, it's an effective way to do it. In addition, a sliding barn door is one of the most DIY-friendly door options available. If you can't find a suitable one at a retail outlet, you can build your own barn door from found or reclaimed wood as easily as you can construct a wood gate, and you can install it with a barn door hardware kit.
Most people probably won't go to the trouble of actually building a door, and there's no need to do so because it's easy to find ready-made ones online or at home improvement outlets. Barn door installation is more akin to installing a sliding closet door than it is to installing a swinging interior passage door. In fact, the door installation itself is effortless and merely consists of hanging the door on its track. All you have to do is install the track.
Is Your Door Opening Suitable?
Is Your Door Opening Suitable?
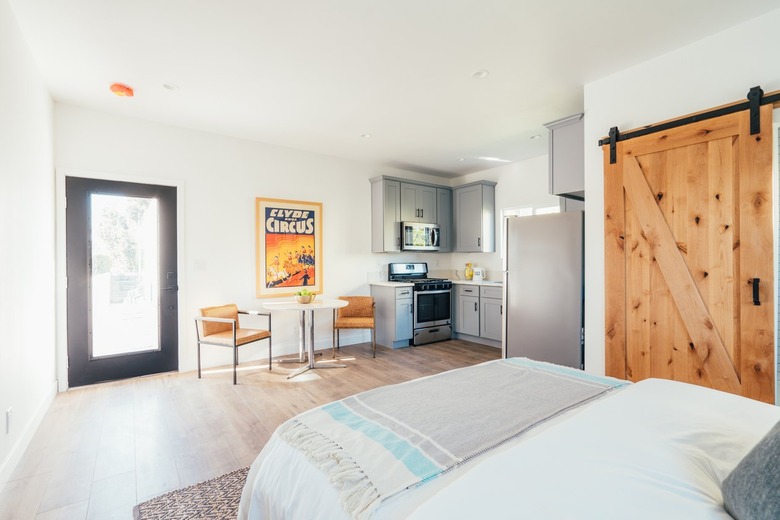
There are only two prerequisites for sliding barn door installation. Because it slides on a track in front of the door opening, you need enough clear wall space on one side of the door opening to accommodate the barn door when it's open. You also need a straight door frame.
You can't have a built-in feature, like shelving, or a window in the path of the door because the door won't open or the feature will be an obstruction. It's also a bad idea to install barn doors next to light switches or electrical outlets that you use often because these devices won't be available when the door is open. However, there's no problem if an open sliding door hangs in front of an electrical device that you seldom or never use.
If you choose a door that is the same width as the door opening and the opening isn't plumb, the door won't completely cover the opening. You can get around this by choosing (or making) a door that is wider than the opening, but there's still another problem. The edge of the door, which is plumb, will contrast with the out-of-plumb edge of the door opening and draw attention to it. To avoid the visual faux pas of this situation, it's a good idea to fur out the sides of the door opening (aka add extra wood) to make them plumb before you install the door.
What's in a Barn Door Installation Kit?
What's in a Barn Door Installation Kit?
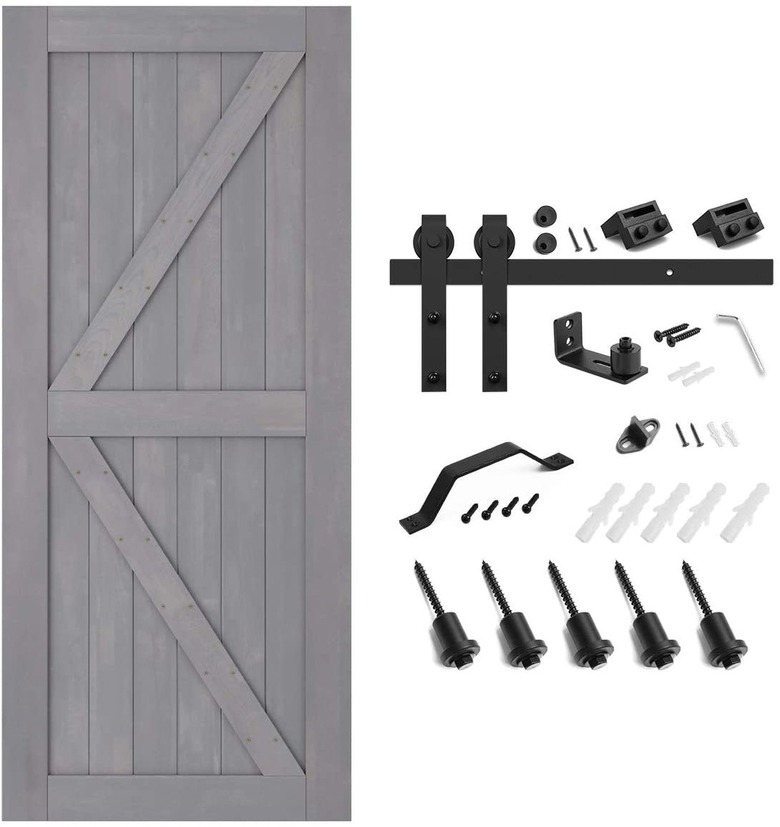
A typical barn door kit, such as the Smartstandard kit, comes with the door, which is usually made from a stained and finished softwood, like pine or spruce, and all the hardware you need to hang it. Barn door hardware includes a top rail, spacers to keep the door separated from the wall, hanging brackets, and rollers. The kit also includes stoppers to prevent the rollers from falling off the track, a door handle, a floor guide to prevent the door from swinging back and forth, and all the screws and bolts you need for installation. Some kits for heavy doors also include bottom rollers and a floor track.
The overhead track, which is made of heavy-duty steel, usually has predrilled holes for driving in screws, and the holes are spaced for standard wall stud spacing. It's a matter of luck, however, if the holes actually line up with the studs, and they often don't, especially if you need to offset the track slightly. To remedy this situation, you might need to install a 1x4 wood backerboard (header board) to hold the screws for the track. This isn't included in the kit, so you'll need to add a 1x4 to your shopping list, and it's best to purchase an 8-foot length to guarantee it's long enough.
Things Needed
How to Install a Sliding Barn Door
How to Install a Sliding Barn Door
Before you purchase the barn door and the hardware kit, you'll want to measure the width of the door opening. Purchase (or make) a door wide enough to cover the opening with an inch or two of overlap on either side. Purchase a track long enough to allow the door to completely clear the door opening in an open position.
1. Determine the Placement of the Hangers on the Door
Lay the door flat on a table to determine the best placement of the brackets. They should typically be 3 to 6 inches from the door's side edges, but this placement can vary according to the door size and style. It's important to position each bracket the same distance from its respective edge as the other one.
To determine the vertical placement of the brackets, add the width of the rail, the thickness of the anti-jump stops that go on top of the door, and one-half the depth of the groove in the rollers. That sum is the distance of the bottom of the roller from the top of the door.
2. Install the Hangers
Position one of the hangers in the place you want it, use a speed square to make it perpendicular to the top of the door, and clamp it in place with a C-clamp. Drill a hole through each of the holes of the bracket and all the way through the door using a 3/8- to 1/2-inch drill bit depending on the size of the pre-drilled holes on the bracket. Insert the bolts that come with the kit through the holes, slip washers onto the ends, twist on the nuts, and tighten the nuts with a socket wrench. Install the other hanger in the same way. Once the hangers are installed, screw the anti-jump stops that come in the hardware kit to the top of the door, spacing them uniformly between the hangers.
3. Cut the Header Board to Length
If you need a header board (i.e. your predrilled holes aren't matching up with the wall studs) measure the length of the track with a tape measure and cut the header board 2 to 4 inches longer using a circular saw.
4. Install the Header Board
Determine the height of the header board by measuring the distance from the bottom of one of the rollers to the bottom of the door using a tape measure. You need to add 3/4 inch to this measurement to allow for a gap between the bottom of the door and the floor, but since the track will be installed in the middle of the header board, you also need to subtract half the width of the board, or 1 3/4 inches (for a 1x4 header, which is 3 1/2 inches wide). The net result is that you subtract 1 inch from the measurement. For example, if the distance between the bottom of the roller and the bottom of the door is 86 inches, the header height is 85 inches above the floor. When you have the final measurement, make a mark on the wall at this distance from the floor.
Find the studs using a stud finder, mark their positions on the wall with pencil marks and measure the distances between them. Transfer these marks to the header board and drill two holes — one above the other — at each mark. Set the header board into position on the wall at the correct height and drive a 1 3/4-inch screw through a hole on one end. Go to the other end of the board, place a level on top of the board, adjust the board until the bubble is centered, and then drive a screw through a hole in that end. Double-check the board with the level and then drive screws into all the other drilled holes.
5. Predrill Holes for the Track
Center the track in the middle of the header board (this is easier if you have a helper) and measure the distance from the bottom of the track to the bottom of the header board. Drive a screw into one of the predrilled holes in the track to temporarily hold that end and then go to the opposite end of the track and adjust it to make the distance to the bottom of the header board the same. This should level the track, but it's a good idea to double-check with the level. Once the track is level, drill through each of the predrilled holes into the wood using the size of drill bit recommended in the installation instructions. Remove the screw from the last hole and drill a larger hole into the hole made by the screw.
6. Install the Track and Spacers
Set the track back into position so you can attach it with lag screws and spacers that come with the hardware kit. The function of the spacers is to keep the track separated from the wall so the wheels can roll freely. To install each lag screw, position a spacer behind the track and insert the screw through the front of the track and through the spacer. Then, drive the screw into the header board using a socket wrench. Repeat the same process for each screw to securely attach the track.
7. Hang the Door
Lift the door onto the track so the rollers rest on the track. Because you've already installed the anti-jump stops, you may have to angle the door toward you to get the wheels to clear the edge of the track. If this is difficult or doesn't work, you may have to remove the stops and replace them after the door is hanging.
8. Position the Door Stops
Close the door all the way and then slide one of the door stops onto the track. Butt it against the side of the door closest to the end of the track and tighten the screws with the Allen wrench provided with the kit. Open the door far enough to completely clear the door jamb, slide the other stop along the track, butt it against the opposite side of the door, and tighten it down.
9. Install the Floor Guide
Open the door all the way and position the floor guide on the floor and in the groove on the bottom edge of the door. It should be about 1/2 inch from the outside edge of the door. Loosen the door stop to allow you to open the door farther and expose the guide. Then, screw the guide to the floor with the screws provided. Move the door back into its original position and replace the door stop when you're finished.
10. Attach the Door Handle
You should consult the installation instructions for details about installing the handle supplied with the kit, but it generally involves drilling holes in the door and attaching the handle with screws. You can set the handle at any height, but the standard distance from the middle of the handle to the floor is 36 inches. You may want to set the handle a little lower than this for the benefit of the children in the household.
Tip
You can install a sliding barn door on a masonry or concrete wall, and this does not require a header board. Just mark the screw holes for the track directly on the wall, drill holes with a masonry bit, tap a screw anchor into each hole, and drive special bolts for masonry into the anchors.