How To Add A Laundry Utility Sink
We may receive a commission on purchases made from links.
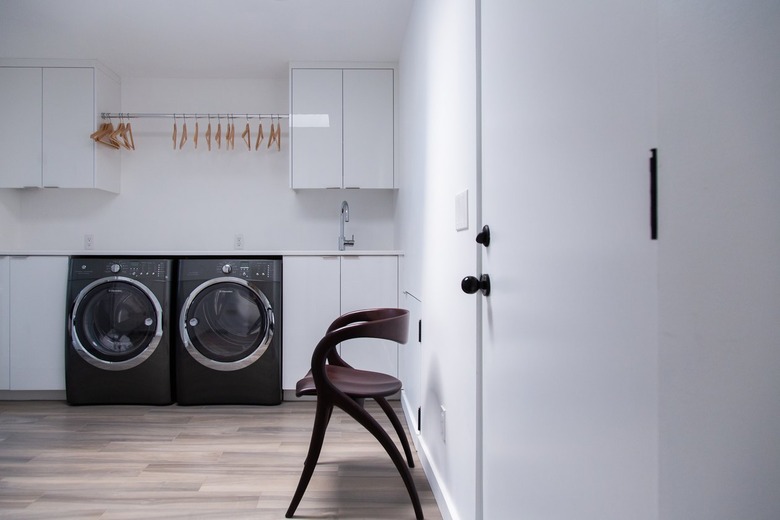
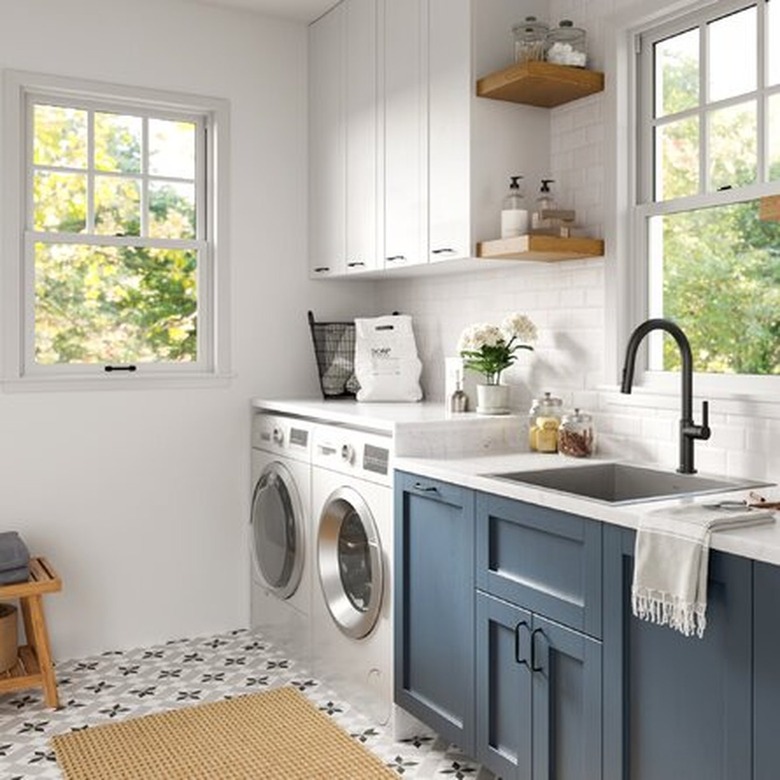
If there's anything that can bring your laundry room to the next level, it's a utility sink. While the utility sink is more function than form (though they can absolutely liven up a space), it's all in all a handy feature to have. Though they mostly live in laundry rooms to soak heavily stained clothes or wash delicates, you can also install them in the garage to make it easier to clean up after messy projects, and even outdoors for washing fruit and vegetables from the garden.
Like any sink, a utility sink has to be connected to a water supply and a drain, and the best way to do this depends on where you install it. A little preplanning can go a long way toward making the sink installation more DIY friendly for the home improvement warrior.
An Overview of Utility Sink Installation
An Overview of Utility Sink Installation
Because they are made of plastic, utility sinks are lightweight and don't need much support. They typically come with adjustable legs, and some are also supplied with a wall bracket. Because the faucet supply lines and drain limit the movement of the sink, many homeowners choose not to attach it to anything, but it's best to secure it to the wall, the floor, or both.
Once the sink is in place, it can be difficult to access the faucet water connections, so it's a good idea to begin the procedure by installing the faucet and the faucet hoses. The drain is much easier to access and can be connected after you place the sink and secure it to the wall or floor.
Keep in mind also that the sink, like all plumbing fixtures, needs a P-trap, and the trap has to be vented. You don't need to worry about the vent, however, if you tie the sink into the washing machine drain and it's within five feet. If the sink is farther than six feet from the washer drain (at the point where the drain ties in), then you will need a vent.
You may be able to avoid running vent pipes, which can be troublesome, by installing an air admittance valve, which is a simple fitting that provides the needed venting. Air admittance valves aren't legal everywhere, so be sure to check with the local building authorities or a plumber before you use one.
 Wayfair
Things Needed
How to Install a Utility Sink in the Laundry Room
How to Install a Utility Sink in the Laundry Room
A new utility sink comes with all the parts you need to assemble it, and some even come complete with a faucet and P-trap. Supplied faucets are usually cheap plastic or chrome ones, though, so if you plan to use the sink a lot, it's worth investing in a stainless steel one that will last longer.
1. Unpack Your New Sink
Check all the parts against the parts list in the installation manual to make sure you have everything.
2. Connect the Sink Faucet
Punch out the holes you need in the back of the sink to accommodate the faucet posts. Some faucets need two holes spaced 4 or 8 inches apart, and some just need a single hole in the middle. Tap the knockout plugs (or holes that have covers on them) in the holes you need with a hammer and screwdriver. If the sink doesn't have knockouts, drill the holes you need with a 1 1/4-inch hole saw.
Lay the sink upside down on a flat surface with the faucet deck hanging over the edge, insert the faucet posts through the holes, and screw on the lock nuts to secure it. If the posts and nuts are made of plastic, hand-tighten only, but if they are metal, use a pair of tongue-and-groove pliers to tighten them. Screw a flexible faucet supply hose onto each post and tighten the connector with the pliers.
Tip
You may have to purchase the supply hoses separately because they usually aren't supplied with the sink.
3. Assemble the Sink
Some sinks need no assembly, but some come with detached legs. Following the installation instructions, connect the legs to the sink. They often just screw on. If the sink comes with a bracket for hanging it on the wall, install that at the proper height, positioning it so you can secure it with screws driven into the wall studs. Use a torpedo level to level it. Depending on the model, you may have the option of using the bracket without the legs to give you more room under the sink.
4. Secure the Sink in Place
Turn the sink upright and set it in place where you want it. If you installed a wall bracket, follow the manufacturer's instructions for securing the sink to the bracket. Adjust the leveling feet on the bottom of the legs until each one is in contact with the floor and the sink is level.
If you don't use a wall bracket, it's a good idea to screw the legs to the floor. If the floor is concrete, mark the locations of the screw holes in the feet, move the sink, and drill a hole for a screw anchor on each mark using a masonry bit. Tap an anchor into each hole, set the sink back in place, and drive screws through the holes in the feet into the screw anchors.
5. Hook Up the Water Supply
Turn off the main water supply and find good places to install tees into the hot water and cold water supply pipes for the washing machine. This is typically just before each shutoff valve. Cut out a section from each pipe large enough to install a tee using a hacksaw for copper pipes or a tubing cutter for PEX. Solder the tees onto copper pipe or clamp PEX tees onto PEX pipes using crimp rings and a crimping tool.
Run copper or PEX pipe to the sink, anchoring it to the wall with pipe straps, and terminate each pipe with a shutoff valve that is strapped to a stud behind the sink with a pipe strap. Screw the hot and cold flexible connectors from the faucet to the hot and cold shutoff valves, respectively.
6. Install the Sink Drain Assembly
Unscrew the locknut from the drain assembly supplied with the sink and remove it and the rubber gasket. Pack the underside of the strainer flange with plumbers' putty and insert the tailpiece through the drain opening in the sink. Slide the rubber flange up the stem, screw on the locknut, and tighten it with tongue-and-groove pliers. Remove the putty that oozes out from the strainer with a putty knife.
7. Hook Up the Drain Line
Connect a PVC P-trap to the bottom of the tailpiece and run a length of PVC drain pipe from the other end of the trap to the washer drain. Be sure to maintain a downward slope of at least 1/4 inch per foot. If this section of pipe is long, you may want to run it along the wall using whatever fittings are necessary and secure it to the studs with pipe clamps.
Cut into a vertical section of the washing machine drain low enough to allow you to maintain a downward slope from the sink trap and install a double wye fitting, which has upper and lower vertical ports and two other ports angled at 45 degrees. Glue the washer drain to one of these 45-degree ports, the sink drain to the other, and the drain vent to the upward-facing vertical one. This way, both the washer and sink can use a single vent.
8. Turn On the Water and Check for Leaks
Turn on the main water supply and then turn on the shutoff valves for the sink faucet. Look for leaks in the water supply lines. If you spot one, you may be able to stop it by tightening a loose connection, but if it's coming from a fitting that you soldered or clamped on, you'll probably have to redo that connection.
Put a stopper in the sink drain, turn on the faucet, and let the sink fill about halfway. Look for leaks from the drain assembly. If you see any, try tightening the locknut, but if you can't get it to stop, you may have to disassemble the drain assembly and pack it with more putty. Remove the stopper and check for leaks in the fitting connected to the tailpiece as the water drains. If the tailpiece fitting leaks, tighten the nut with pliers until the leak stops.