See How We Added Roman Clay To This Shelving Area

We may receive a commission on purchases made from links.
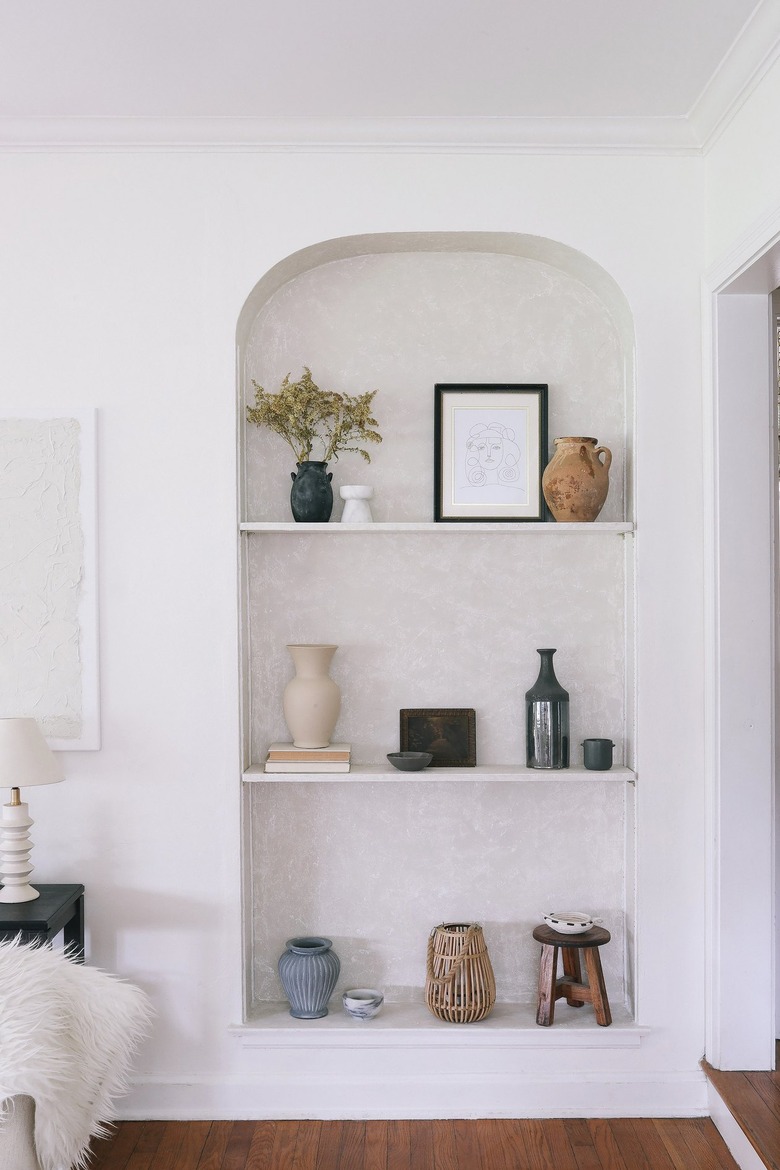
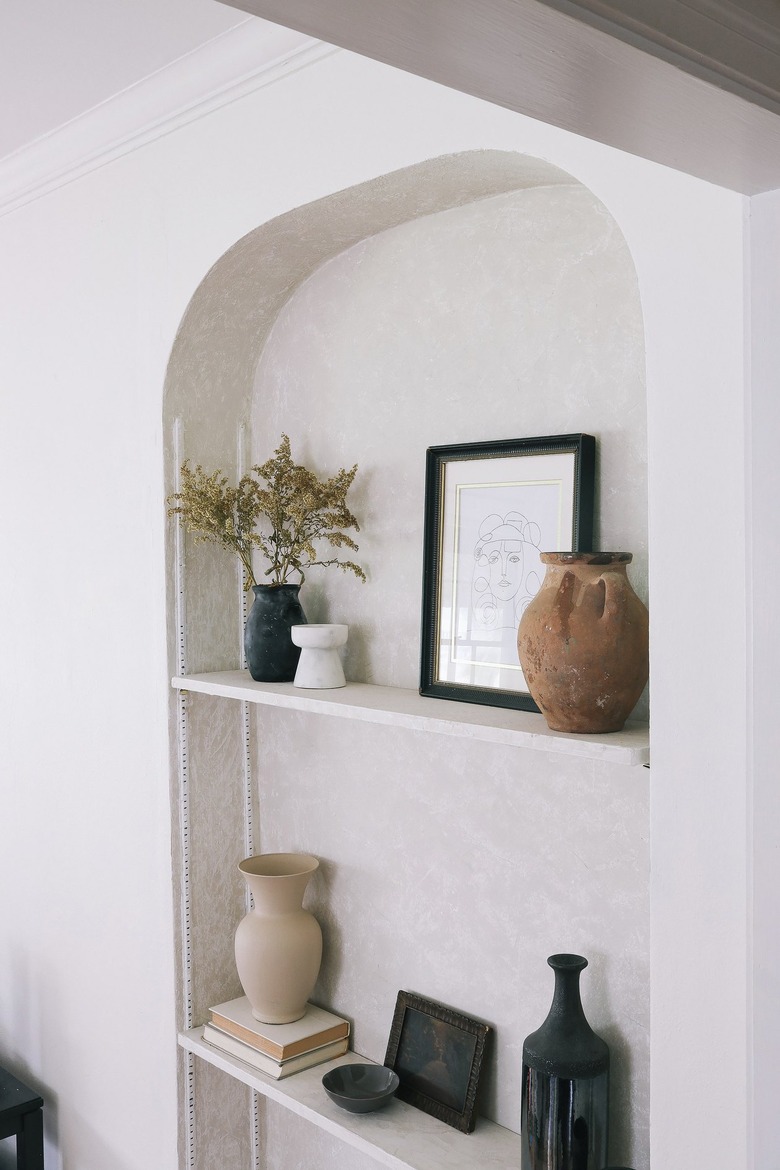
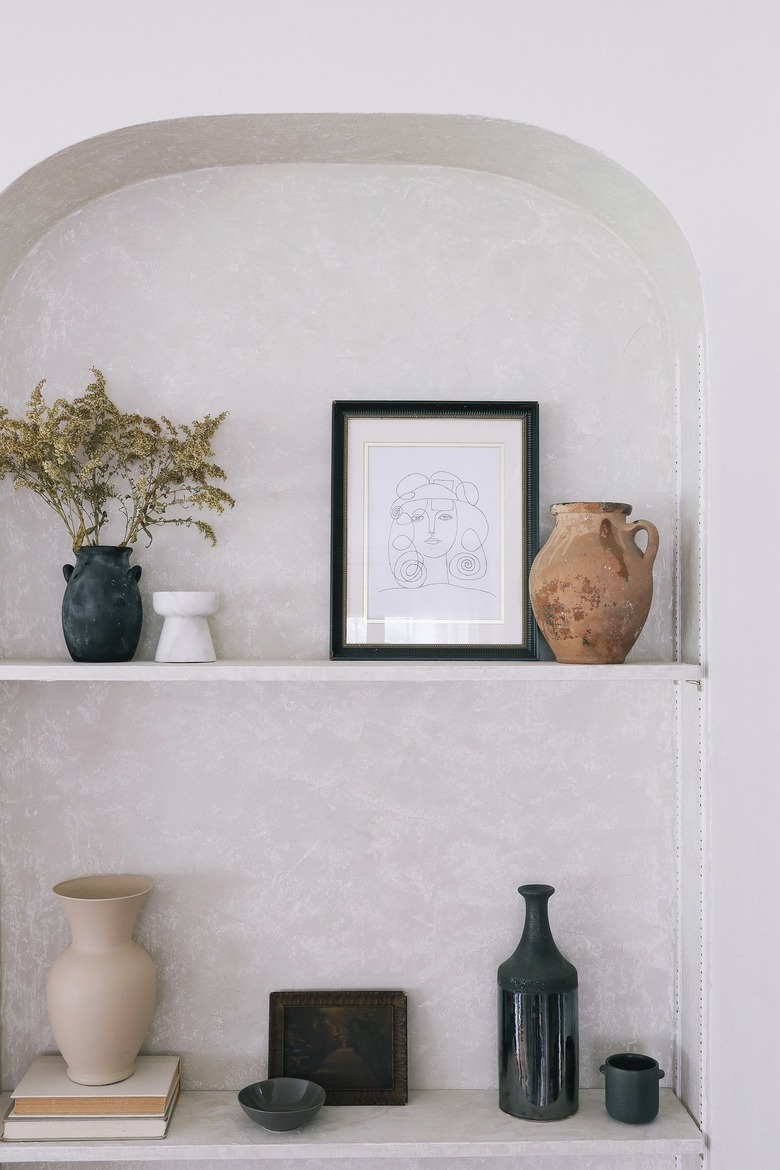
If you're craving a bit of Old World charm in your space, Roman Clay offers an earthy, plaster-like finish that brings gorgeous texture to your walls. It produces a mottled matte look that's very similar to limewash, but it's applied with a putty knife instead of a paintbrush. While you can certainly clad an entire room with it, we love the visual interest it brings to a built-in shelving area. Here, we've applied it to an arched wall niche — shelves and all — opting for a warm beige tone to contrast with the surrounding wall color. The result is the perfectly imperfect look of old stone that has aged over time, but really only took a day to do.
 Trisha Sprouse
Things Needed
-
Roman Clay (we used the color Patagonia)
-
Clear topcoat (optional)
 Trisha Sprouse
Note: Roman Clay is intended only for smooth interior surfaces. If your shelving or built-in area has any kind of texture (such as orange peel or knockdown), you'll first need to apply a skim coat to smooth the surface.
1. Prime
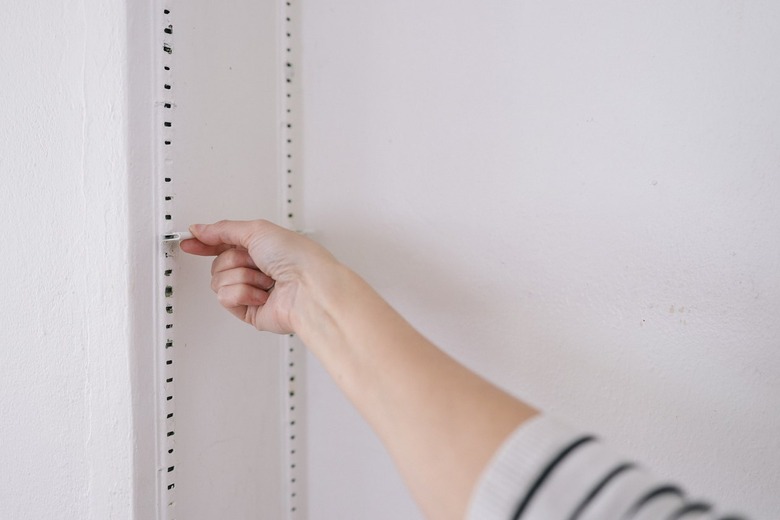
Before applying the Roman Clay, you'll first need to prime the surface of your shelving area and shelves. Start by laying down a drop cloth to protect your floor or surrounding surfaces, and remove the shelves. (We chose not to tape off our shelving tracks because they had previously been painted white and were pretty easy to paint around.)
 Trisha Sprouse
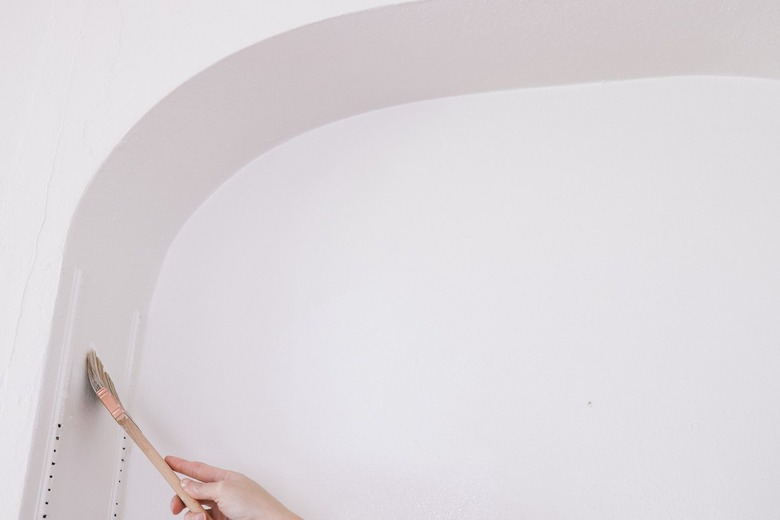
Use a paintbrush to cut in around the edges with primer.
 Trisha Sprouse
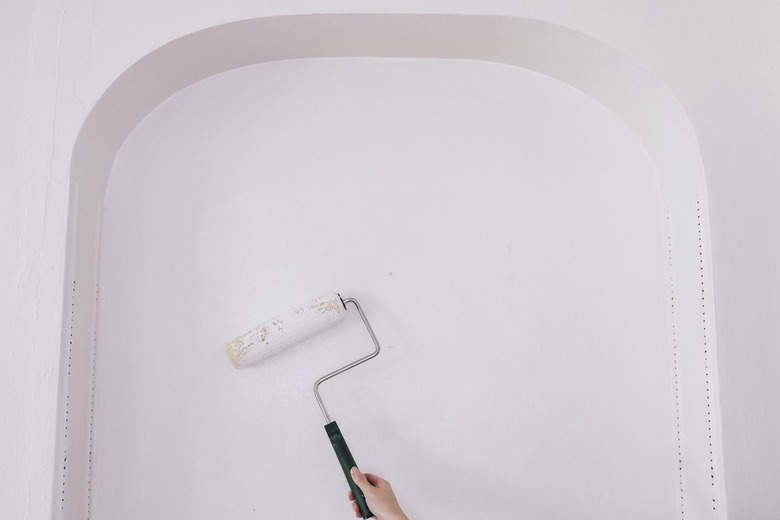
After cutting in around the edges, apply primer to the wall surface and shelves with a paint roller. Let dry completely, about 30 minutes to an hour.
 Trisha Sprouse
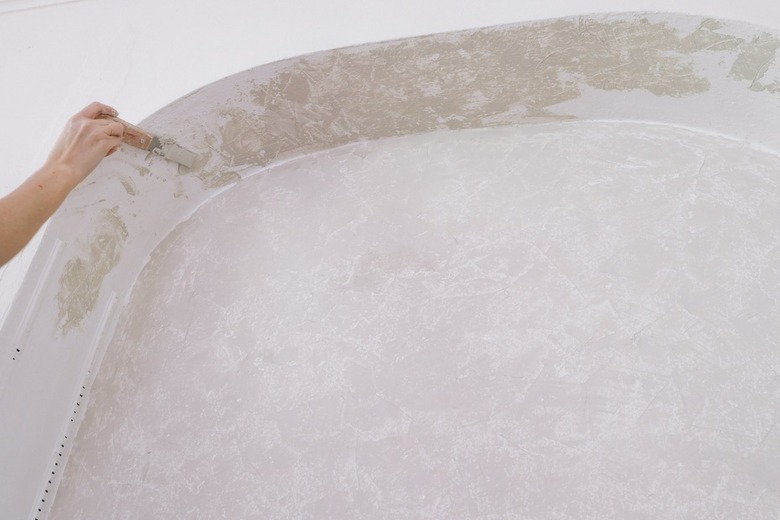
2. Apply the First Coat
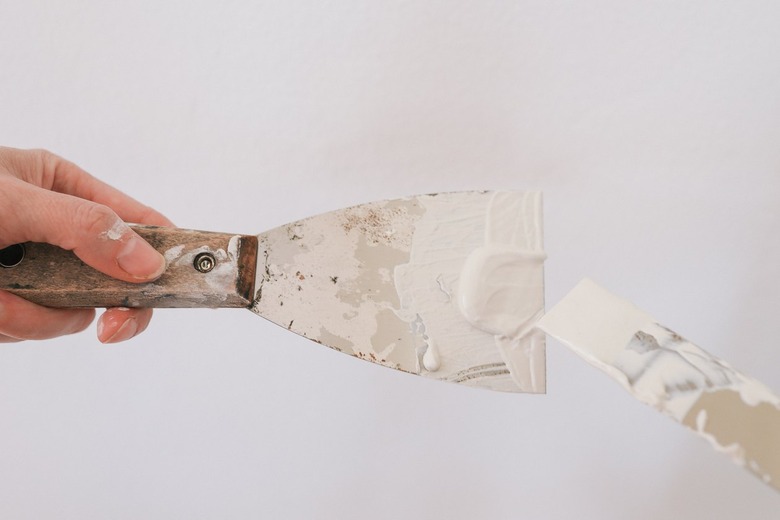
Scoop about a tablespoon of Roman Clay out of the container with a small 1-inch putty knife, and smear it onto the tip of your larger putty knife.
 Trisha Sprouse
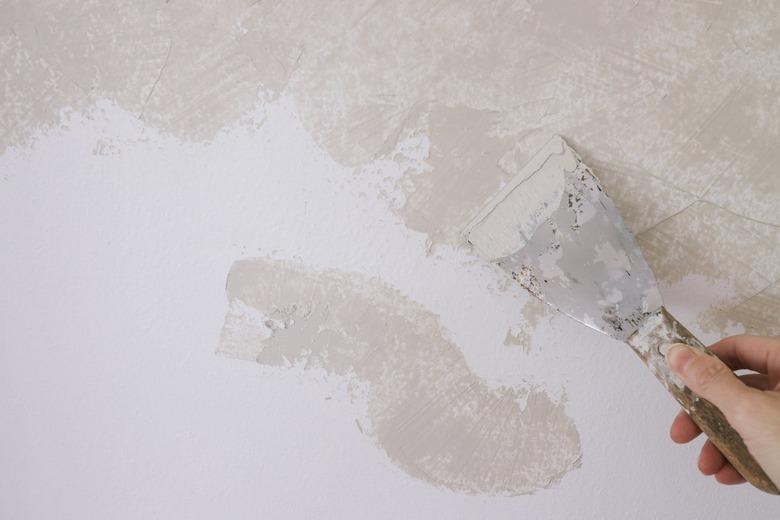
Apply it to the wall using a curved sweeping motion. Then drag the putty knife back over the Roman Clay and pull it in various directions, thinning it out as you scrape it across the surface.
 Trisha Sprouse
Be sure to start in one corner and work toward the other corner, keeping a wet edge as you work. Vary the direction of your strokes and overlap them to create a lot of movement and texture.
 Trisha Sprouse
We found it easier to apply the Roman Clay directly to the edges of the wall arch using the smaller putty knife, and then dragging the larger putty knife immediately afterwards to thin and smooth it out.
 Trisha Sprouse
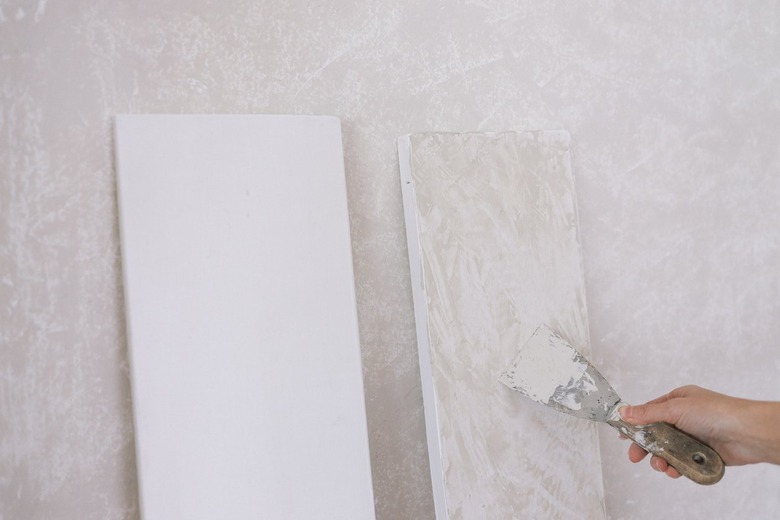
Once you've painted the entire built-in area, apply Roman Clay to the shelves. Be sure not to miss the front edge of the shelves for a cohesive look.
 Trisha Sprouse
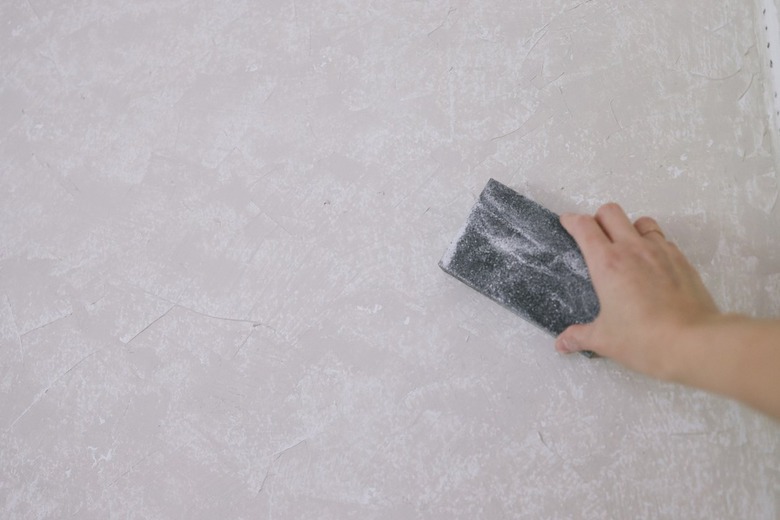
3. Sand
Allow the first coat to dry entirely, about an hour. Then use fine-grit sandpaper to sand the surface and smooth out any raised areas or prominent ridges. Use a light touch, as it sands very easily. Wipe away any sanding dust.
 Trisha Sprouse
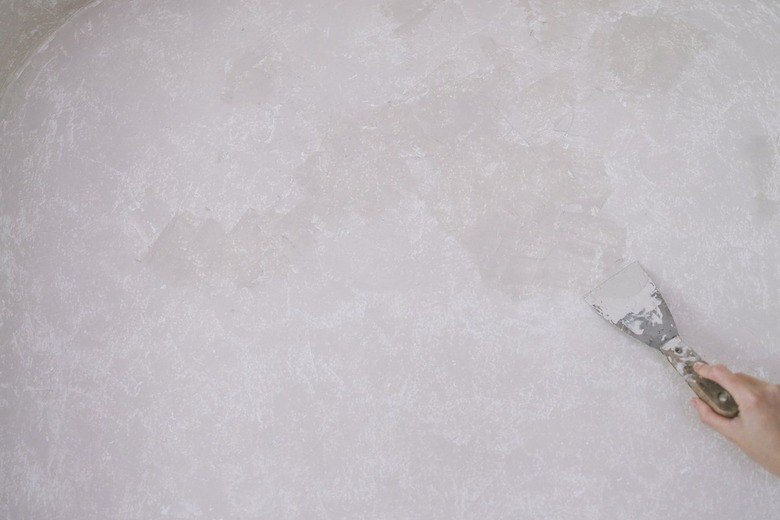
4. Apply the Second Coat
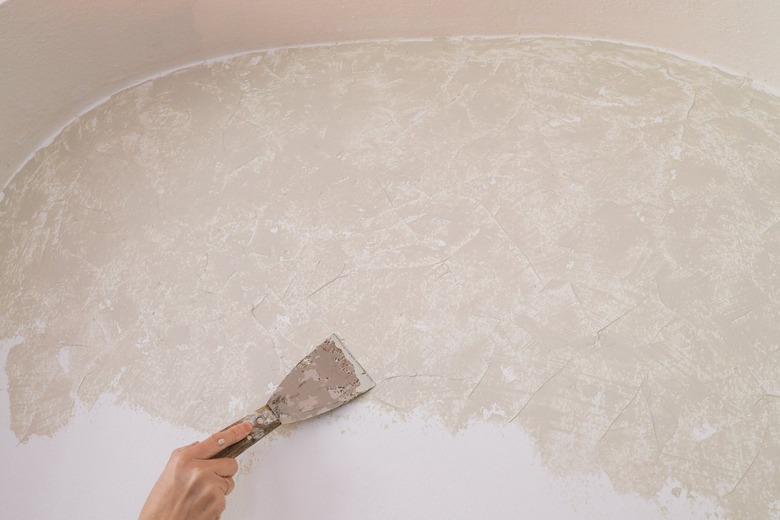
Apply the second coat in the same manner as the first, this time really concentrating on varying the movement of the putty knife strokes to achieve maximum texture and produce that signature cloudy look. Let dry completely, about an hour or two.
 Trisha Sprouse
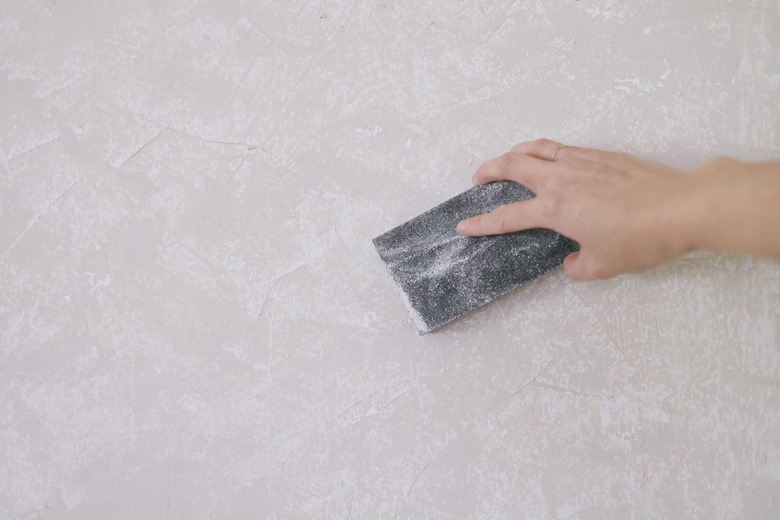
5. Sand Again
Use the fine-grit sandpaper again to sand any ridges or raised areas. Wipe away the sanding dust with a clean cloth.
 Trisha Sprouse
6. Seal (Optional)
You can seal the Roman Clay with a clear topcoat that makes the surface more durable and easier to clean. However, we chose not to seal ours because it was in a pretty low-traffic area. If your shelf is in a high-humidity area or spot that's prone to splashes like a kitchen or bath, it's probably best to seal it.
Your newly revamped shelving area is now ready for its #shelfie, so have fun styling it up with your best accessories!
 Trisha Sprouse