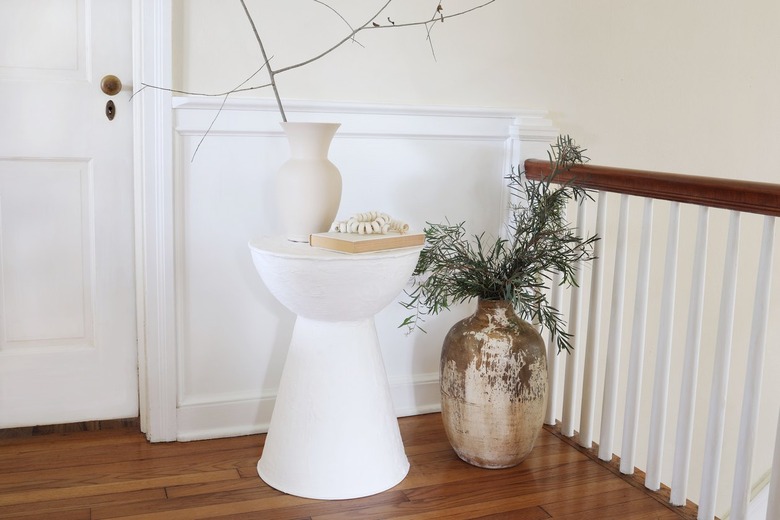
Easy Way To Create A Chic Plaster Side Table
We may receive a commission on purchases made from links.
Ever find a small side table that has a really great shape, but the finish is not quite what you're looking for — maybe it's a vintage piece that's a bit outdated for your modern space or perhaps it's a budget item that you wish looked a little more luxe? Plastering the surface is an easy solution that offers fabulous texture and an instant modern makeover. Seriously, just search Chairish or 1stDibs for a plaster table, and you'll see what we mean. The great thing about plaster is it sticks to just about anything (wood, metal, plastic, ceramic), and the entire project can be done in a day. So go ahead and buy that cute little table, and let's plaster it like a pro!
Things Needed
-
Side table (this works on metal, wood, plastic, ceramic)
Step 1
If your side table has a very smooth or glossy finish (like our metal one did), lightly sand the entire thing to scuff up the surface and give the primer something "toothier" to grip.
 Trisha Sprouse
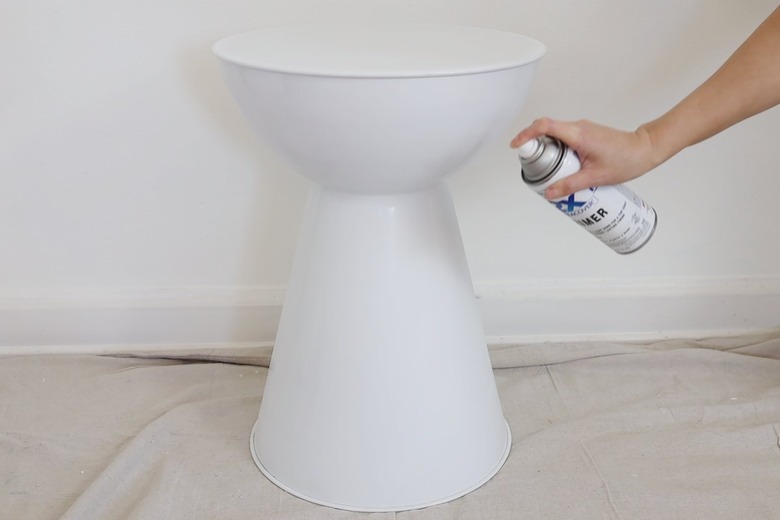
Step 2
Spray two to three light coats of primer on the table, allowing at least 20 minutes of drying time between coats. After the last coat, let the primer dry completely — about an hour.
 Trisha Sprouse
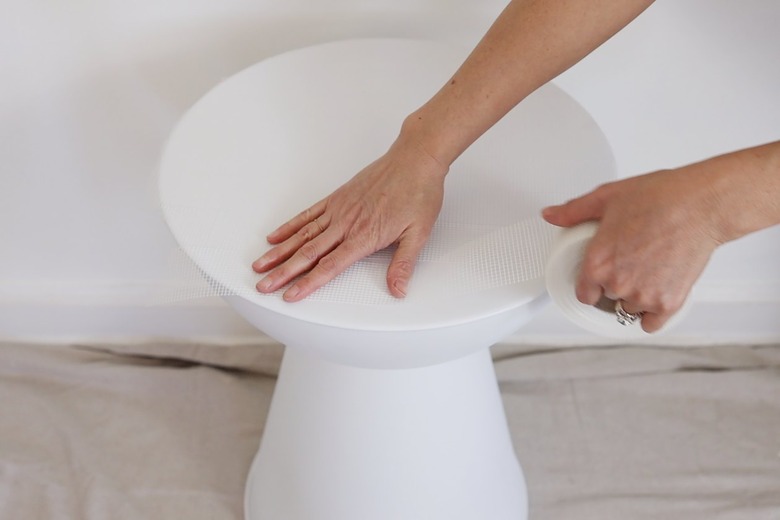
Step 3
Once the primer is dry, wrap mesh drywall tape around the entire table. The tape will help the plaster stick to the table better and allow you to build up better texture. Try to keep the tape as smooth as possible without too much overlap, trimming off any excess where needed.
 Trisha Sprouse
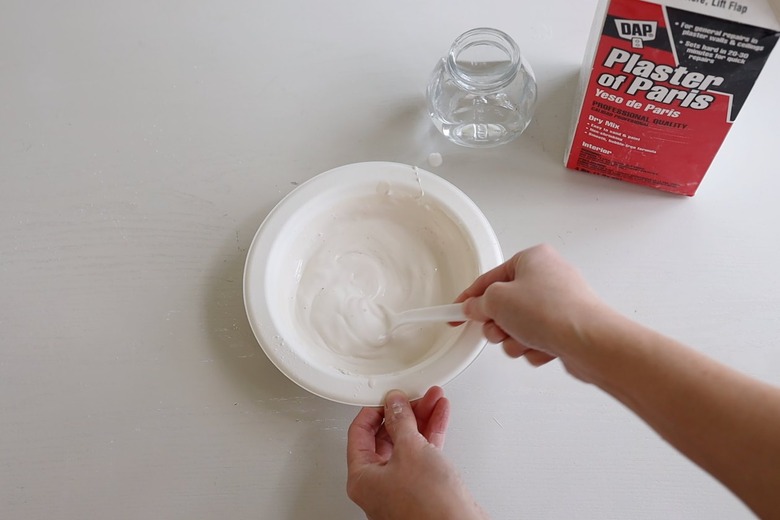
Step 4
In a disposable mixing bowl, mix a 2:1 ratio of plaster and water. You're looking for a consistency of pancake batter. Once it's mixed, you'll need to work fast, as you have about a 10-minute window before it hardens.
 Trisha Sprouse
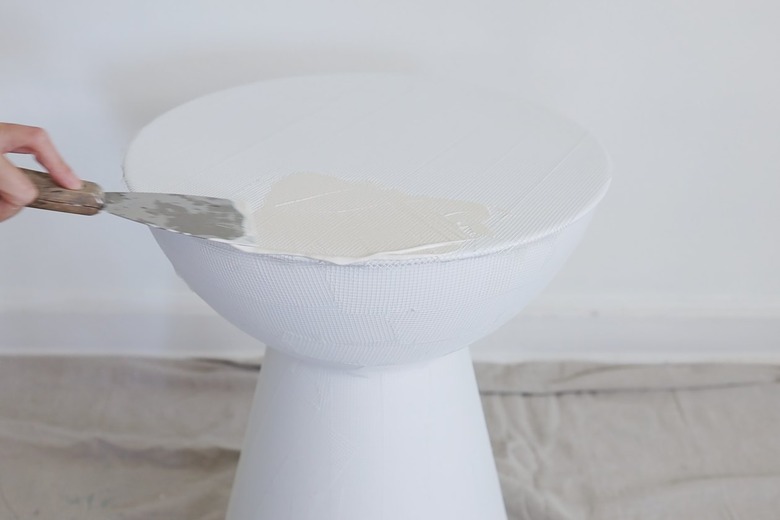
Step 5
Apply a thin coat of plaster on the entire table with a putty knife. Don't worry too much about how the first coat looks — it's more about getting it on there.
Tip: If you have a hard time reaching any areas with the putty knife, you can brush the plaster on with a chip brush instead.
 Trisha Sprouse
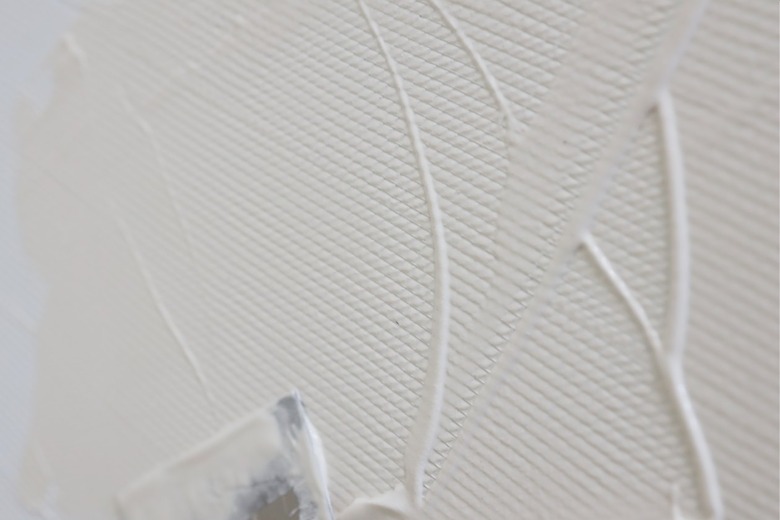
Step 6
Wait 20 minutes for the first coat of plaster to dry, and then apply a second coat. Repeat with a third coat. Be sure to vary the direction of the knife as you apply the plaster to create texture and movement.
Note: You'll need to mix up a new batch of plaster in a clean bowl for each coat because it hardens so quickly (this is why we recommend disposable paper bowls).
 Trisha Sprouse
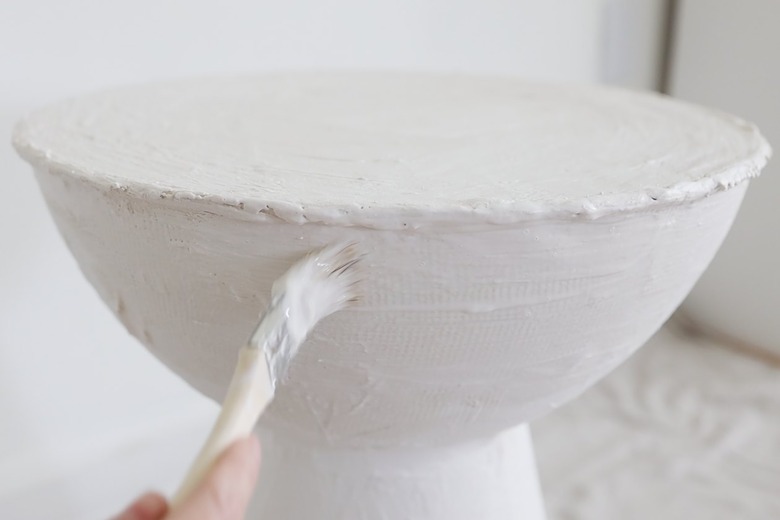
Step 7
After you've applied the third (or final) coat, brush over it while it's still wet with a wet paintbrush. This will help smooth out the last layer.
 Trisha Sprouse
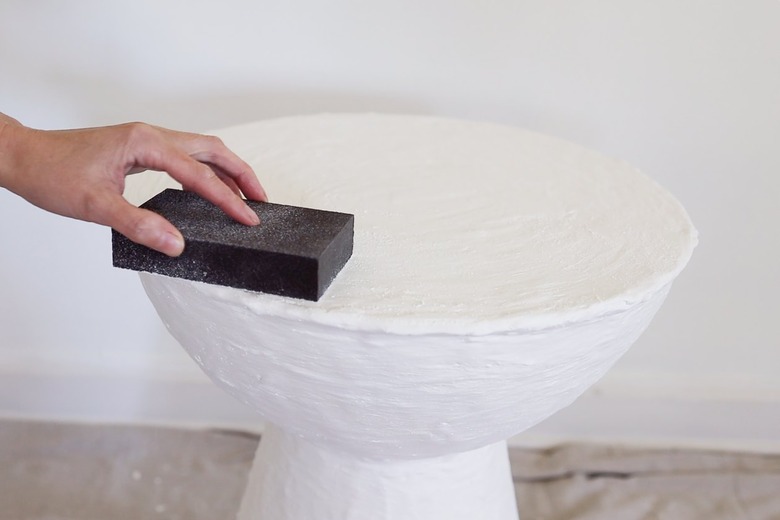
Step 8
Sand away any rough spots or any areas where the texture is too raised. The plaster sands off really easily, so don't press too hard.
 Trisha Sprouse
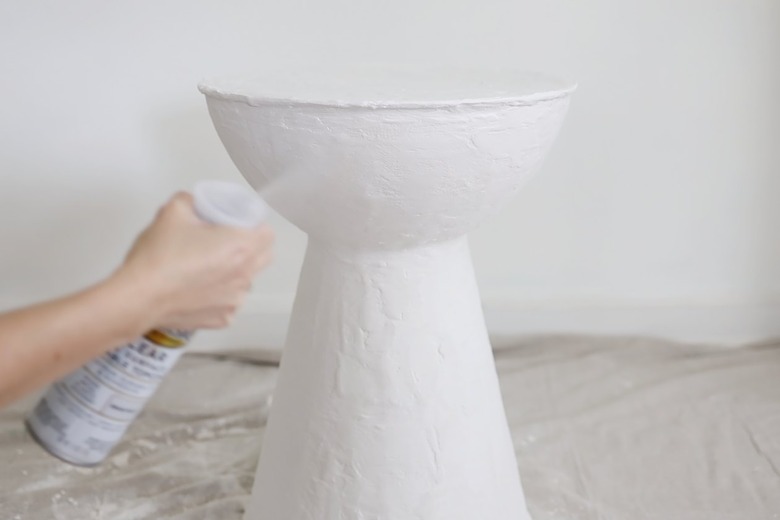
Step 9
Once the last coat of plaster has dried for an hour or two, spray three light coats of clear protective sealant over the entire table. We used a sealant with a matte finish, but you could use a satin or glossy sheen if you want to add some shine to the plaster.
 Trisha Sprouse
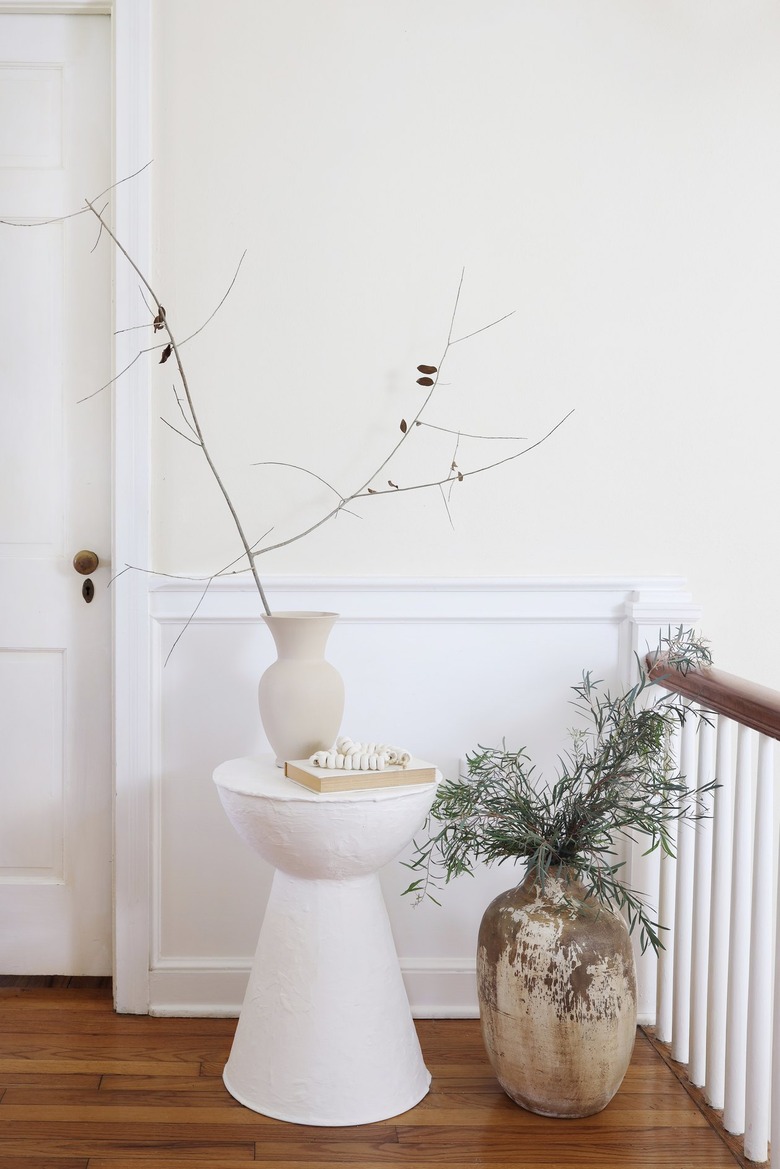
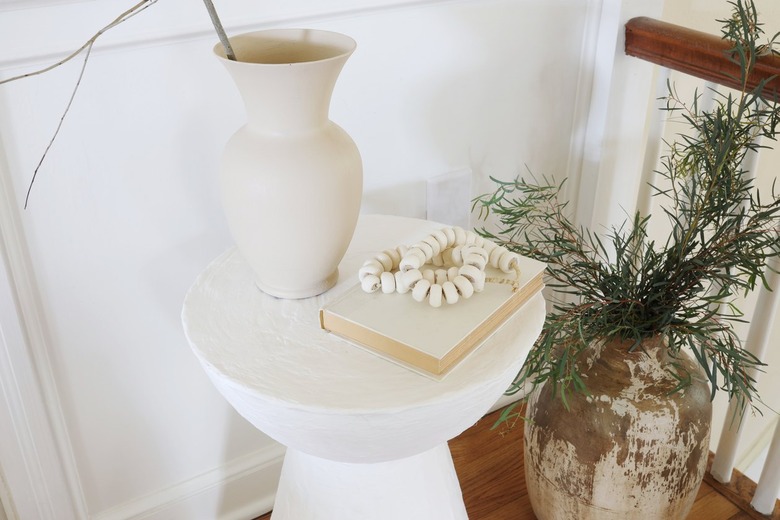
Once the sealant has dried, your new plaster table is ready to style up with your favorite accessories!
 Trisha Sprouse
 Trisha Sprouse