Everyone Wants Limewashed Walls, So Allow Us To Present This Easy Tutorial On How To Do It
Recently, home design has seen a fierce resurgence of timeworn wall treatments. There's no denying that weathered walls add a level of character, depth, and dimension to a space that standard builder-grade finishes, such as orange peel, simply can not compete with. Limewash is one of the more subtle options that offers a nuanced version of the Old World look while still feeling modern and fresh, especially when paired with contemporary furnishings.
 Trisha Sprouse
Made by mixing water with crushed limestone and natural pigments, limewash lends a mottled, two-tone effect with lots of highlights and lowlights, and its chalky matte texture patinas beautifully over time. Oh, and did we mention it's nontoxic? That's right, no VOCs ... and thanks to its high pH-level, it's also mold-resistant. It also happens to be just as easy to apply as paint. Limewash is one trend we highly recommend trying out for yourself.
Things Needed
-
Spackle and putty knife (if needed)
-
Acrylic primer (choose a low-VOC one to enhance the nontoxic benefit of limewash)
-
Paint brush, roller, and tray (for the primer)
-
Drop cloth
-
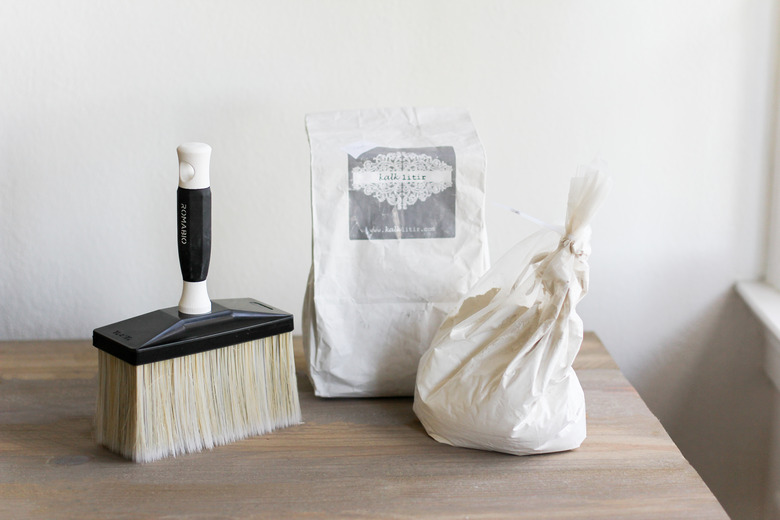
Limewash paint for interior walls (we used the Kalklitir line in the color "Calce")
-
Plastic paint bucket with lid
-
Paint stick for stirring
Other Limewash Sources available in the US: Portola | Sydney Harbour | Komedal Road
 Trisha Sprouse
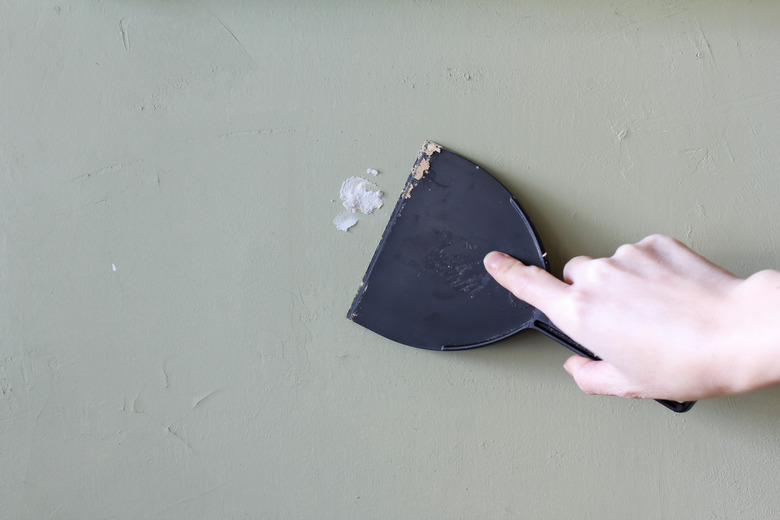
Step 1
Prepare your walls in the same manner you would for a regular painting job. Patch any holes or imperfections with spackle, chip away any peeling paint, clean off any dust or grease, and seal any stains if necessary. You want to start with a clean and smooth surface.
 Trisha Sprouse
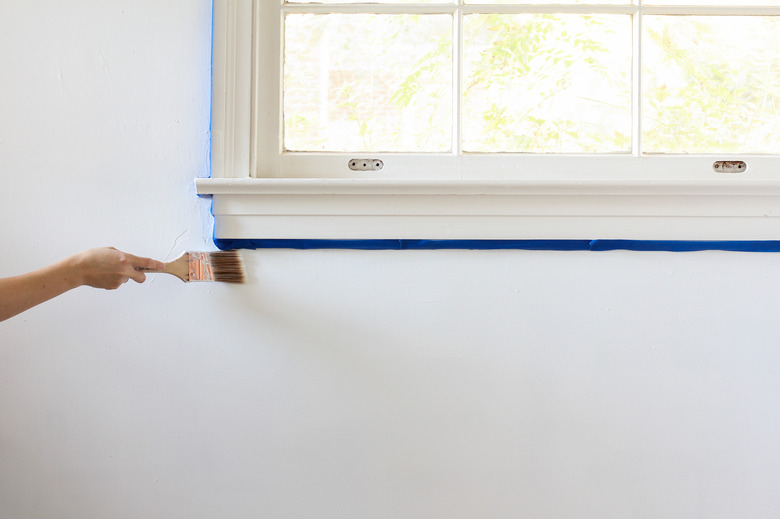
Step 2
If your walls have been previously painted, or if you'll be painting the limewash on a nonporous surface, you'll first need to prime the walls with an acrylic primer. Since one of the benefits of limewash is its eco-friendliness (no VOCs — volatile organic compounds), we recommend using a primer that is no- or low-VOC to avoid any potential off-gassing in your home. Allow the primer to dry completely to ensure the limewash can adhere properly.
 Trisha Sprouse
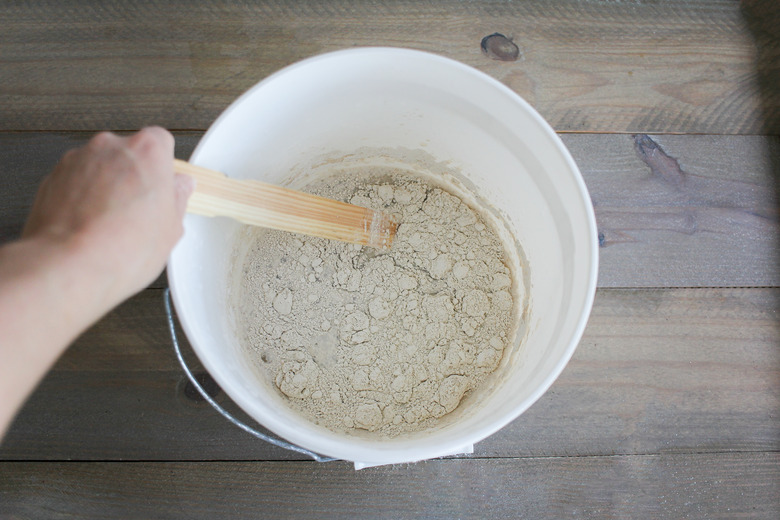
Step 3
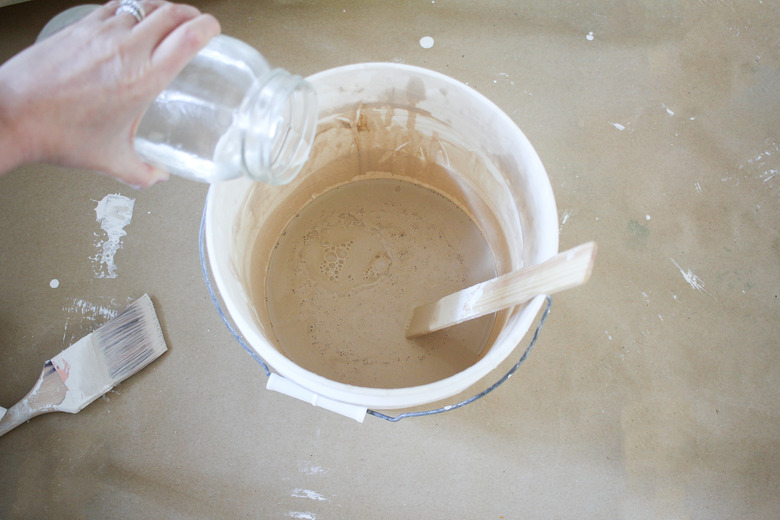
Follow the directions on the manufacturer's package to prepare the limewash paint. In our case, we were instructed to mix the powder with 1.7 liters of cold tap water. It worked best to add the powder in small batches at a time, stirring each batch into the water before adding more.
 Trisha Sprouse
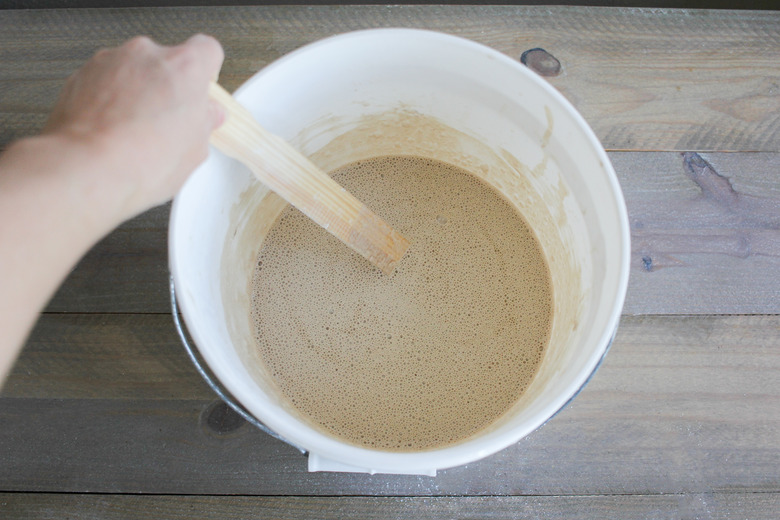
Keep stirring until the limewash powder is completely dissolved and free of clumps (our directions said to stir for a minimum of 10 minutes on-and-off). The consistency will be quite watery compared to traditional paint. Once dissolved, the mixture yields approximately two liters of paint, which will cover between 65 to 105 square feet in two coats. (Two coats is always recommended.)
 Trisha Sprouse
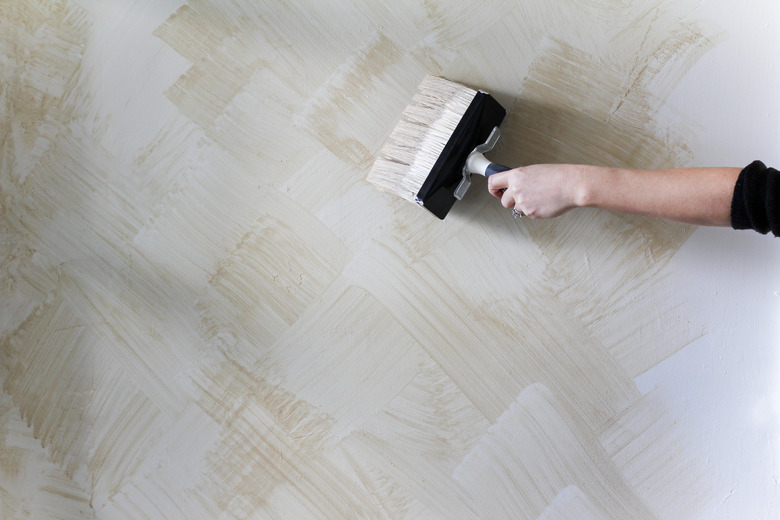
Step 4
Limewash is always applied with a brush, not a roller. Don't worry, its watery consistency makes applying it with a brush about as fast as applying paint with a roller.
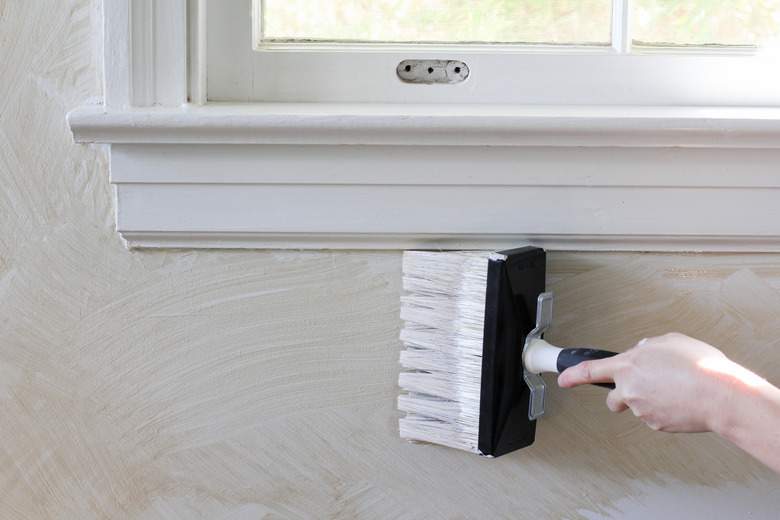
Dip the tip of your lime brush into the mixture and wipe off any excess onto the sides of the bucket. Start at the top corner of your wall, first edging about a foot along the top, and then working downwards. You can paint the limewash onto the wall by using either a traditional up-and-down brushstroke like you'd use with paint, or by using an X-stroke (essentially painting overlapping diagonal lines to form Xs). We opted for painting with an X-stroke, which is pictured here, as it creates more visible texture and gives the wall that signature "cloudy" look.
 Trisha Sprouse
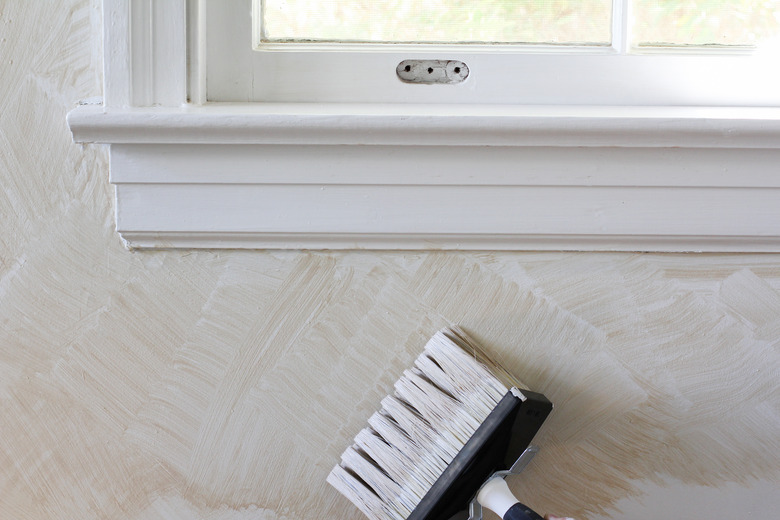
When working around any trim, we found it easiest to apply the limewash in a straight line along the trim.
 Trisha Sprouse
Then, while it's still wet, use the brush to feather the straight line into small X-shapes.
 Trisha Sprouse
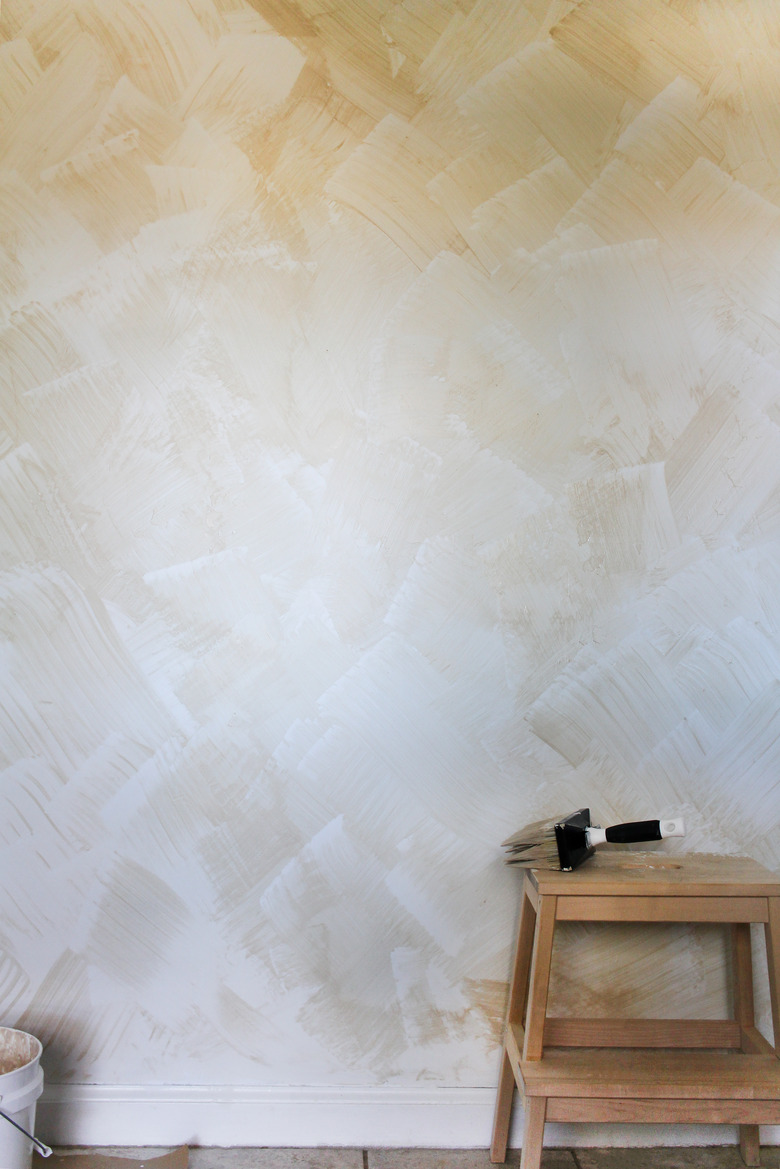
Make sure to stir the limewash every so often while you work, as the pigment has a tendency to settle to the bottom. Since limewash is so watery, it's prone to drips and runs as you're applying it. Be sure to wipe away any drip marks before they dry. Also, it's important to note that you can't allow the working wet edge of the limewash to dry (because it'll create noticeable seams), so once you start on a wall, plan to finish the entire wall without any prolonged breaks.
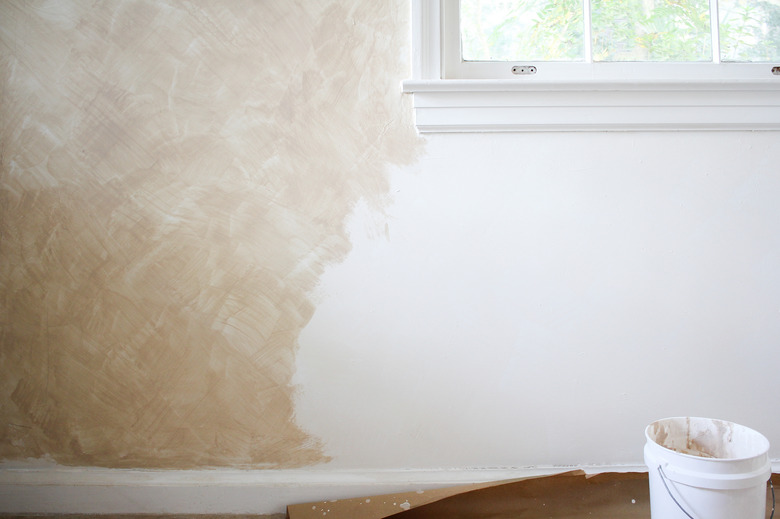
Here's how the first coat of lime wash looks while still wet. Don't worry — the application may look like a hot streaky mess, but it doesn't dry looking that way.
 Trisha Sprouse
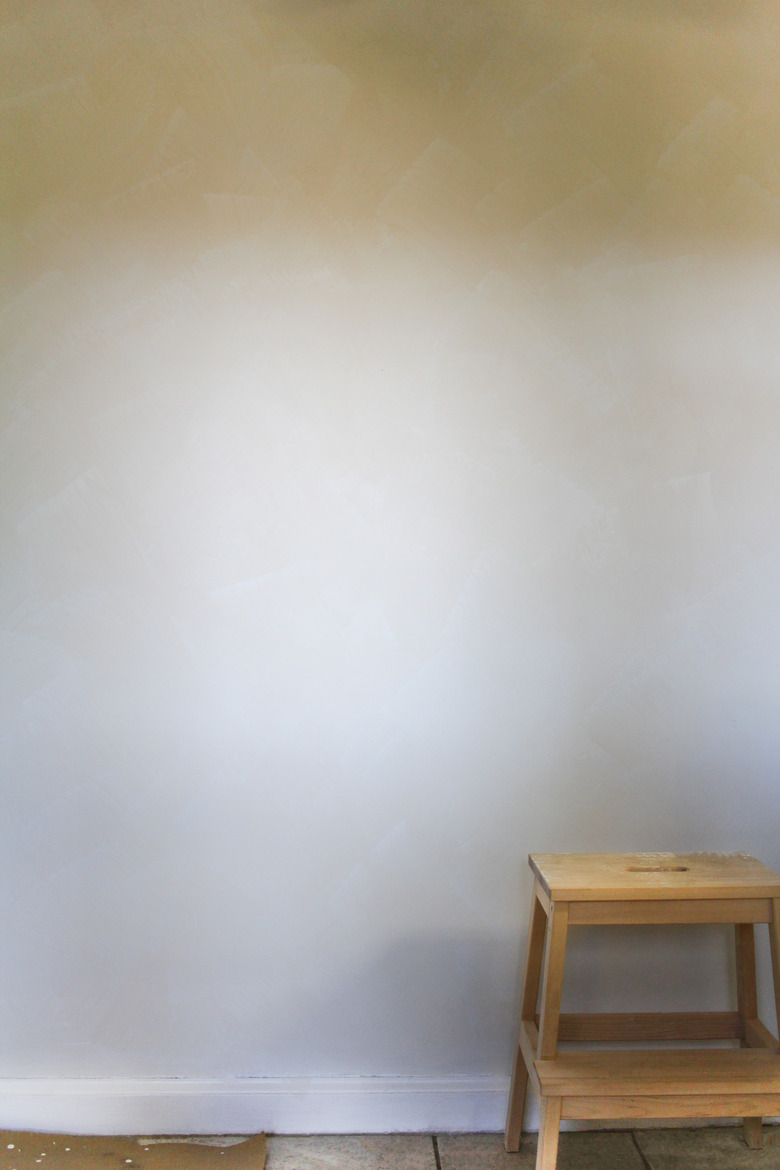
And here's how it looked once it was completely dry. It's so much lighter with just a hint of texture, and none of the pronounced streakiness it had while wet. (Fun fact: limewash is 10 times darker when wet.)
 Trisha Sprouse
Step 5
Allow the first coat to dry completely (between two to eight hours, depending on humidity) before applying the second layer.
This is optional, but following our manufacturer's suggestion, we also diluted the remaining limewash with a little more water (about 1/4 cup) to thin it out and allow the first coat to remain slightly visible.
 Trisha Sprouse
Use the same method to apply the second layer that you used with the first. If you'd like, you could switch up the type of brushstroke, for example, using an X-stroke on the first layer and up-and-down stroke on the second. (We used X-strokes on both layers.)
 Trisha Sprouse
If you have any limewash left over, store it in an airtight container for one year. It'll come in handy should you need to do any touchups later down the road.
NOTE: Although the cloudy texture of limewash shows much less dirt than paint, one of the only drawbacks is that you can't clean it. However, you can dilute the leftover limewash and simply recoat as needed. Alternatively, you could seal the limewash with a matte sealer to create a surface that's wipeable and more easy to maintain.
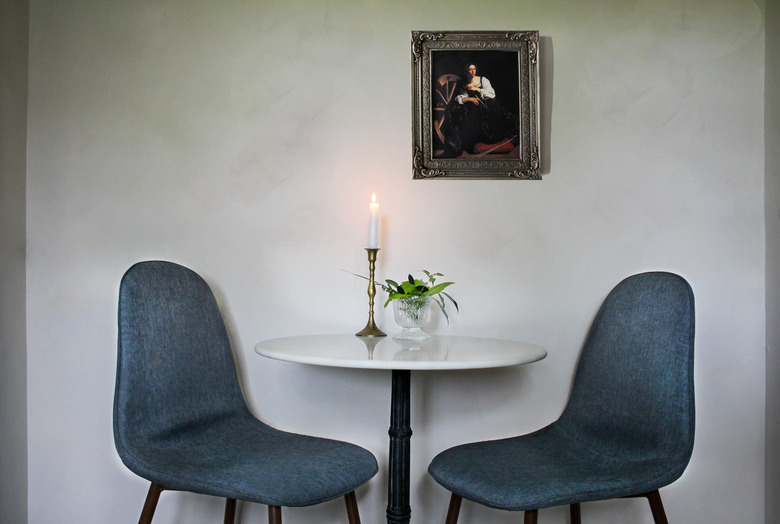
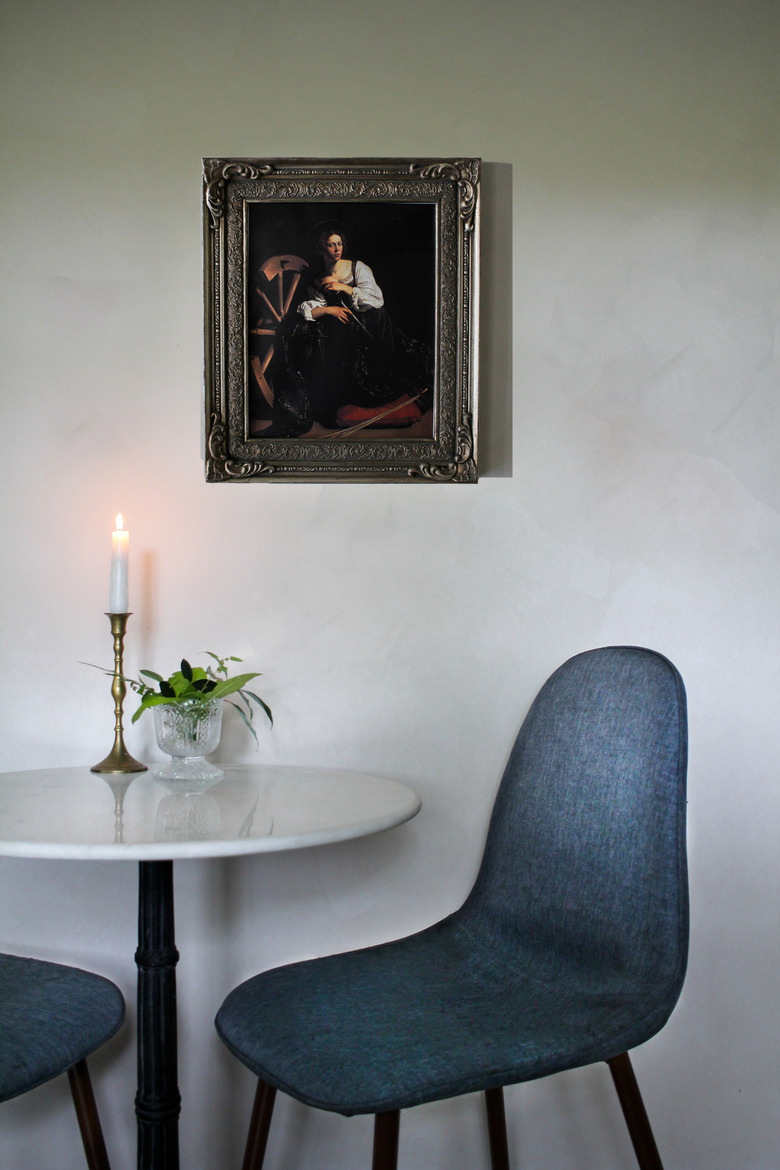
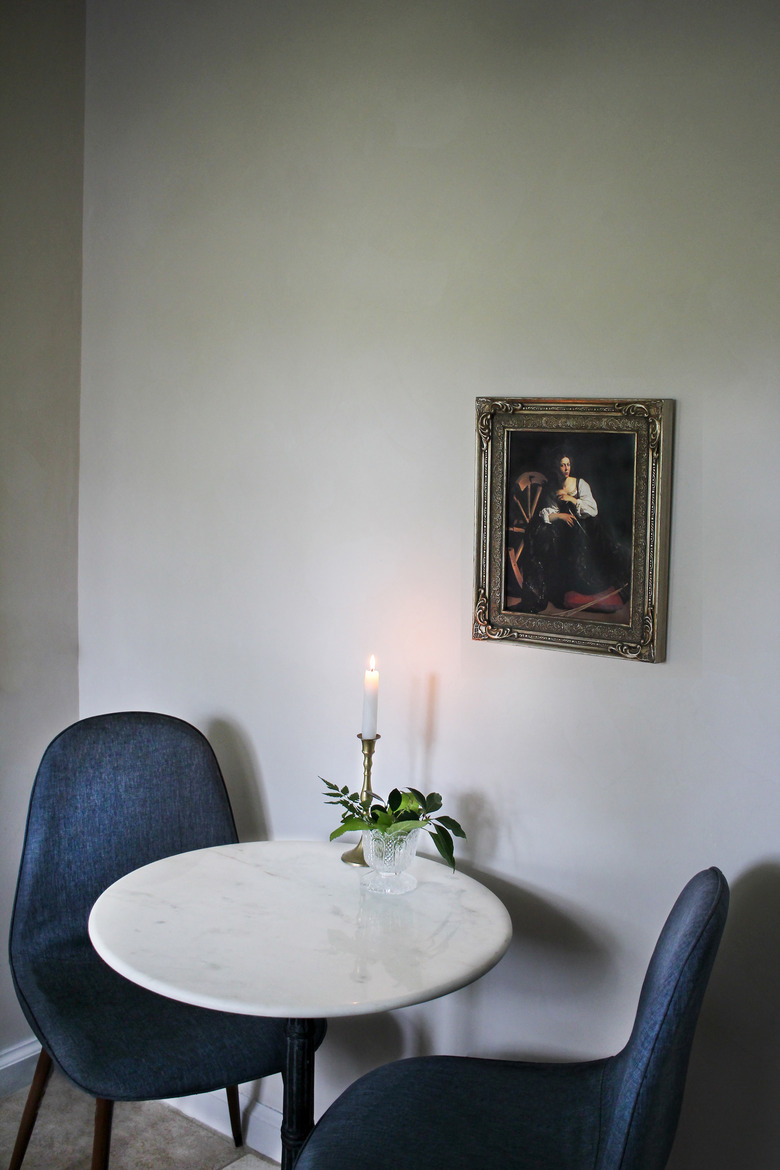
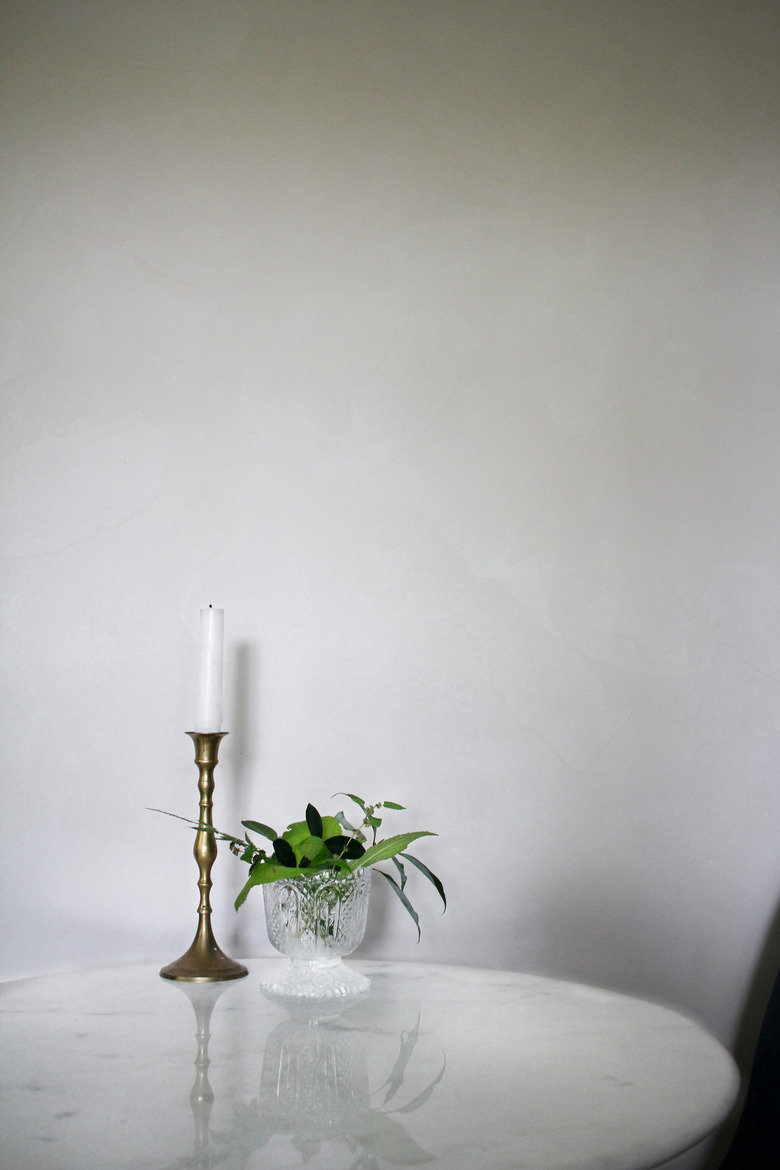
From a distance and under certain lighting, the limewash looks like a rich, velvety matte paint, but when viewed up close, the texture is so much more interesting with lots of movement from the brush strokes.
 Trisha Sprouse
No tacky faux-finishes here. It's just the real-deal charm of limewash that makes your modern walls feel classic, timeless, and full of character.
 Trisha Sprouse
 Trisha Sprouse