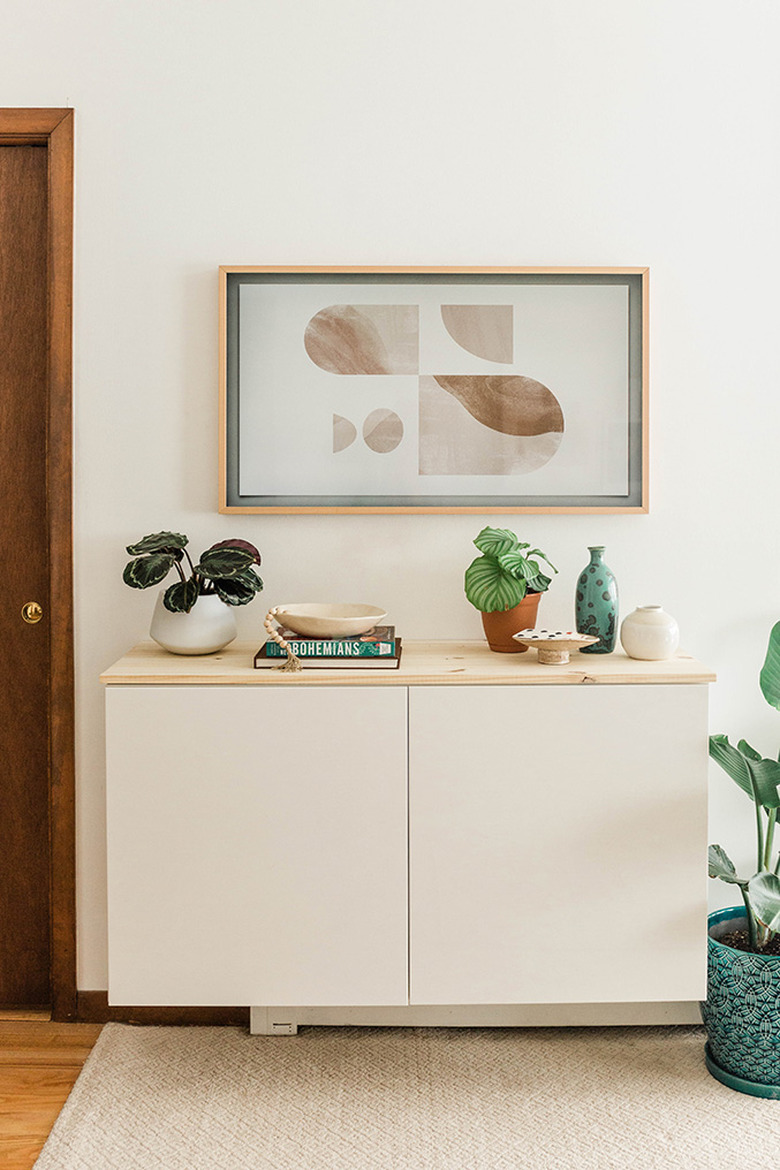
This New IKEA Floating Console Hack Is Perfect For Every Space
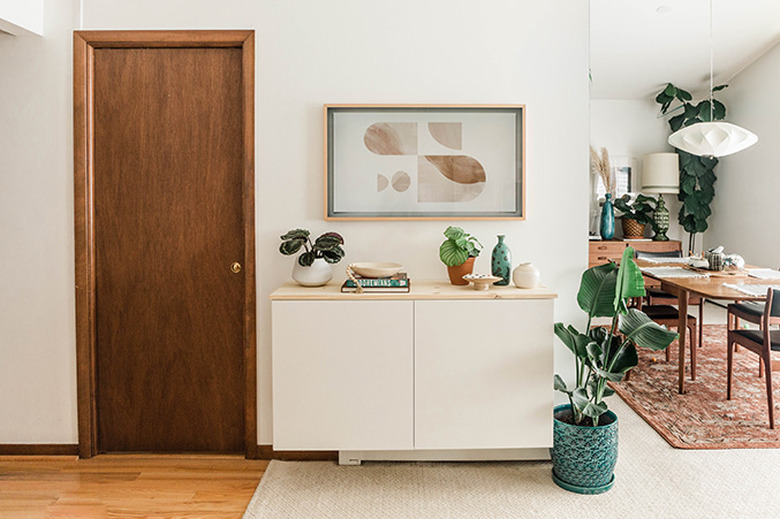
See how we transformed an IKEA BESTA unit into a minimalist floating console for less than $250 using hardware store basics, including an off-the-rack tabletop. It's a cinch to customize, no matter which way your style leans — Scandinavian, boho, midcentury, or even traditional. How would you style yours?
 Carrie Waller
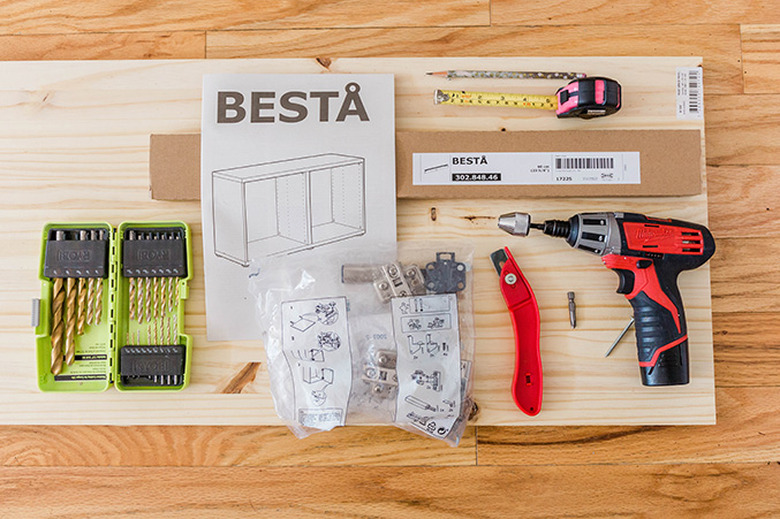
Things Needed
-
BESTA frame, white
-
Pencil
-
BESTA soft closing/push-open hinges, (2 sets)
-
SELSVIKEN doors, high gloss white, (2)
-
Drill bit
-
Screws
-
Picture hanging strips (heavy duty)
-
Pine board, 1 inch by 16 inch by 4 foot, (1)
 Carrie Waller
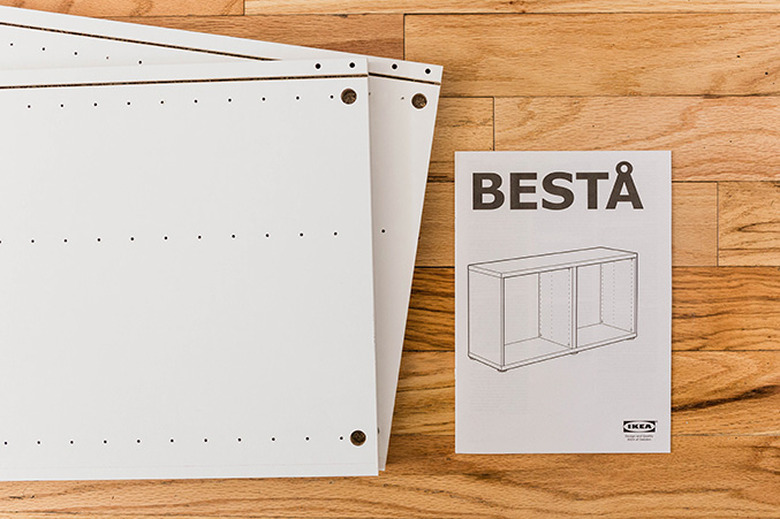
Step 1
Start by assembling your IKEA BESTA frame using the manufacturer's instructions, up until the step where you put the back and top in place.
 Carrie Waller
Step 2
If you need to cut holes to allow access to outlets and TV cables, measure where those come out of the wall using a measuring tape, then transfer those measurements to the backer board for your BESTA unit using a pencil. Go ahead and add an extra inch or two to ensure that you'll have plenty of wiggle room once you have the cabinet up on the wall. Cut out the holes you marked using a utility knife.
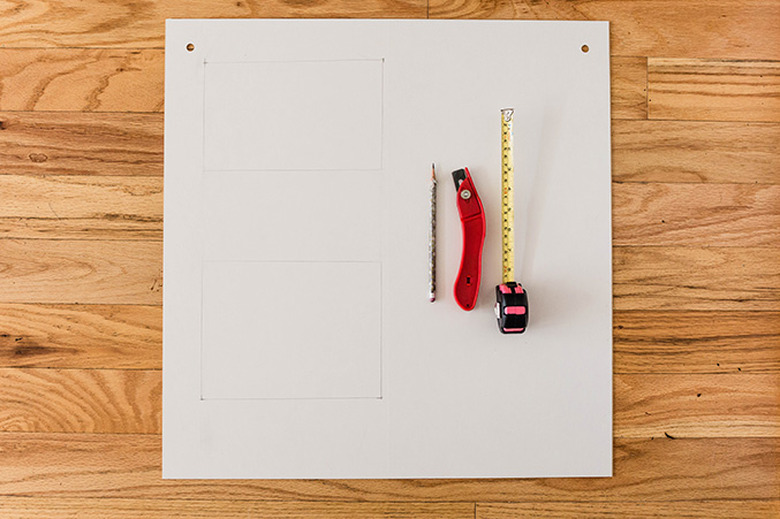 Carrie Waller
Step 3
Slip that piece of customized backer board into the unit, and feed through the cables.
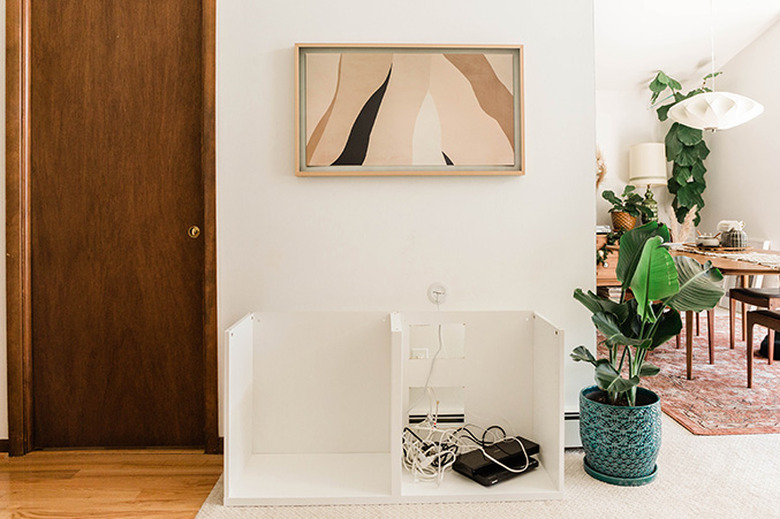 Carrie Waller
Step 4
Follow the directions that came with your BESTA unit to put the top in place, and then secure it.
 Carrie Waller
Step 5
Mount the unit on the wall using the two BESTA suspension rails so that it's at the right height for your space. We put this console at counter height so that it can be styled as a drinks buffet for parties. If you want to do the same, measure to mount yours 35 inches off the floor. However, if you want more of a standard console height, mount yours a little lower — roughly 30 inches off the floor.
NOTE: When measuring, remember to take into account that you have a 1-inch tabletop going on in a later step, so subtract one inch before installing the mounting hardware.
 Carrie Waller
Step 6
Install the soft-closing hinges and the SELSVIKEN doors using the included IKEA instructions. Remove the protective plastic from the face of the doors.
 Carrie Waller
Step 7
Center your pine board on top of the cabinet. Open the cabinet doors, and pre-drill holes into each of the four underside corners of both cabinet halve s— so eight holes in all. Push an awl through the holes you pre-drilled into the cabinet to mark the underside of the tabletop, then pre-drill holes in the tabletop without going all the way through. Place the tabletop back on the cabinet, and screw it into place from inside the cabinet.
As an alternative, in case you think you might change your mind on the tabletop design down the road, you can use picture hanging strips to hold the board in place until you decide to swap it out with something else. That's actually what we did for this tutorial. This method will also allow you to enjoy the minimalist white cabinet all on its own without permanently marring it with drilled holes, just in case you decide to try that look for a while.
 Carrie Waller
NOTE: Before attaching the board, decide how you want to finish it. You can give the board a light sand and then leave it raw (as seen here), or you can stain it your color of choice. Another option is to simply clear coat it to keep the raw color but make it waterproof.
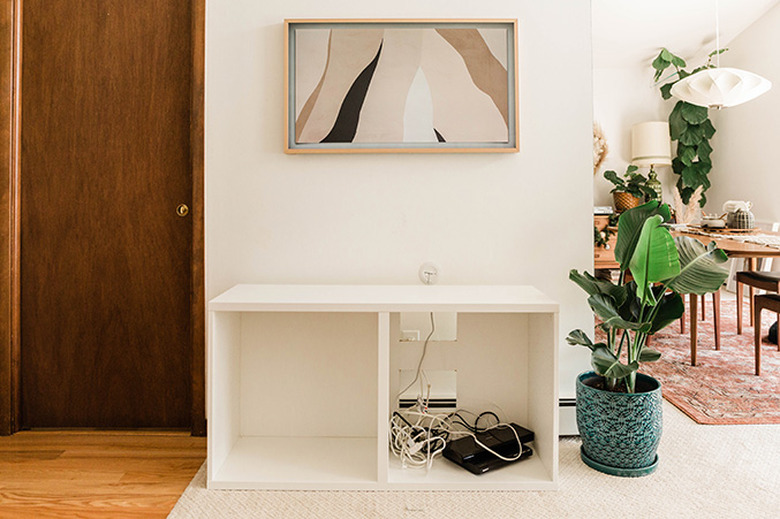
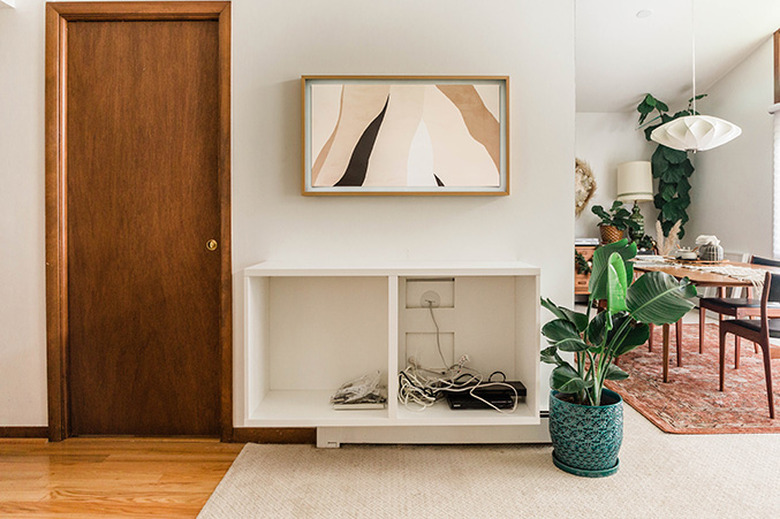
Step 8
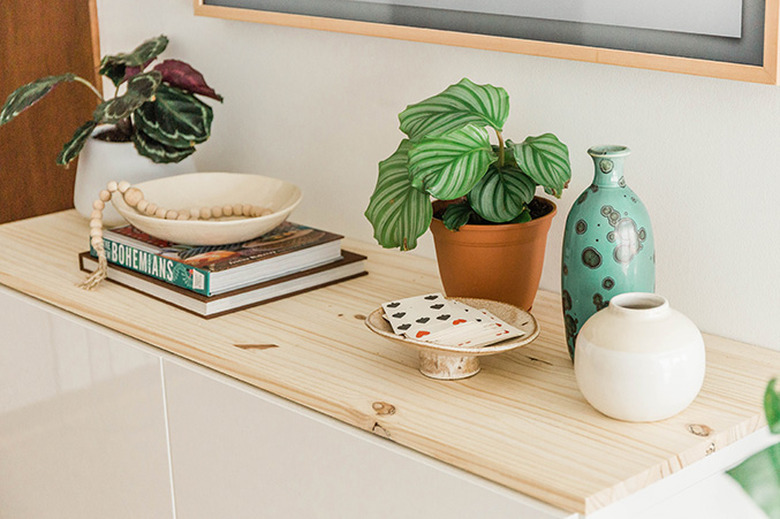
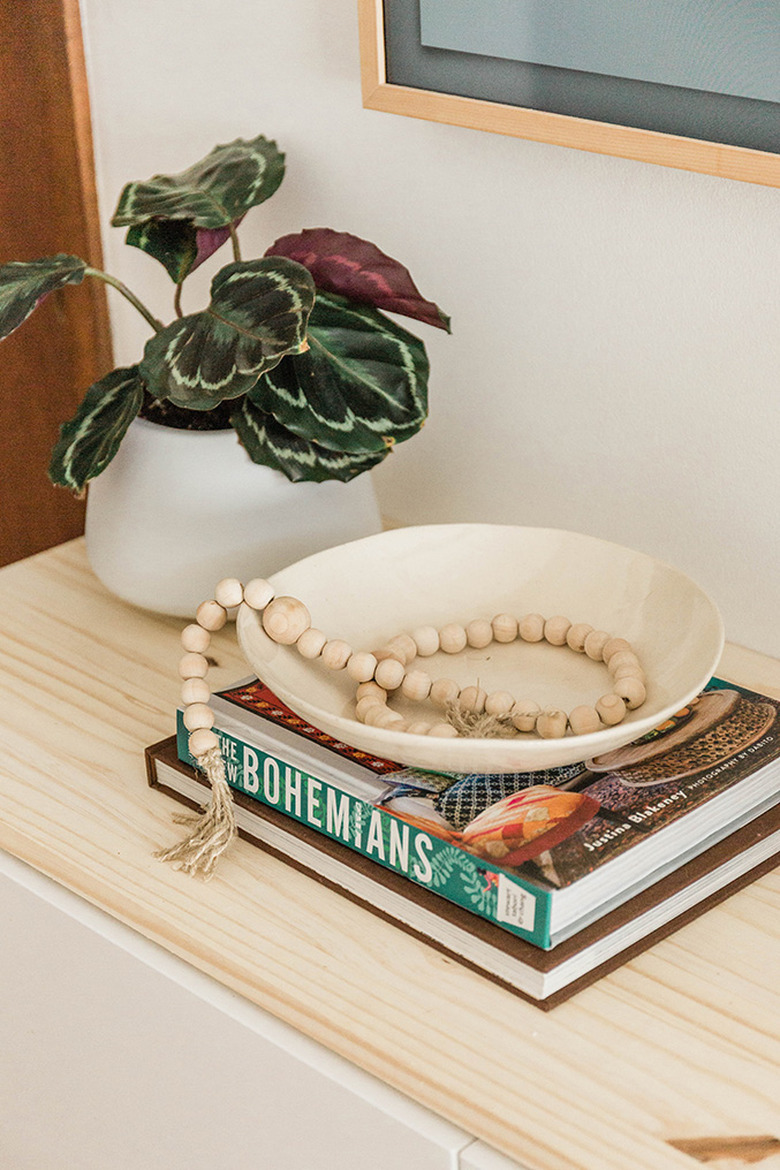
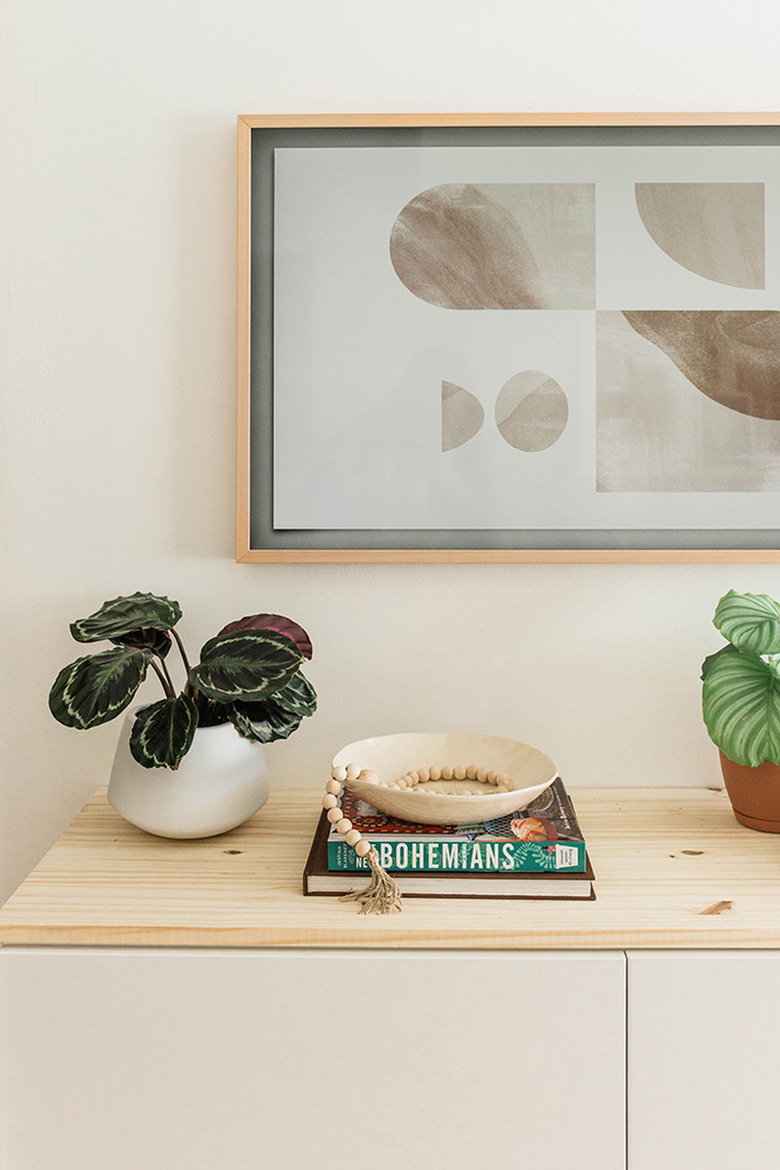
Now you're ready to style your new custom floating cabinet! A couple of quick tips if, like us, you're planning to use your console as a TV cabinet. Make sure you style with pieces that don't cover the television. Things like potted plants do well since you can trim them as needed, and stacks of books keep the arrangement on the lower side while still adding interest. Small ceramic dishes or trays are another great option since you can use them to hold playing cards or remotes.
Carrie Waller
 Carrie Waller
 Carrie Waller